OP
OP
- Joined
- May 31, 2022
- Threads
- 114
- Messages
- 1,875
- Reaction score
- 3,828
- Location
- Los Angeles
- Website
- evsportline.com
- Vehicles
- Rivian R1T, R2 res, Tesla S, 3, X, Y, Cybertruck
- Occupation
- Upgrading Electric Vehicles
- Thread starter
- #1,546
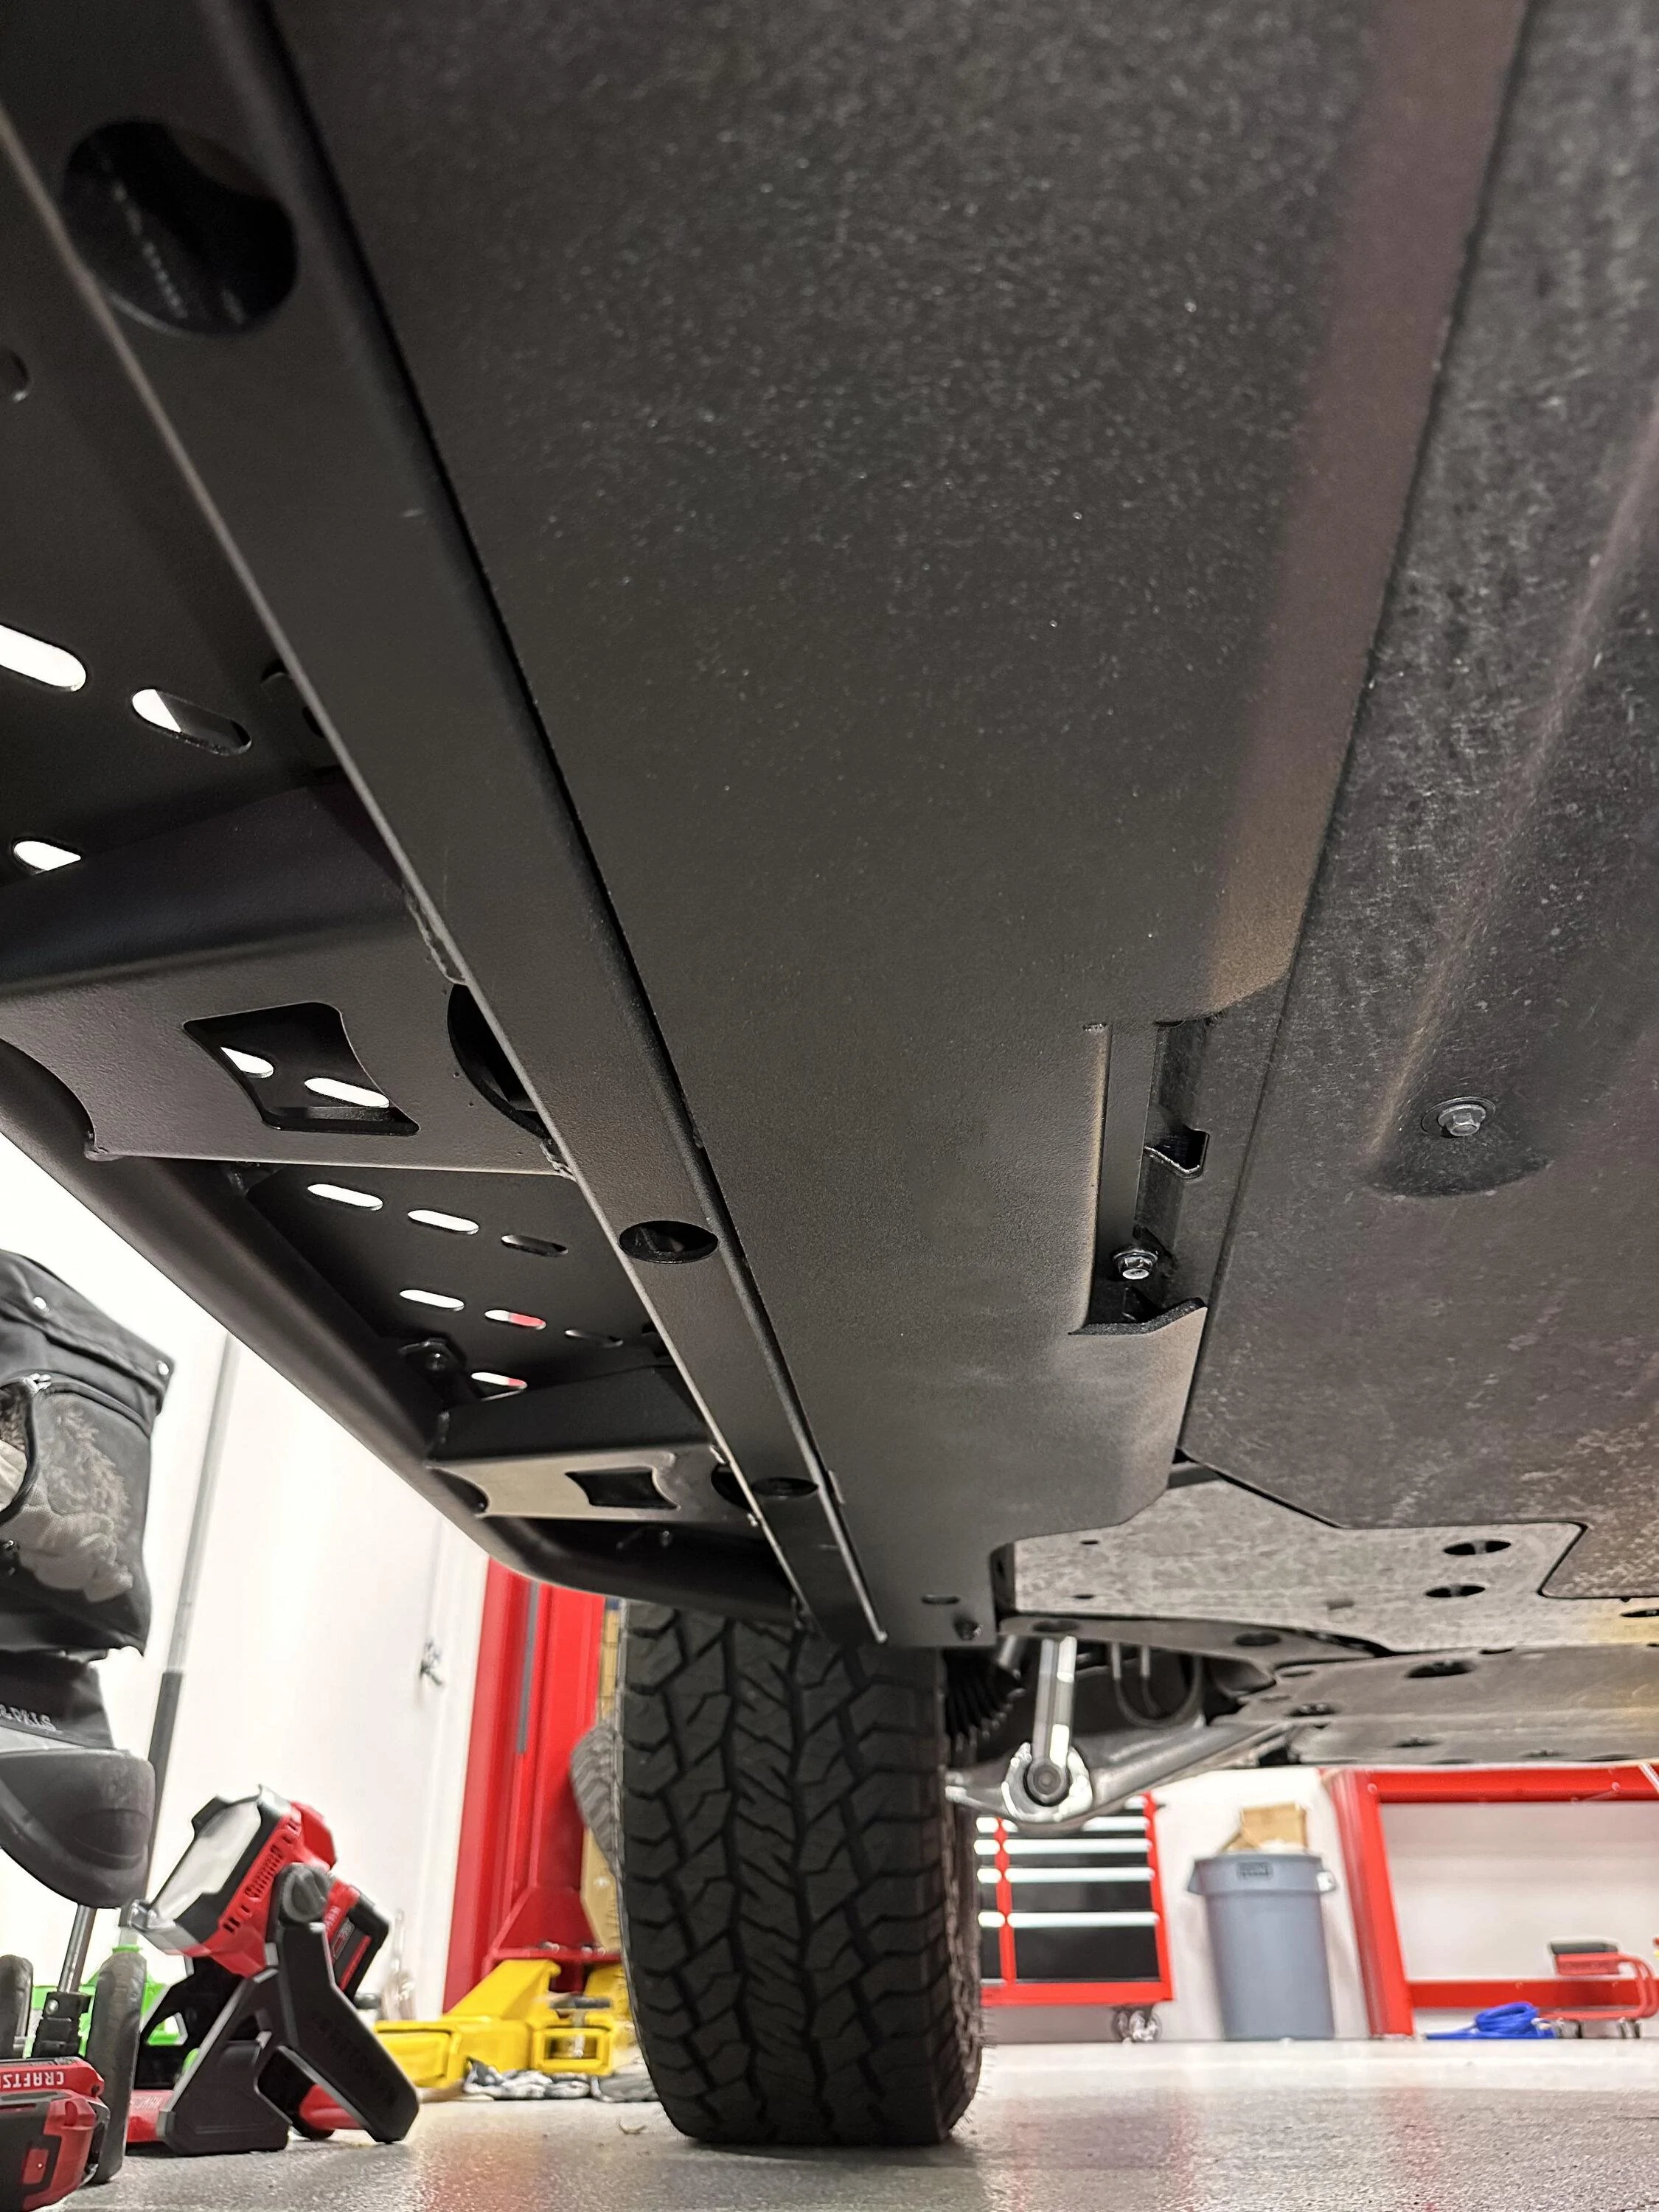
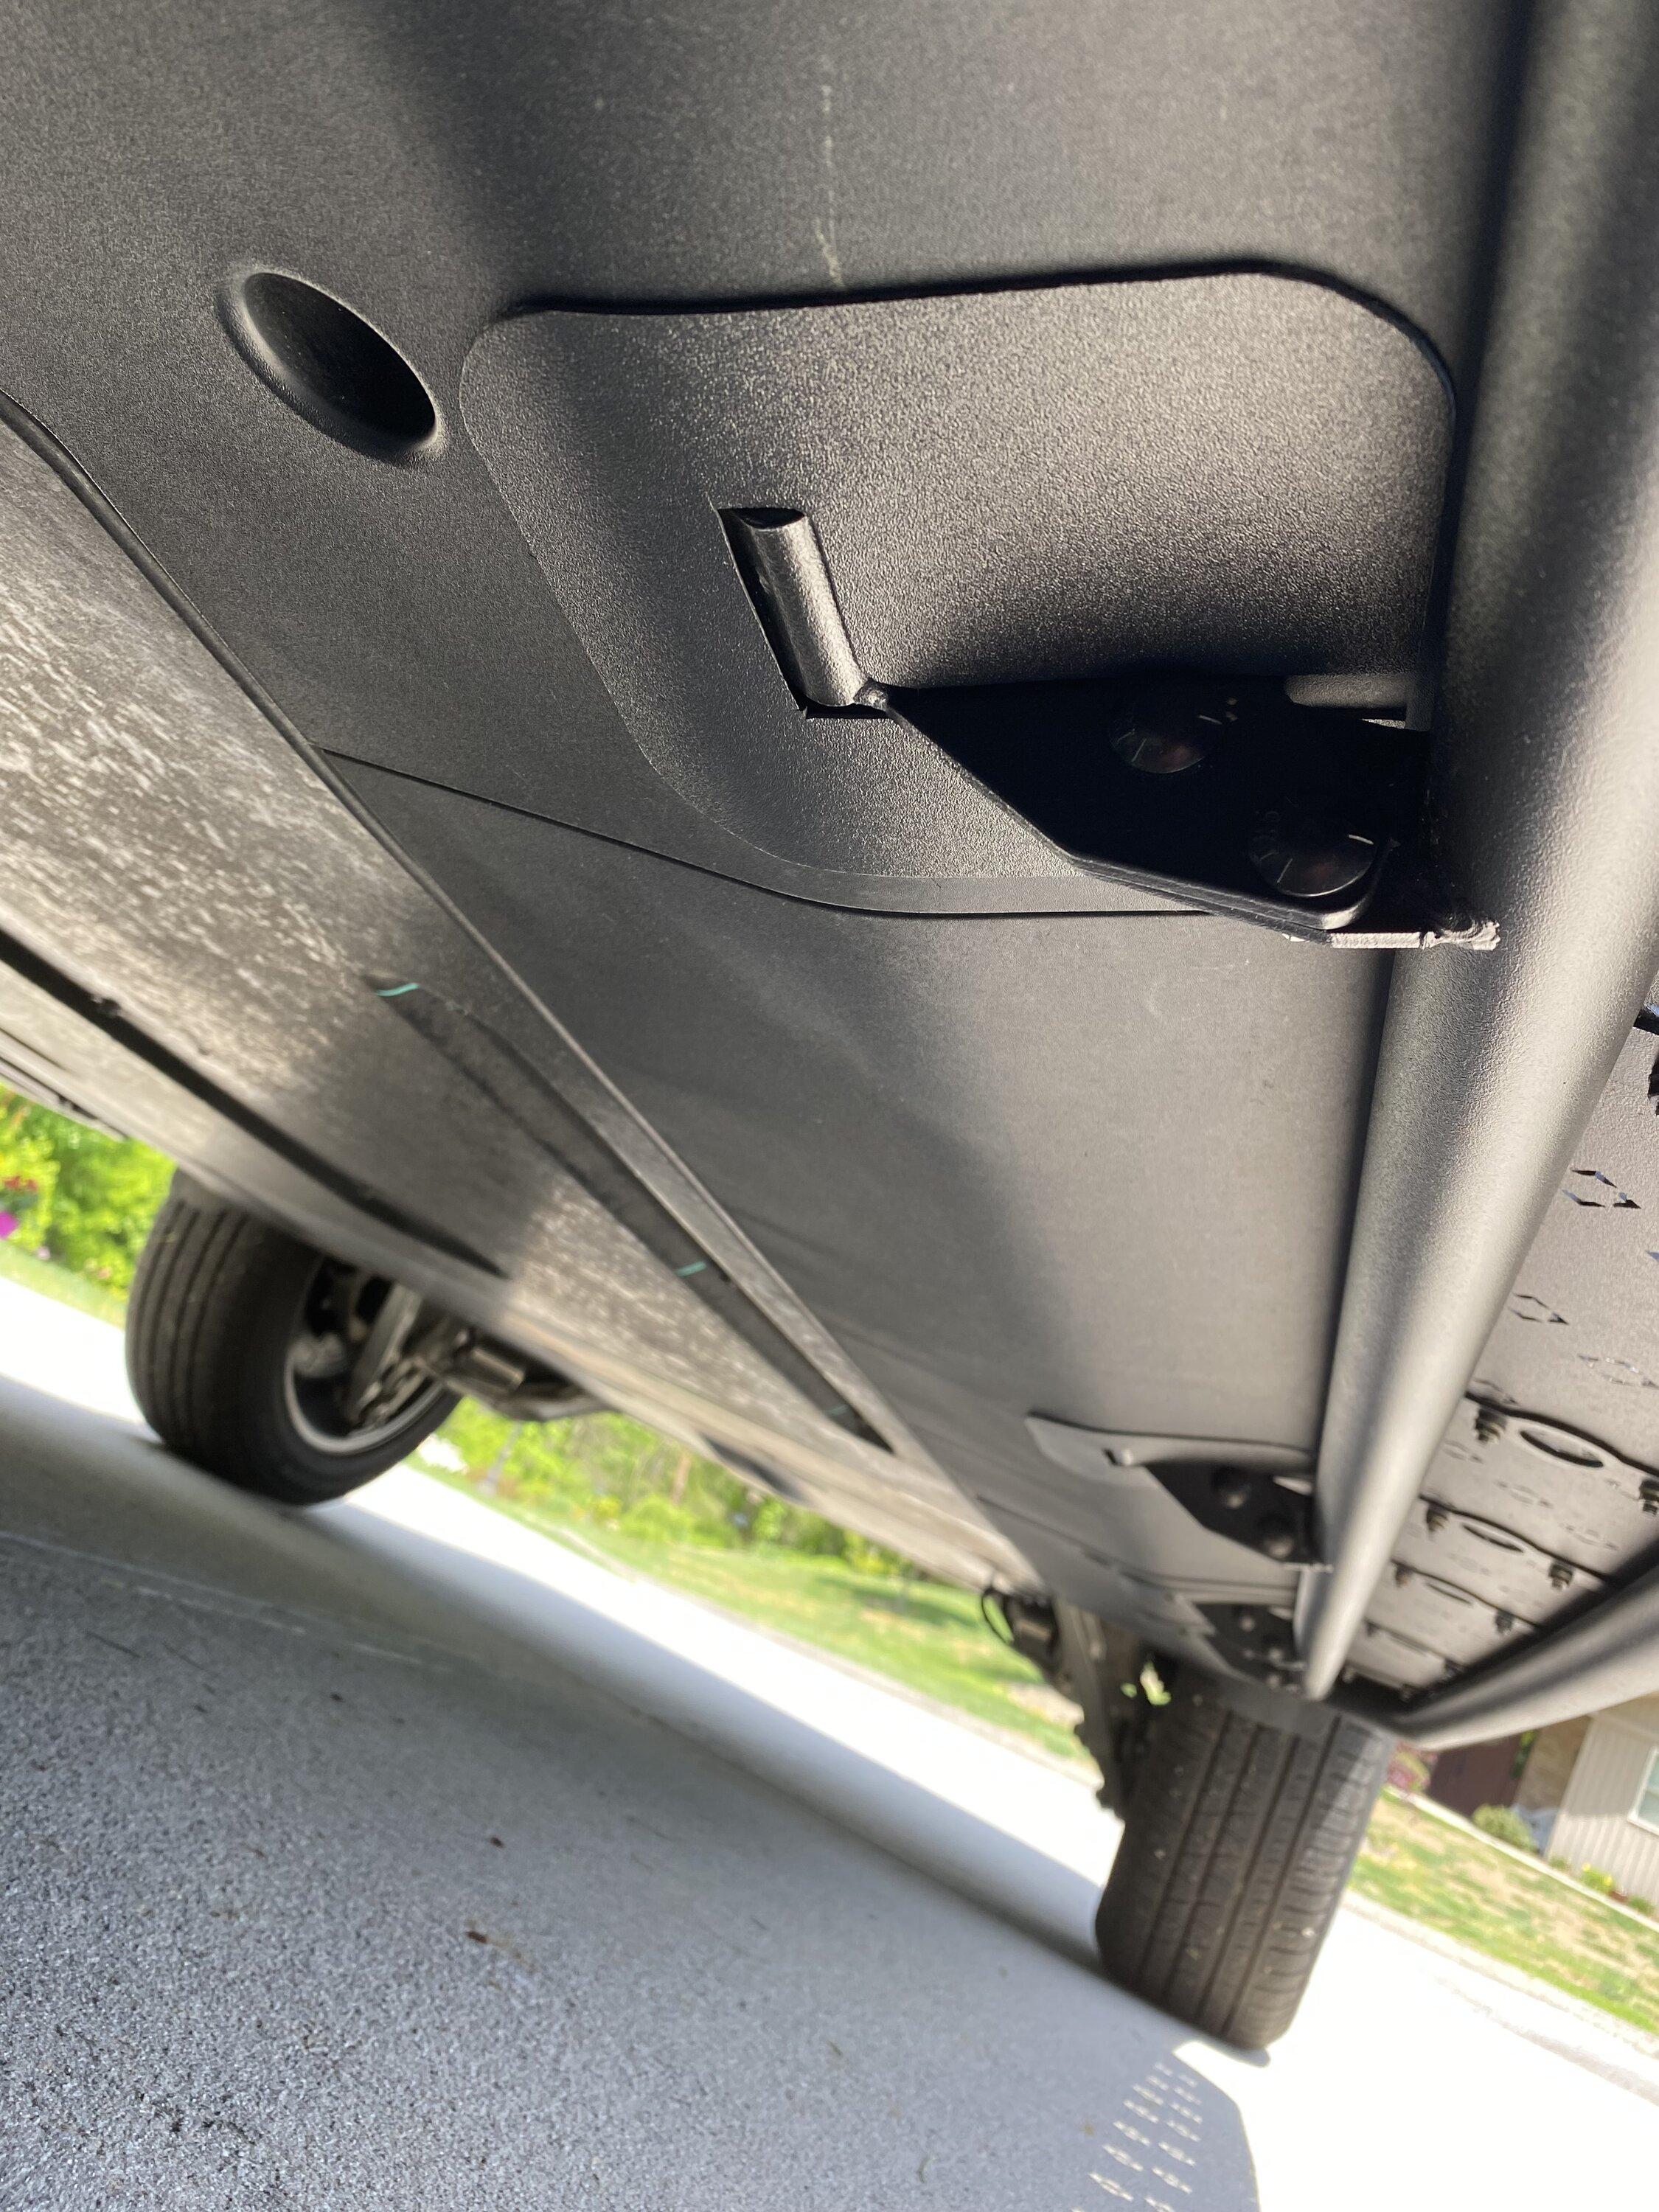
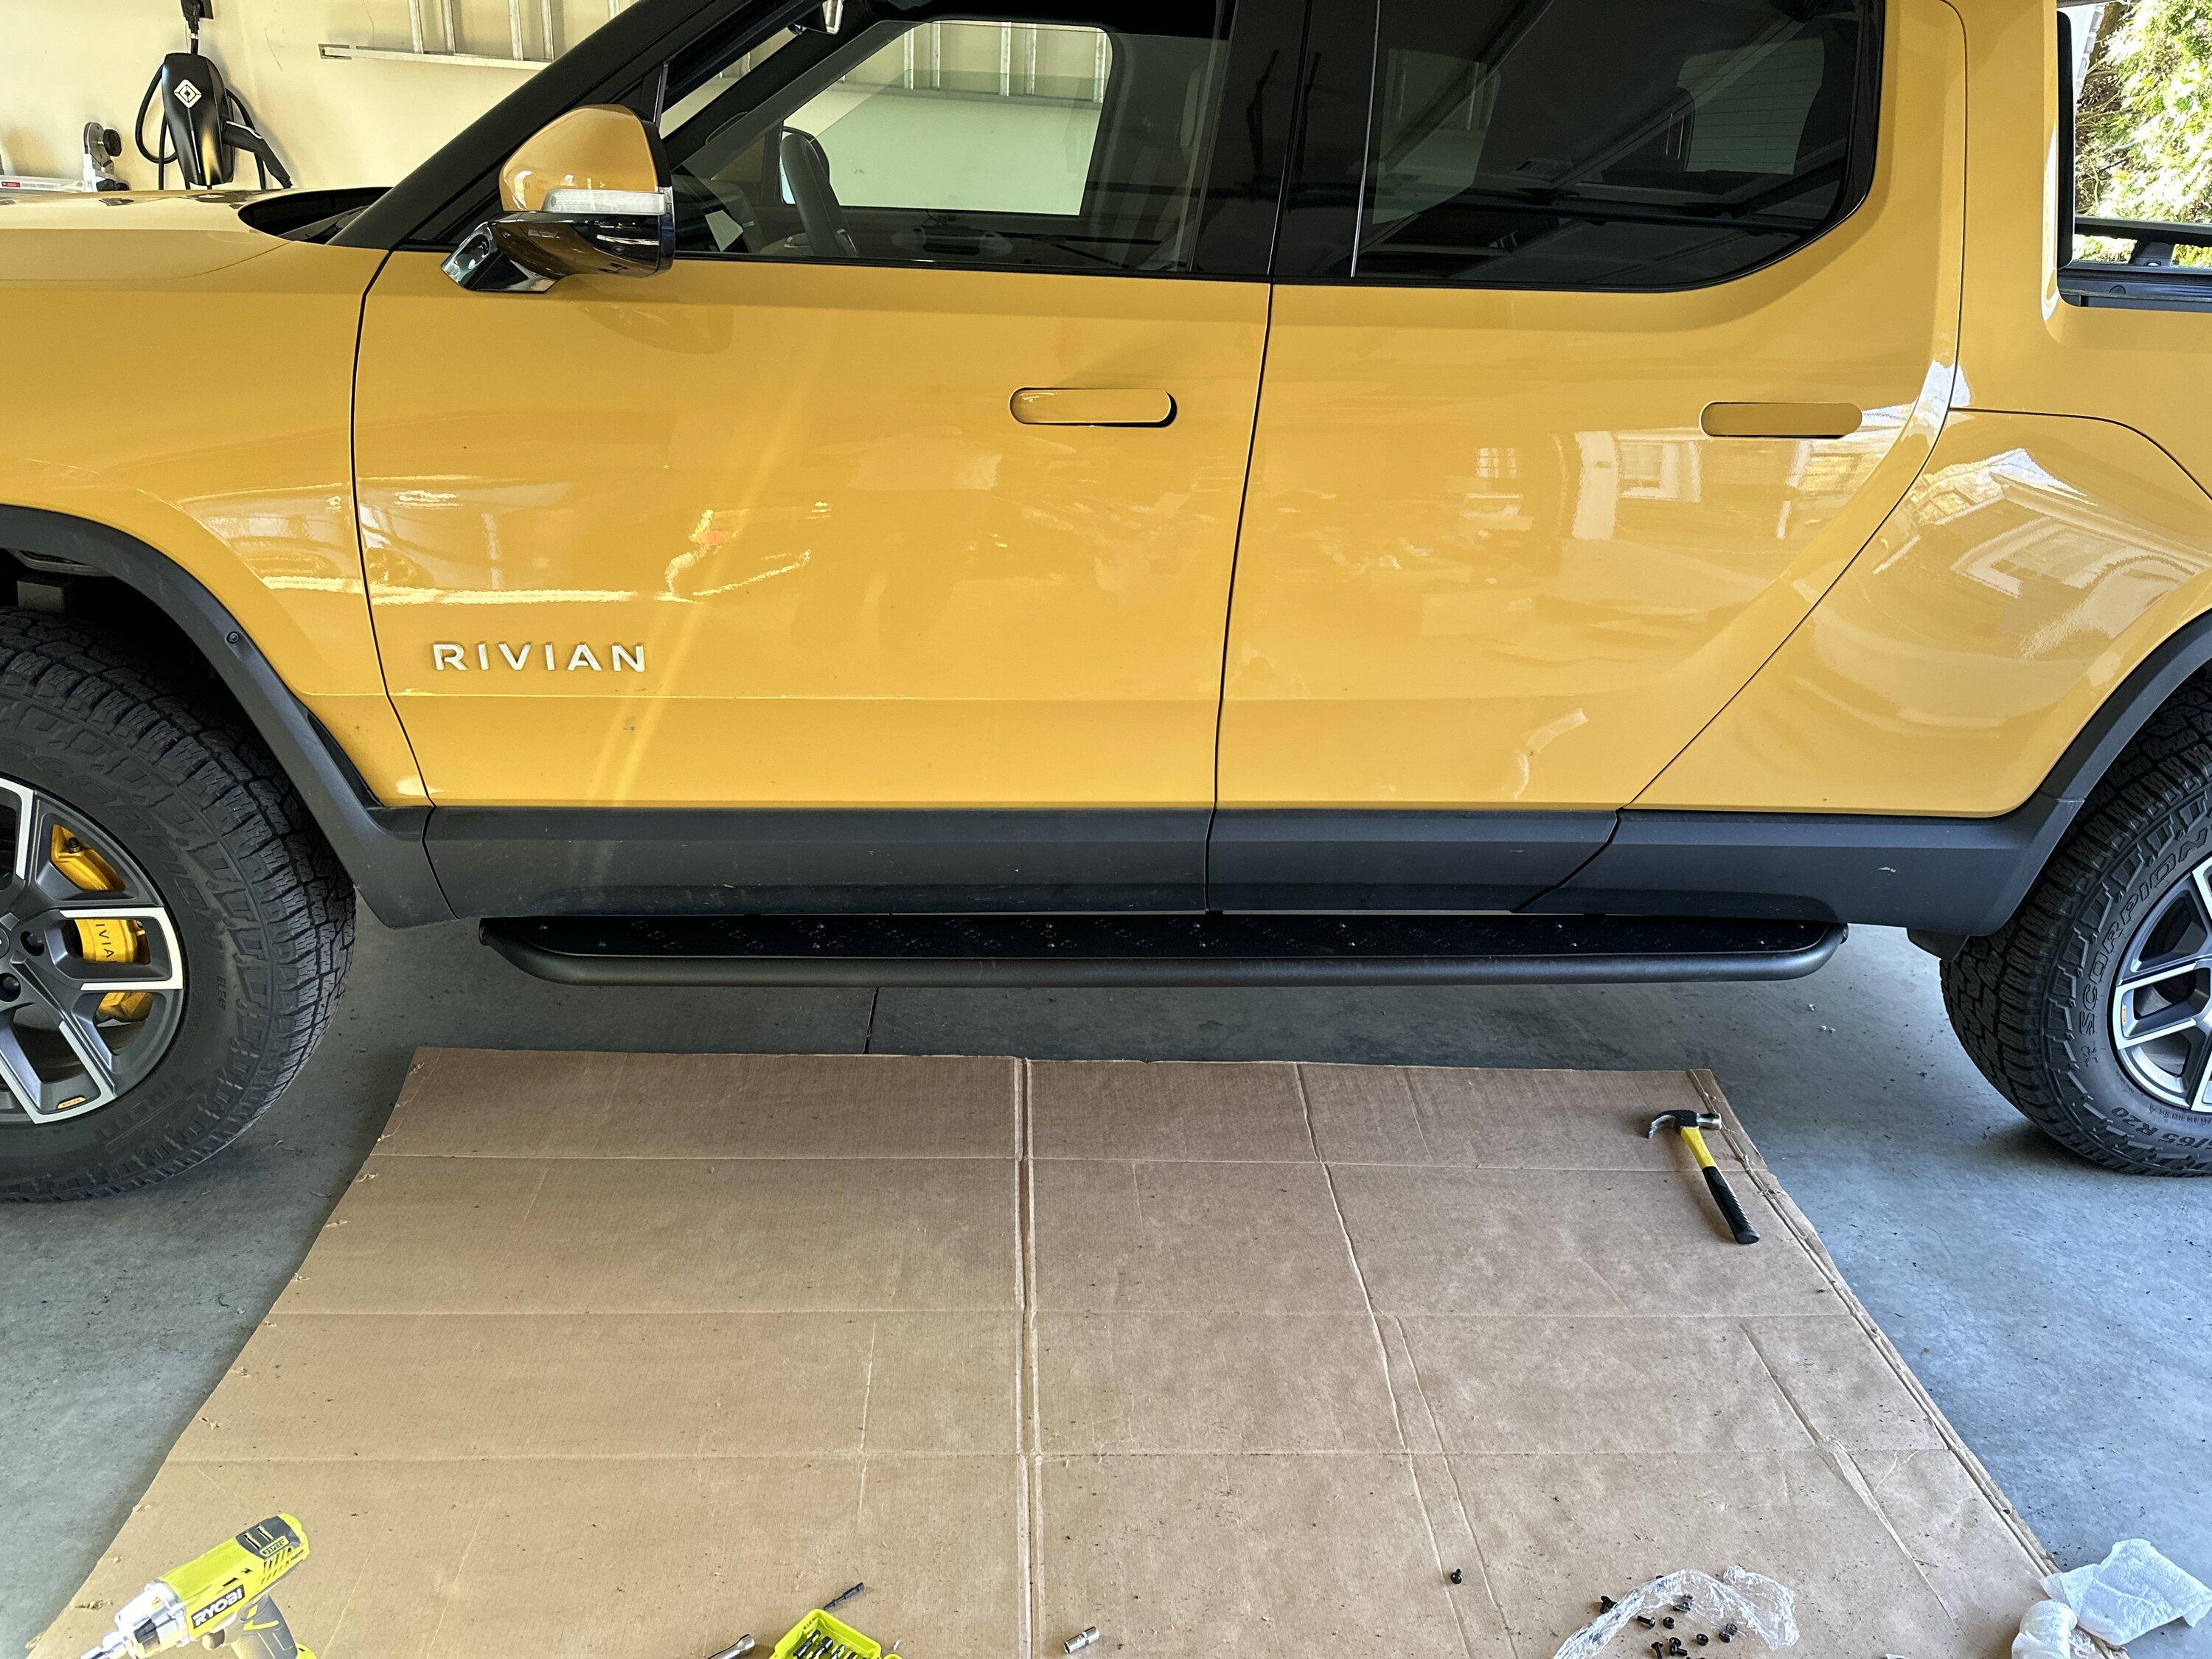
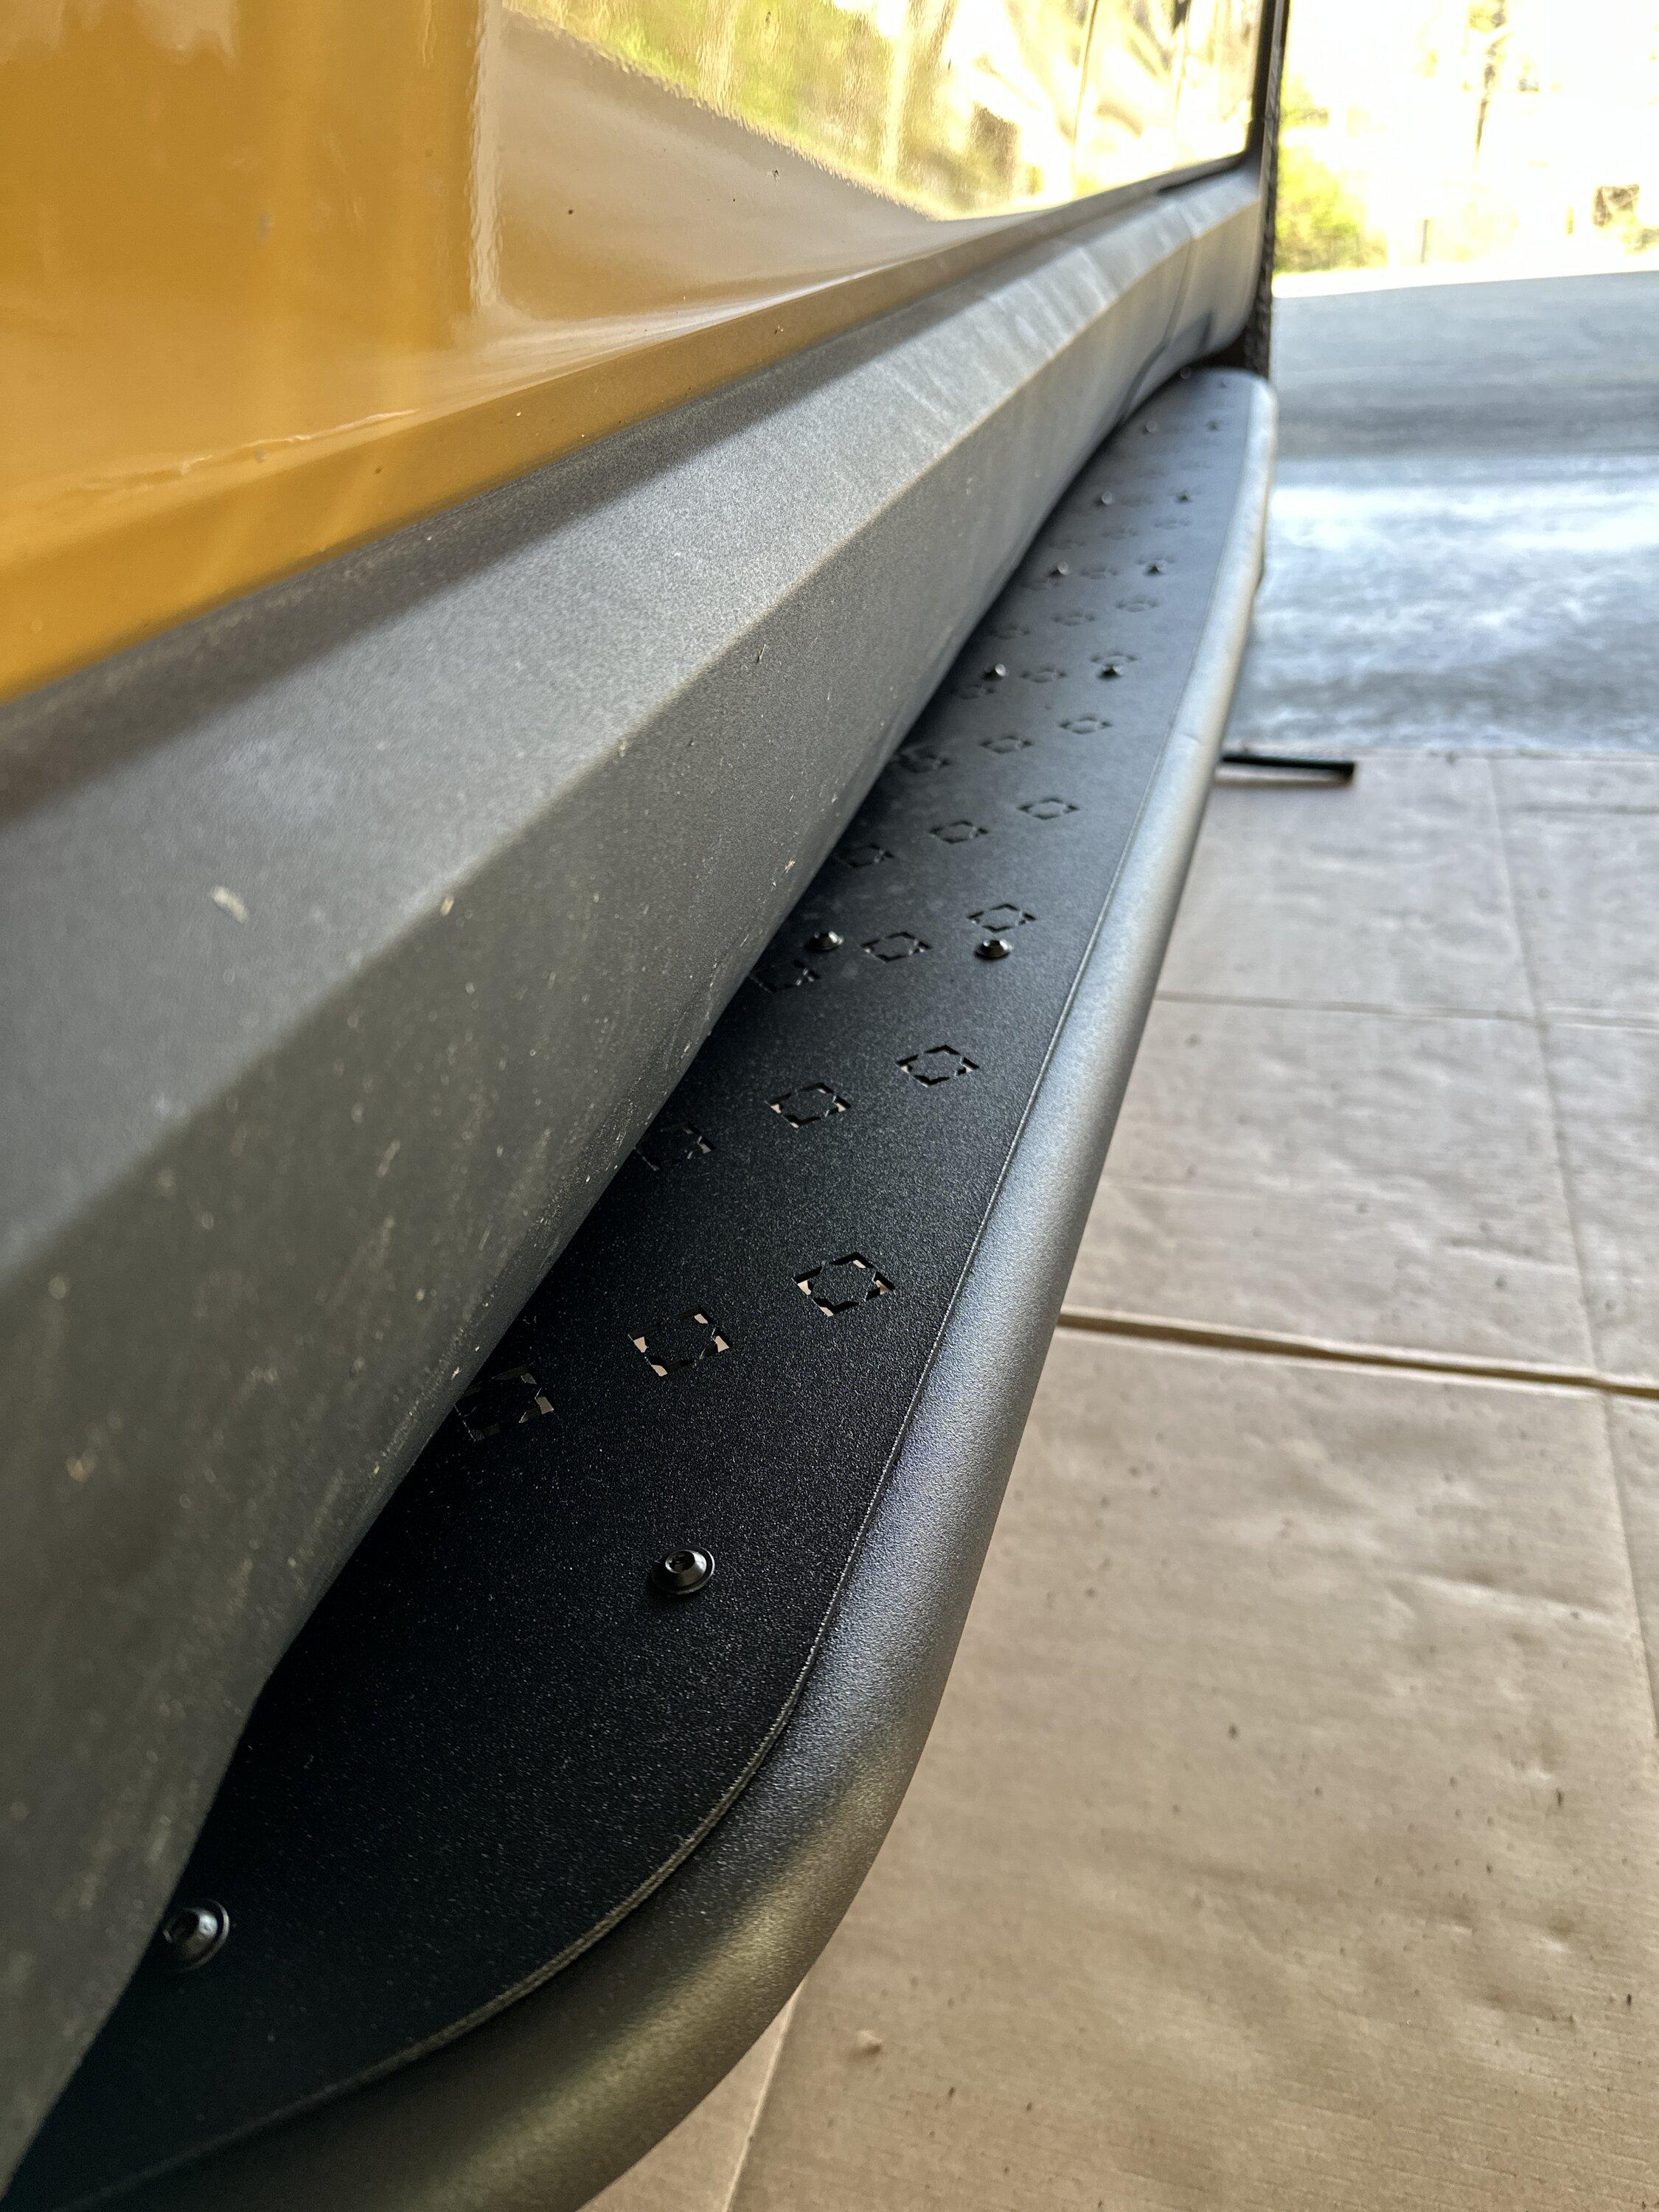
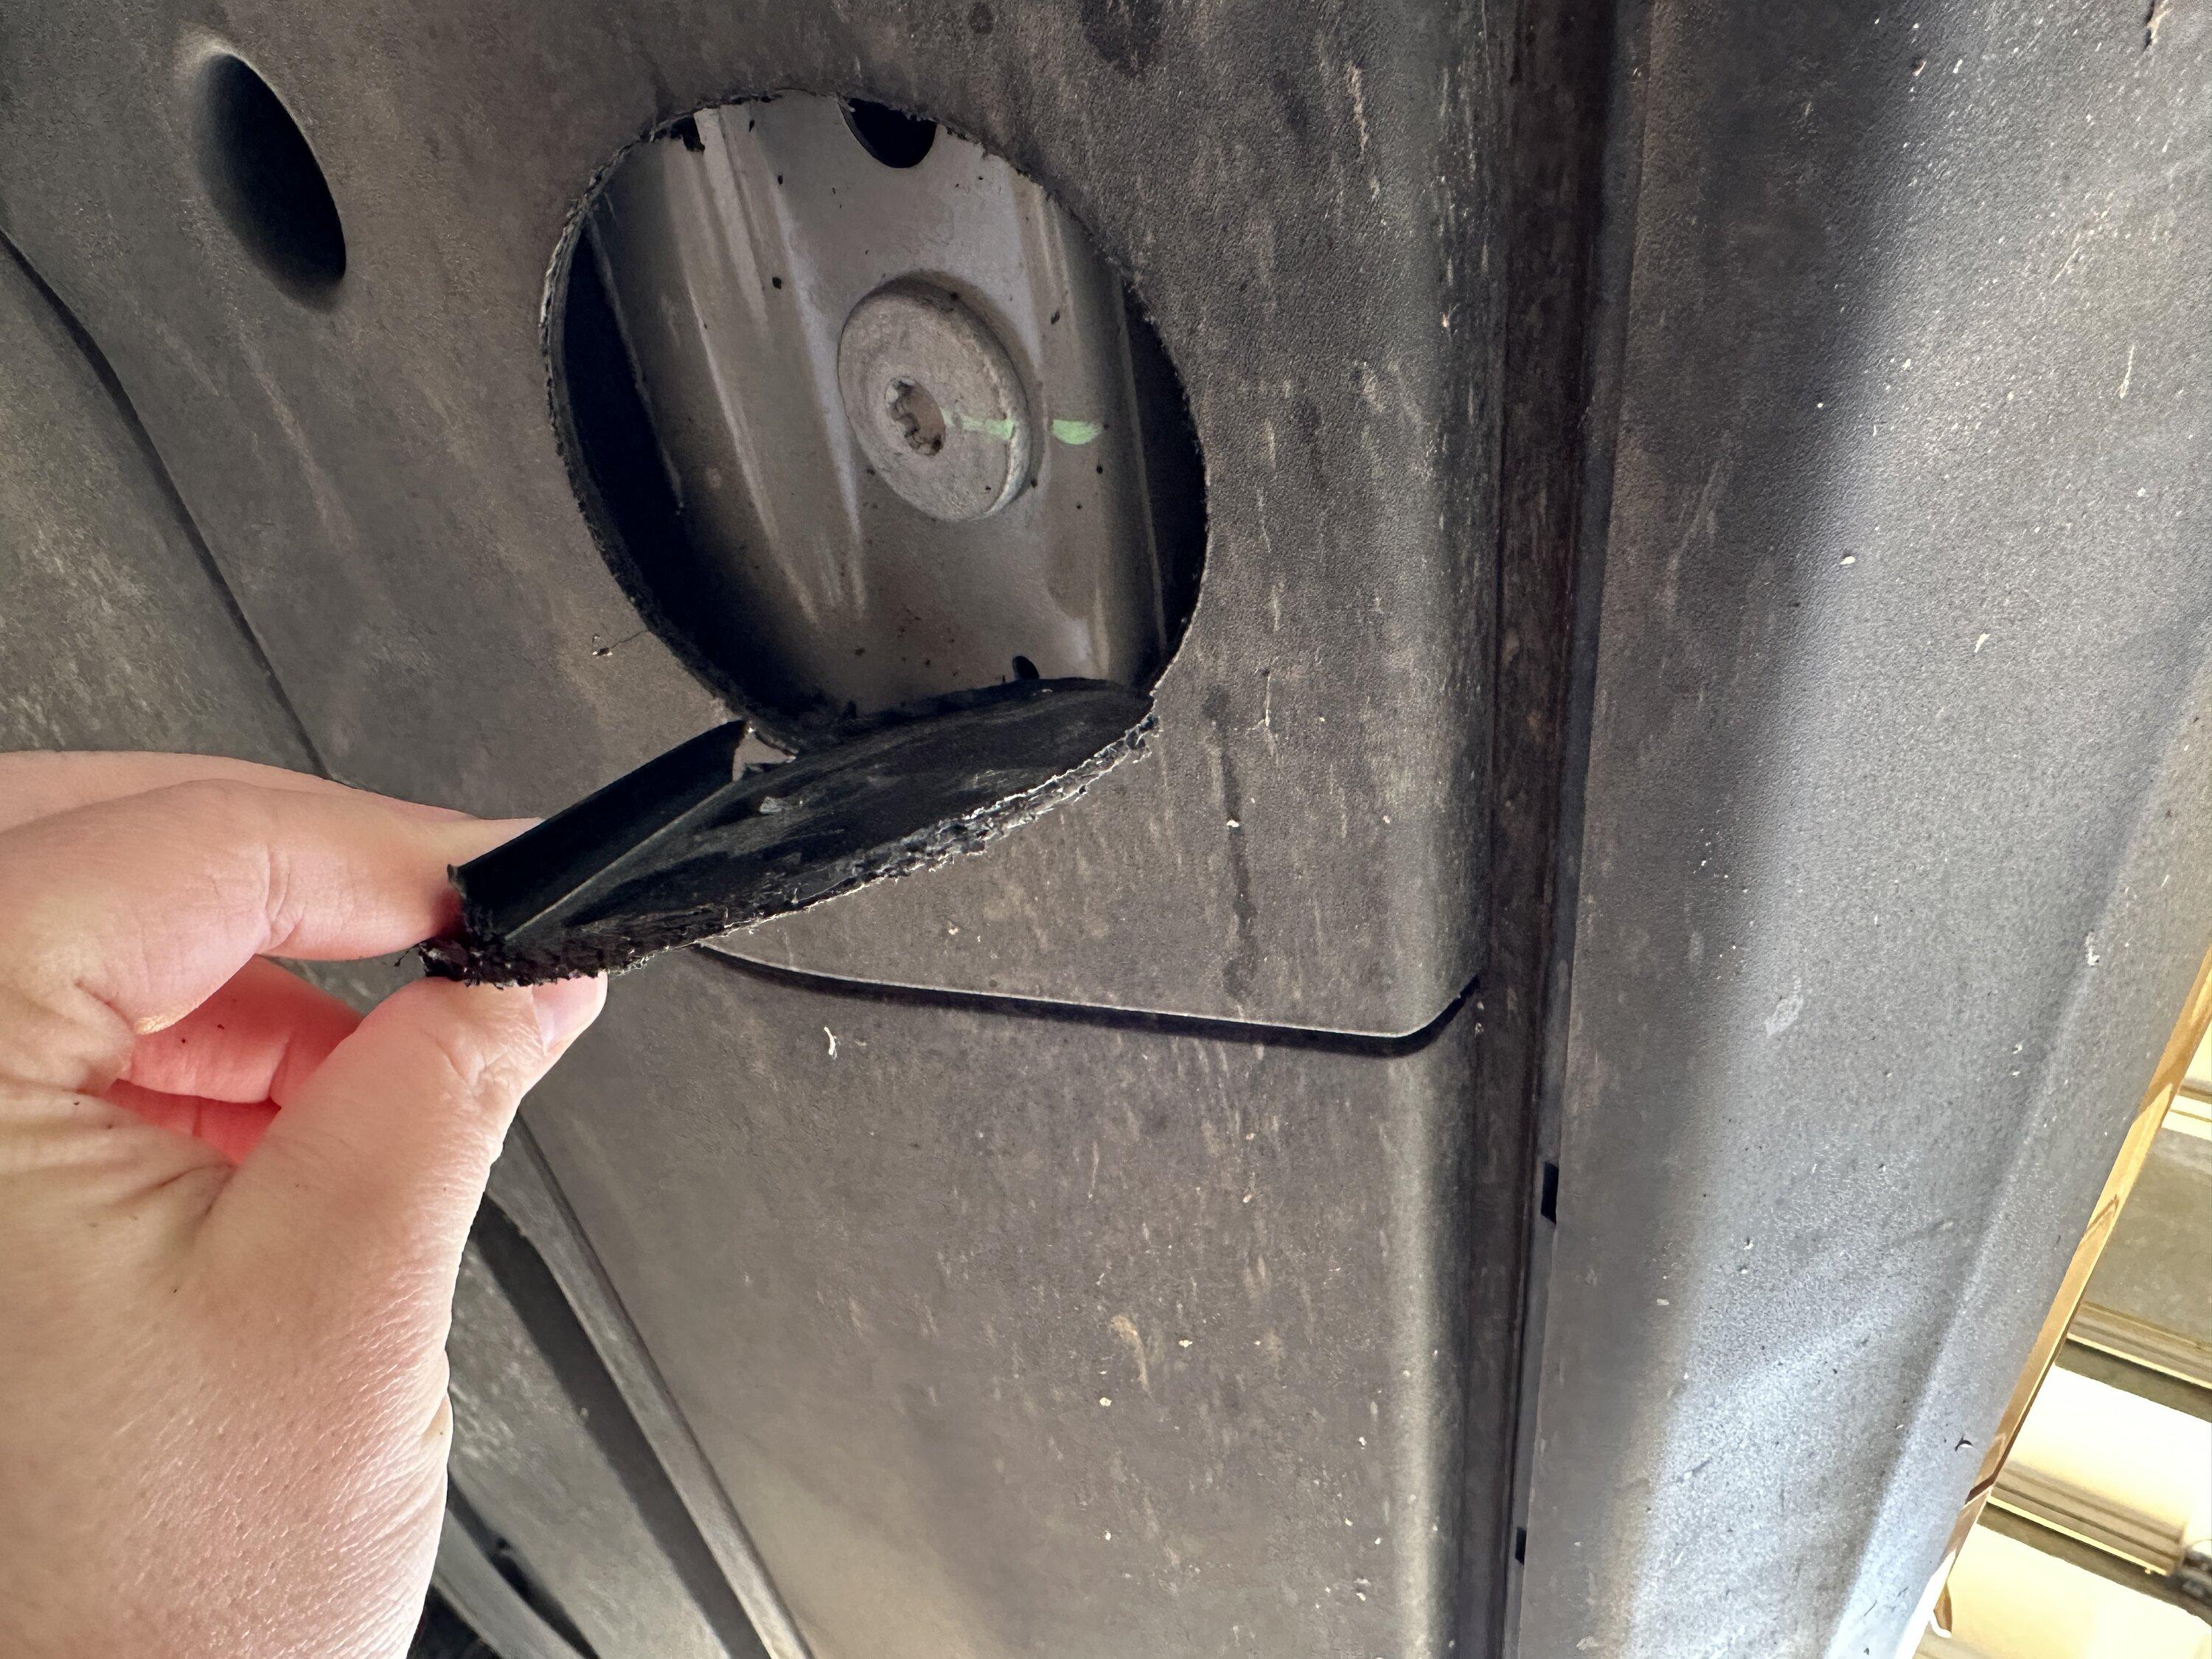
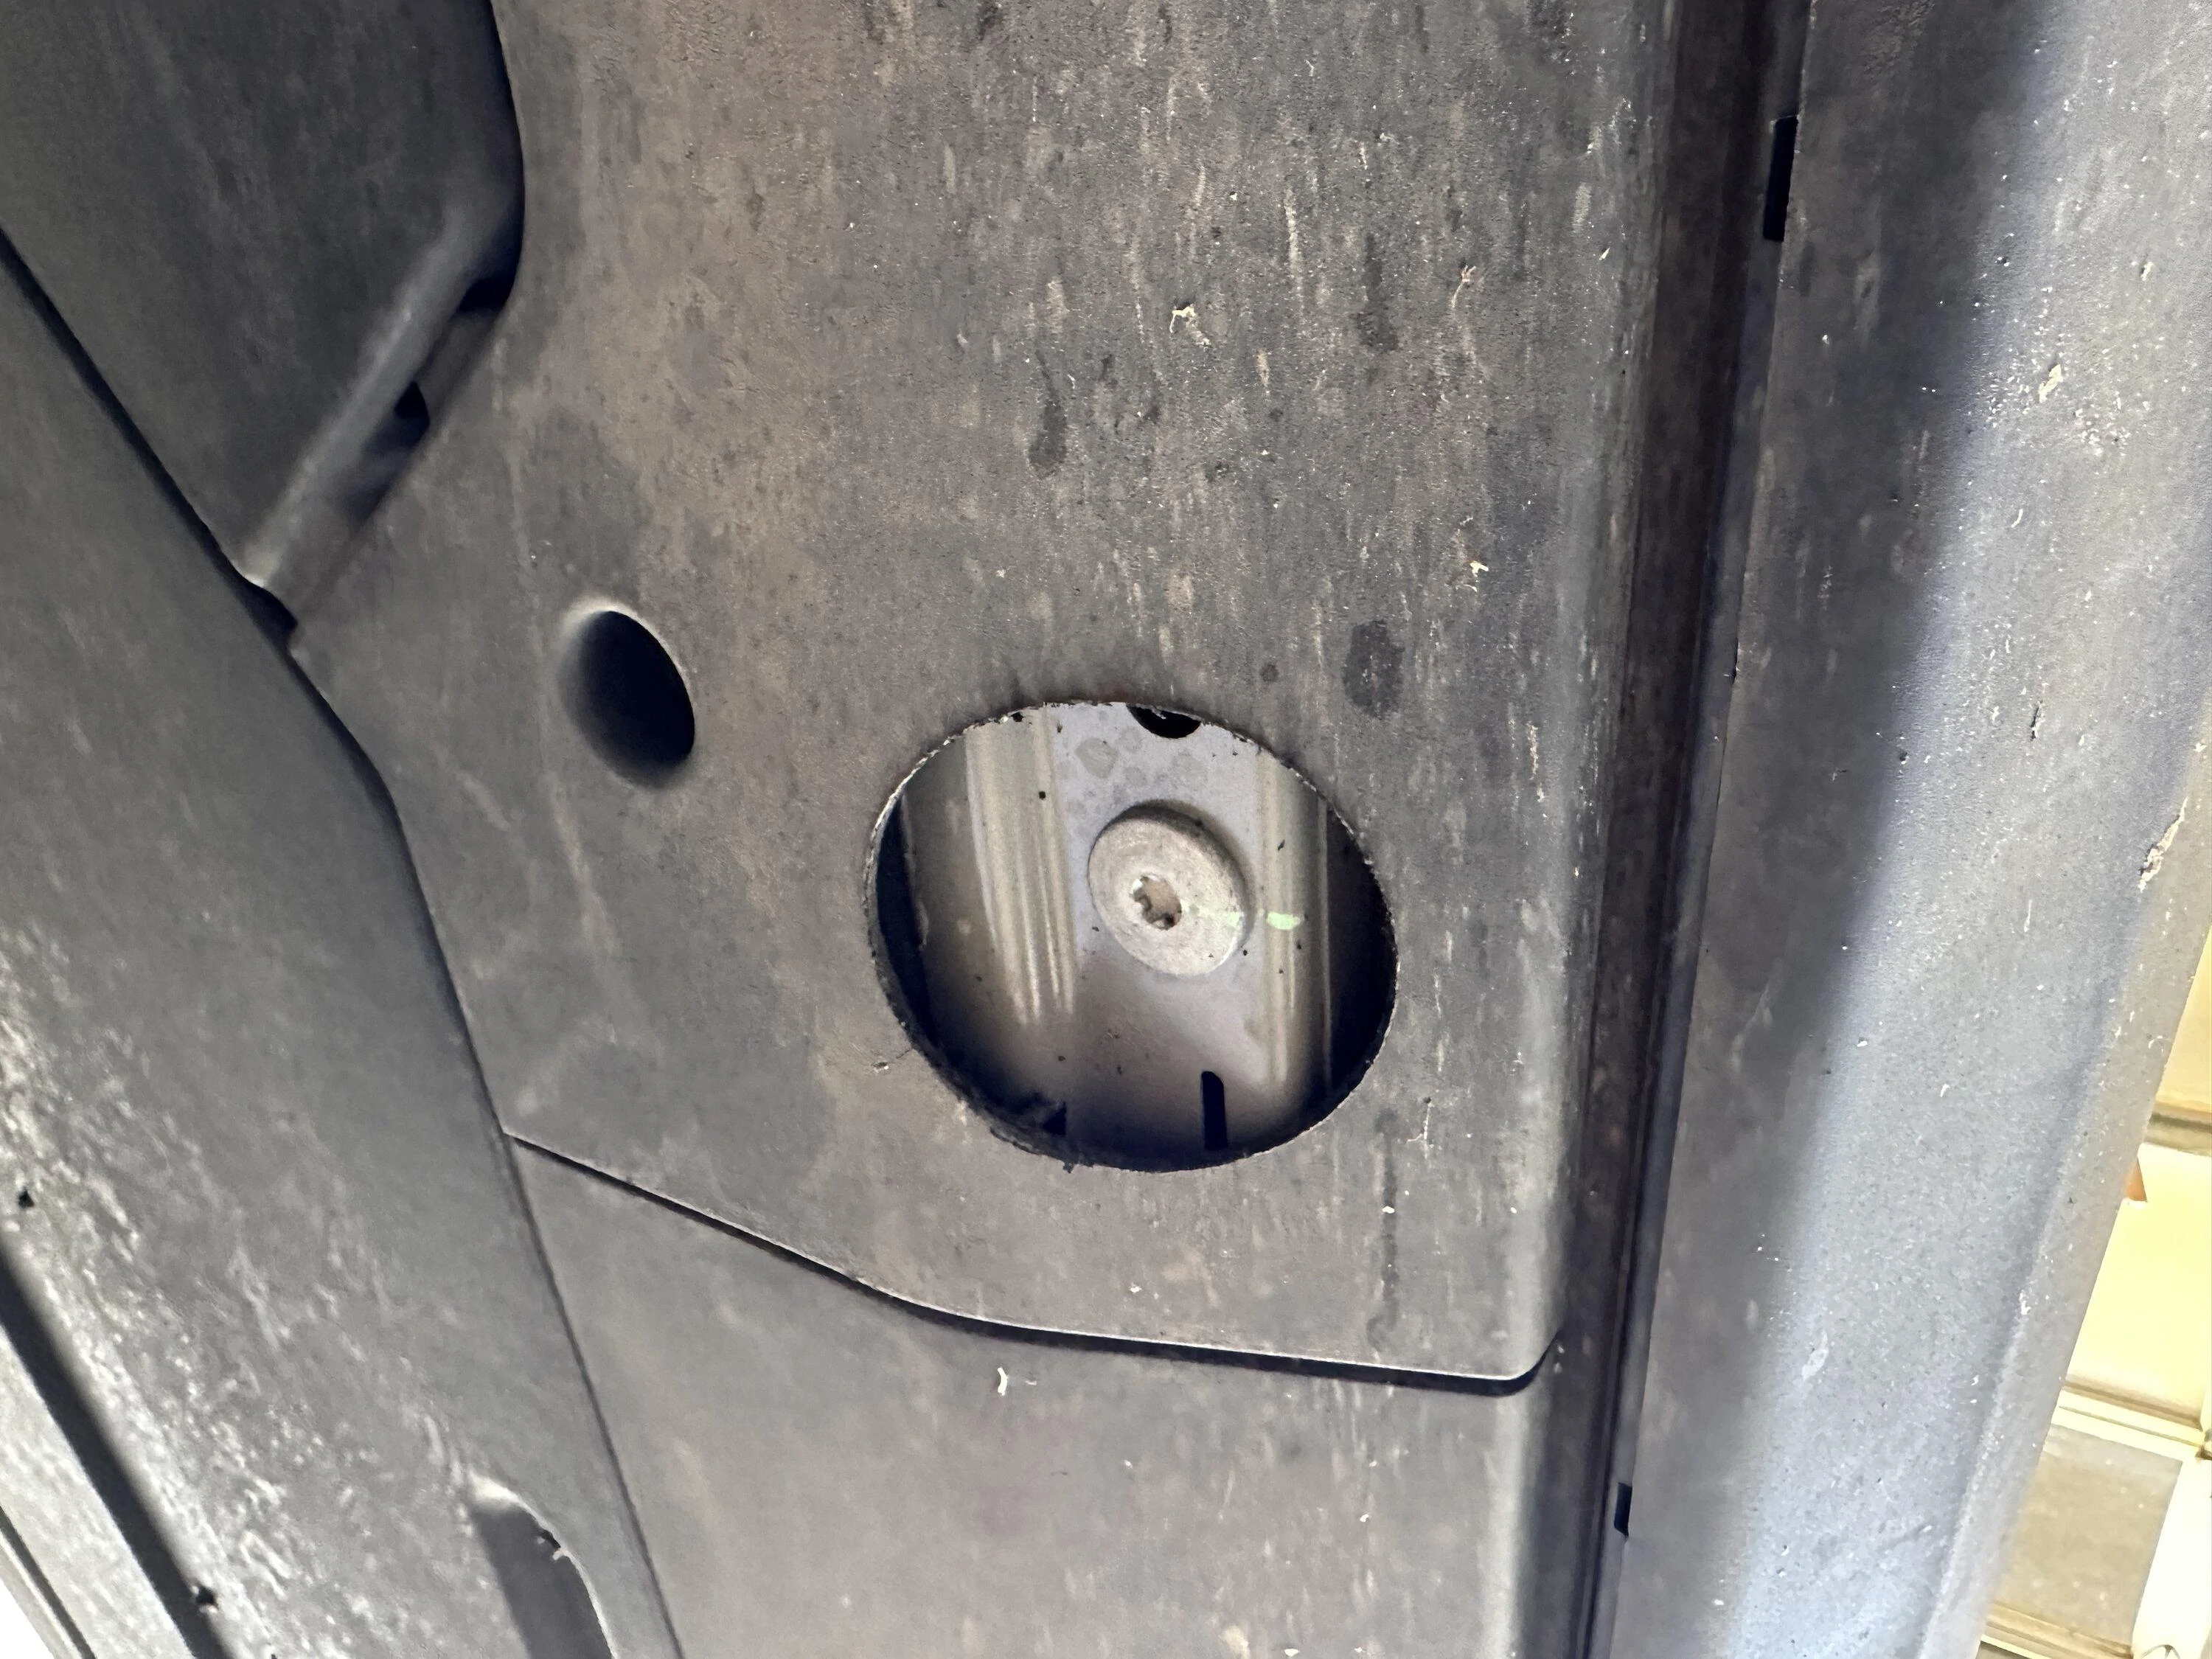
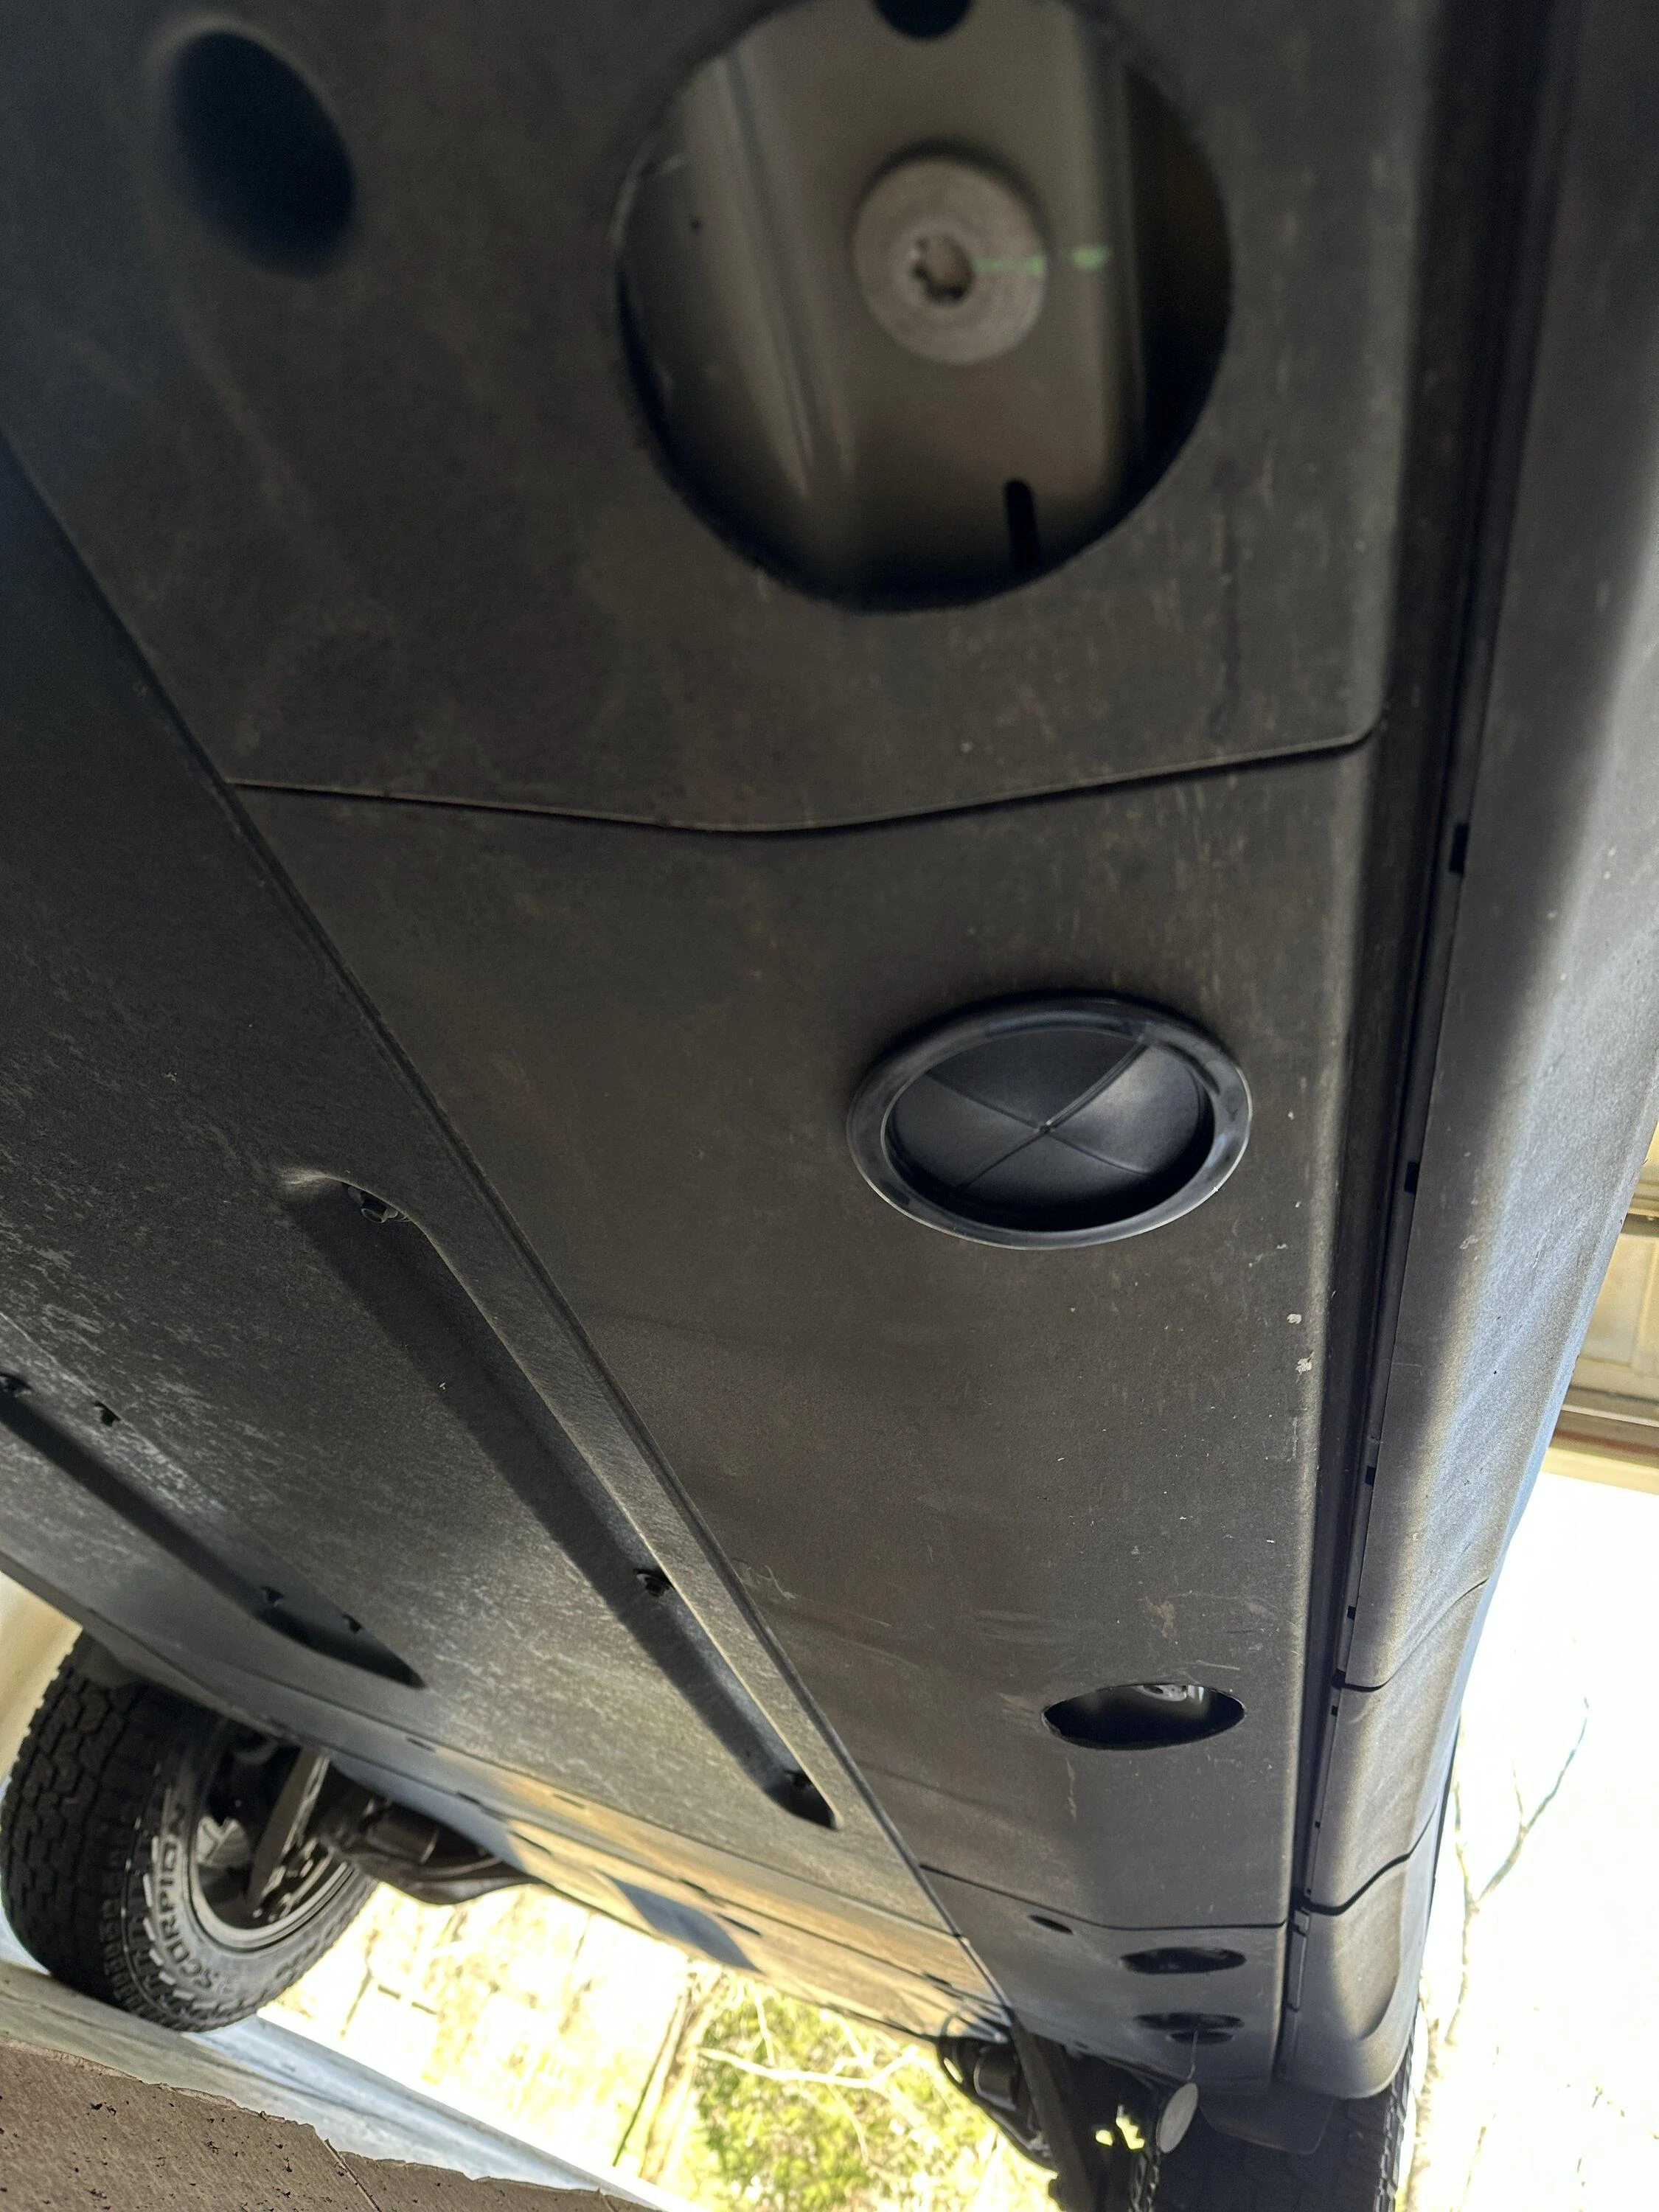
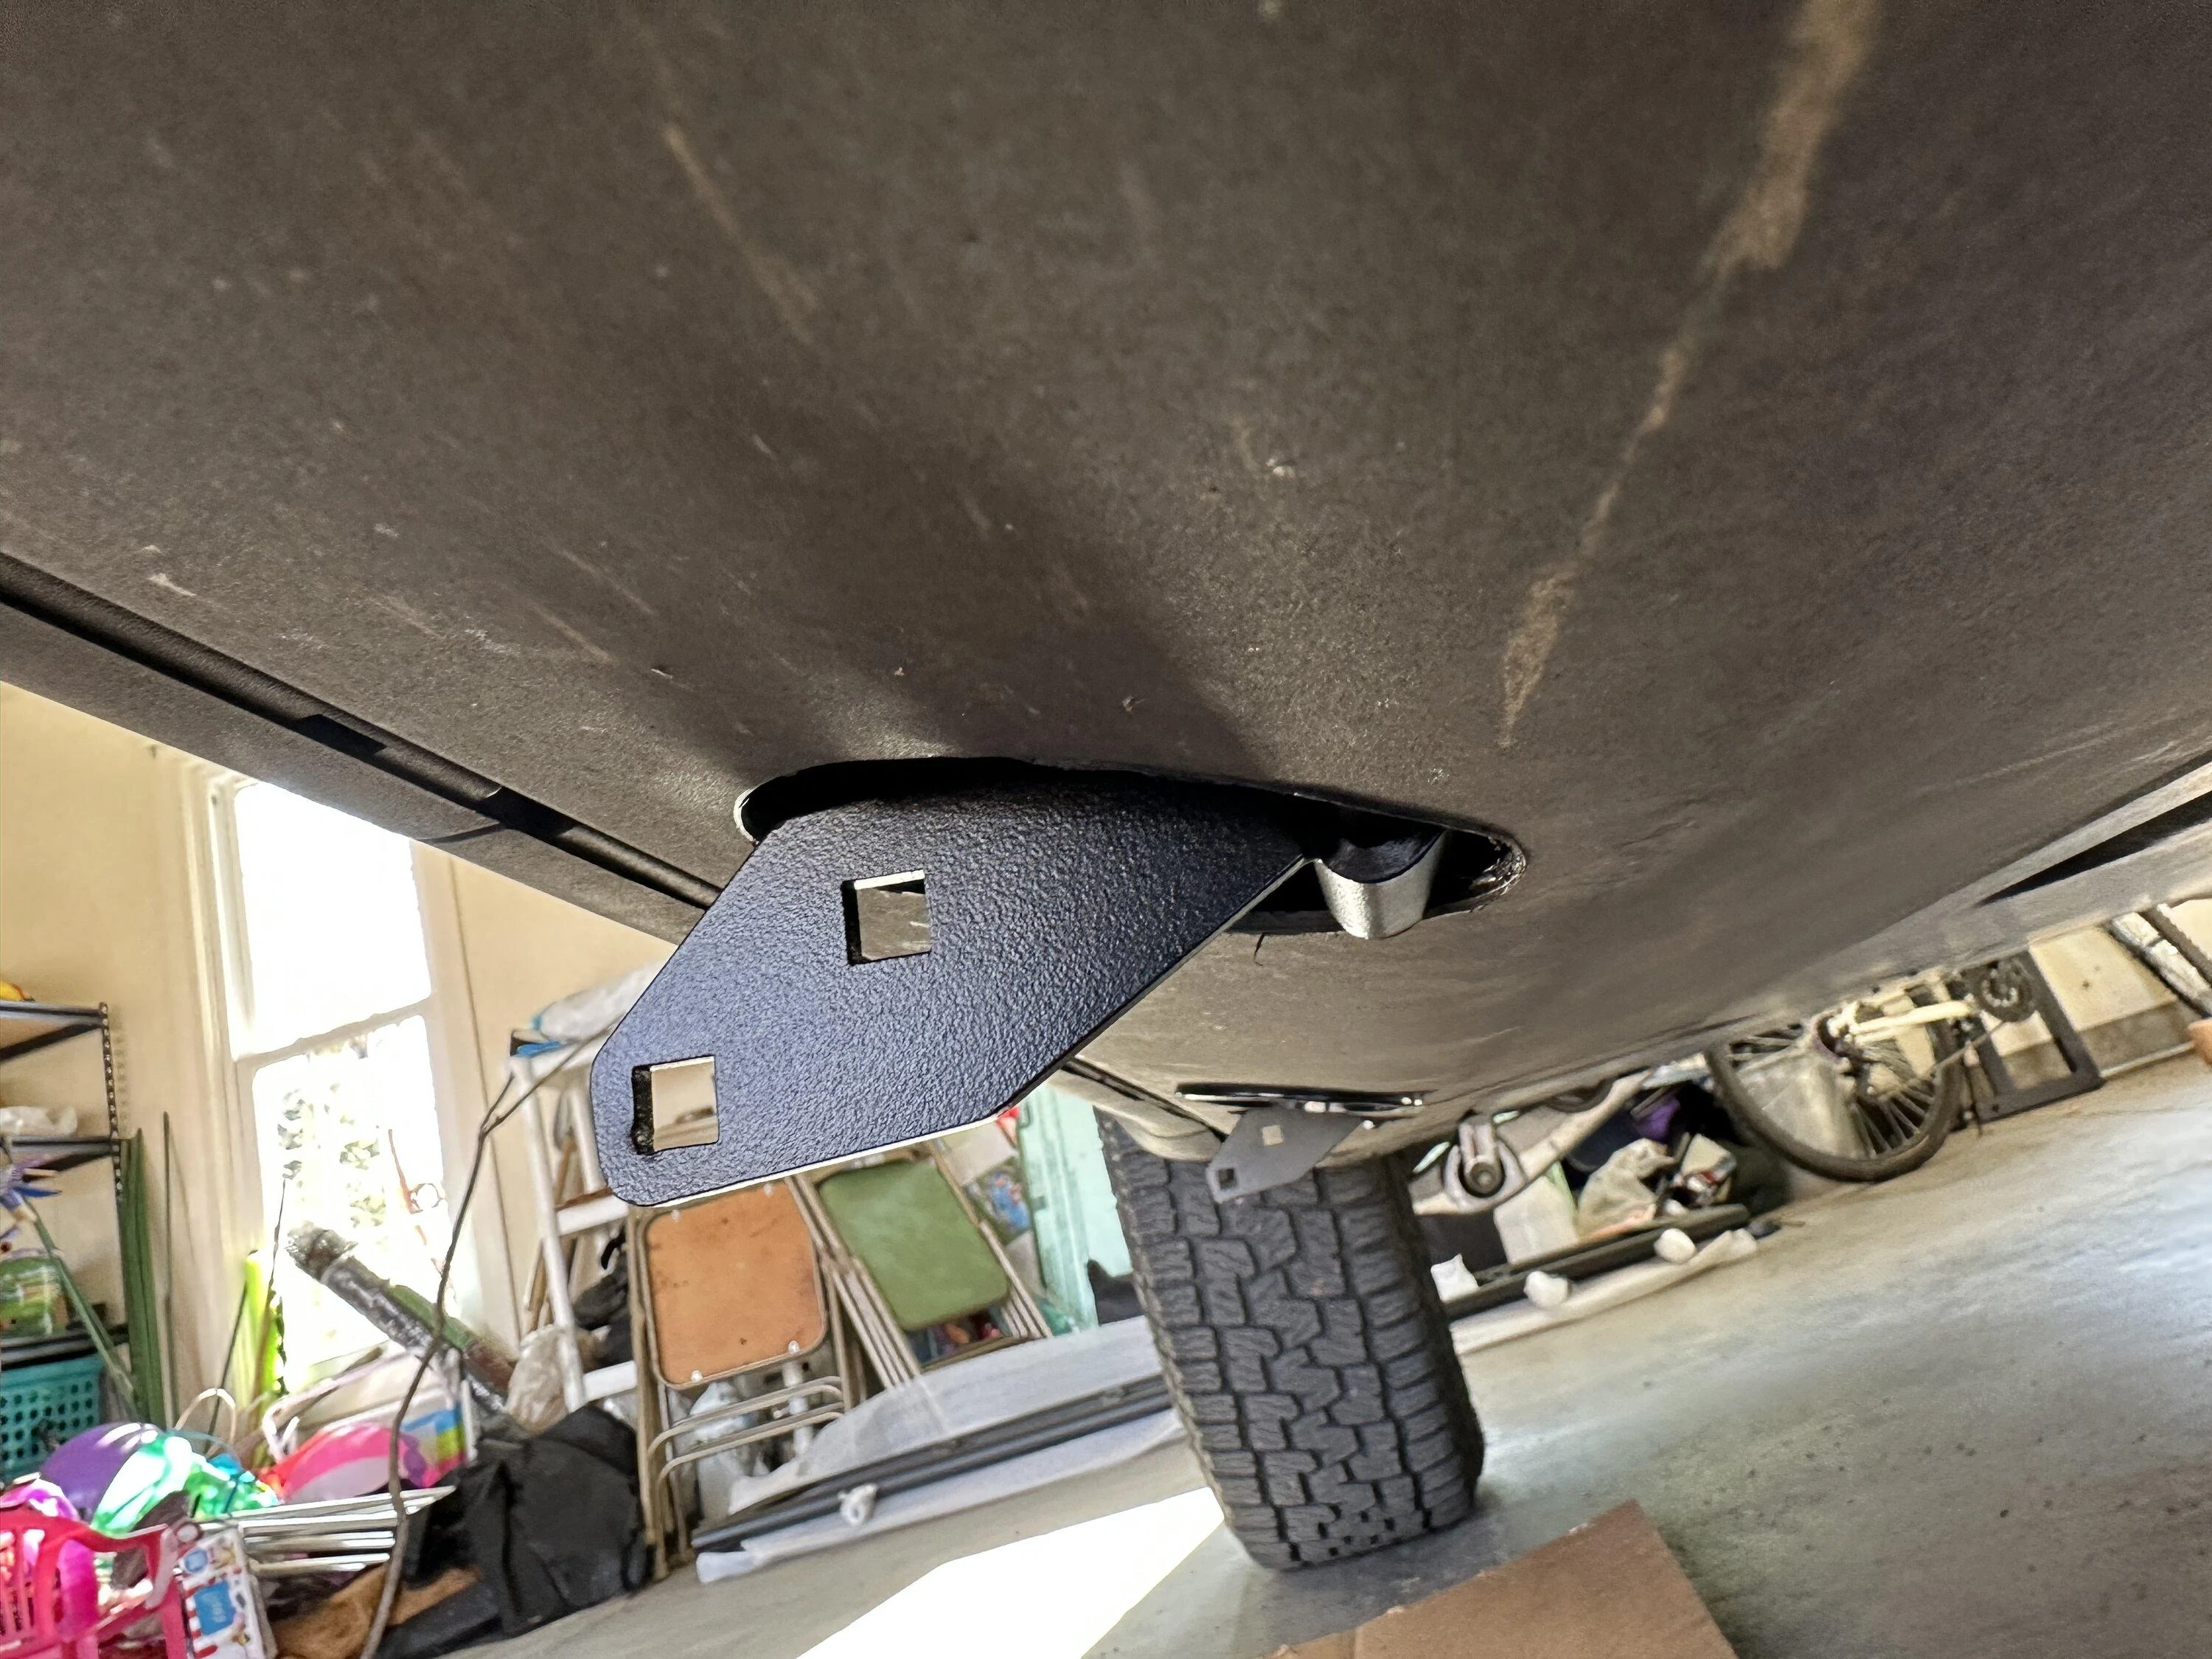
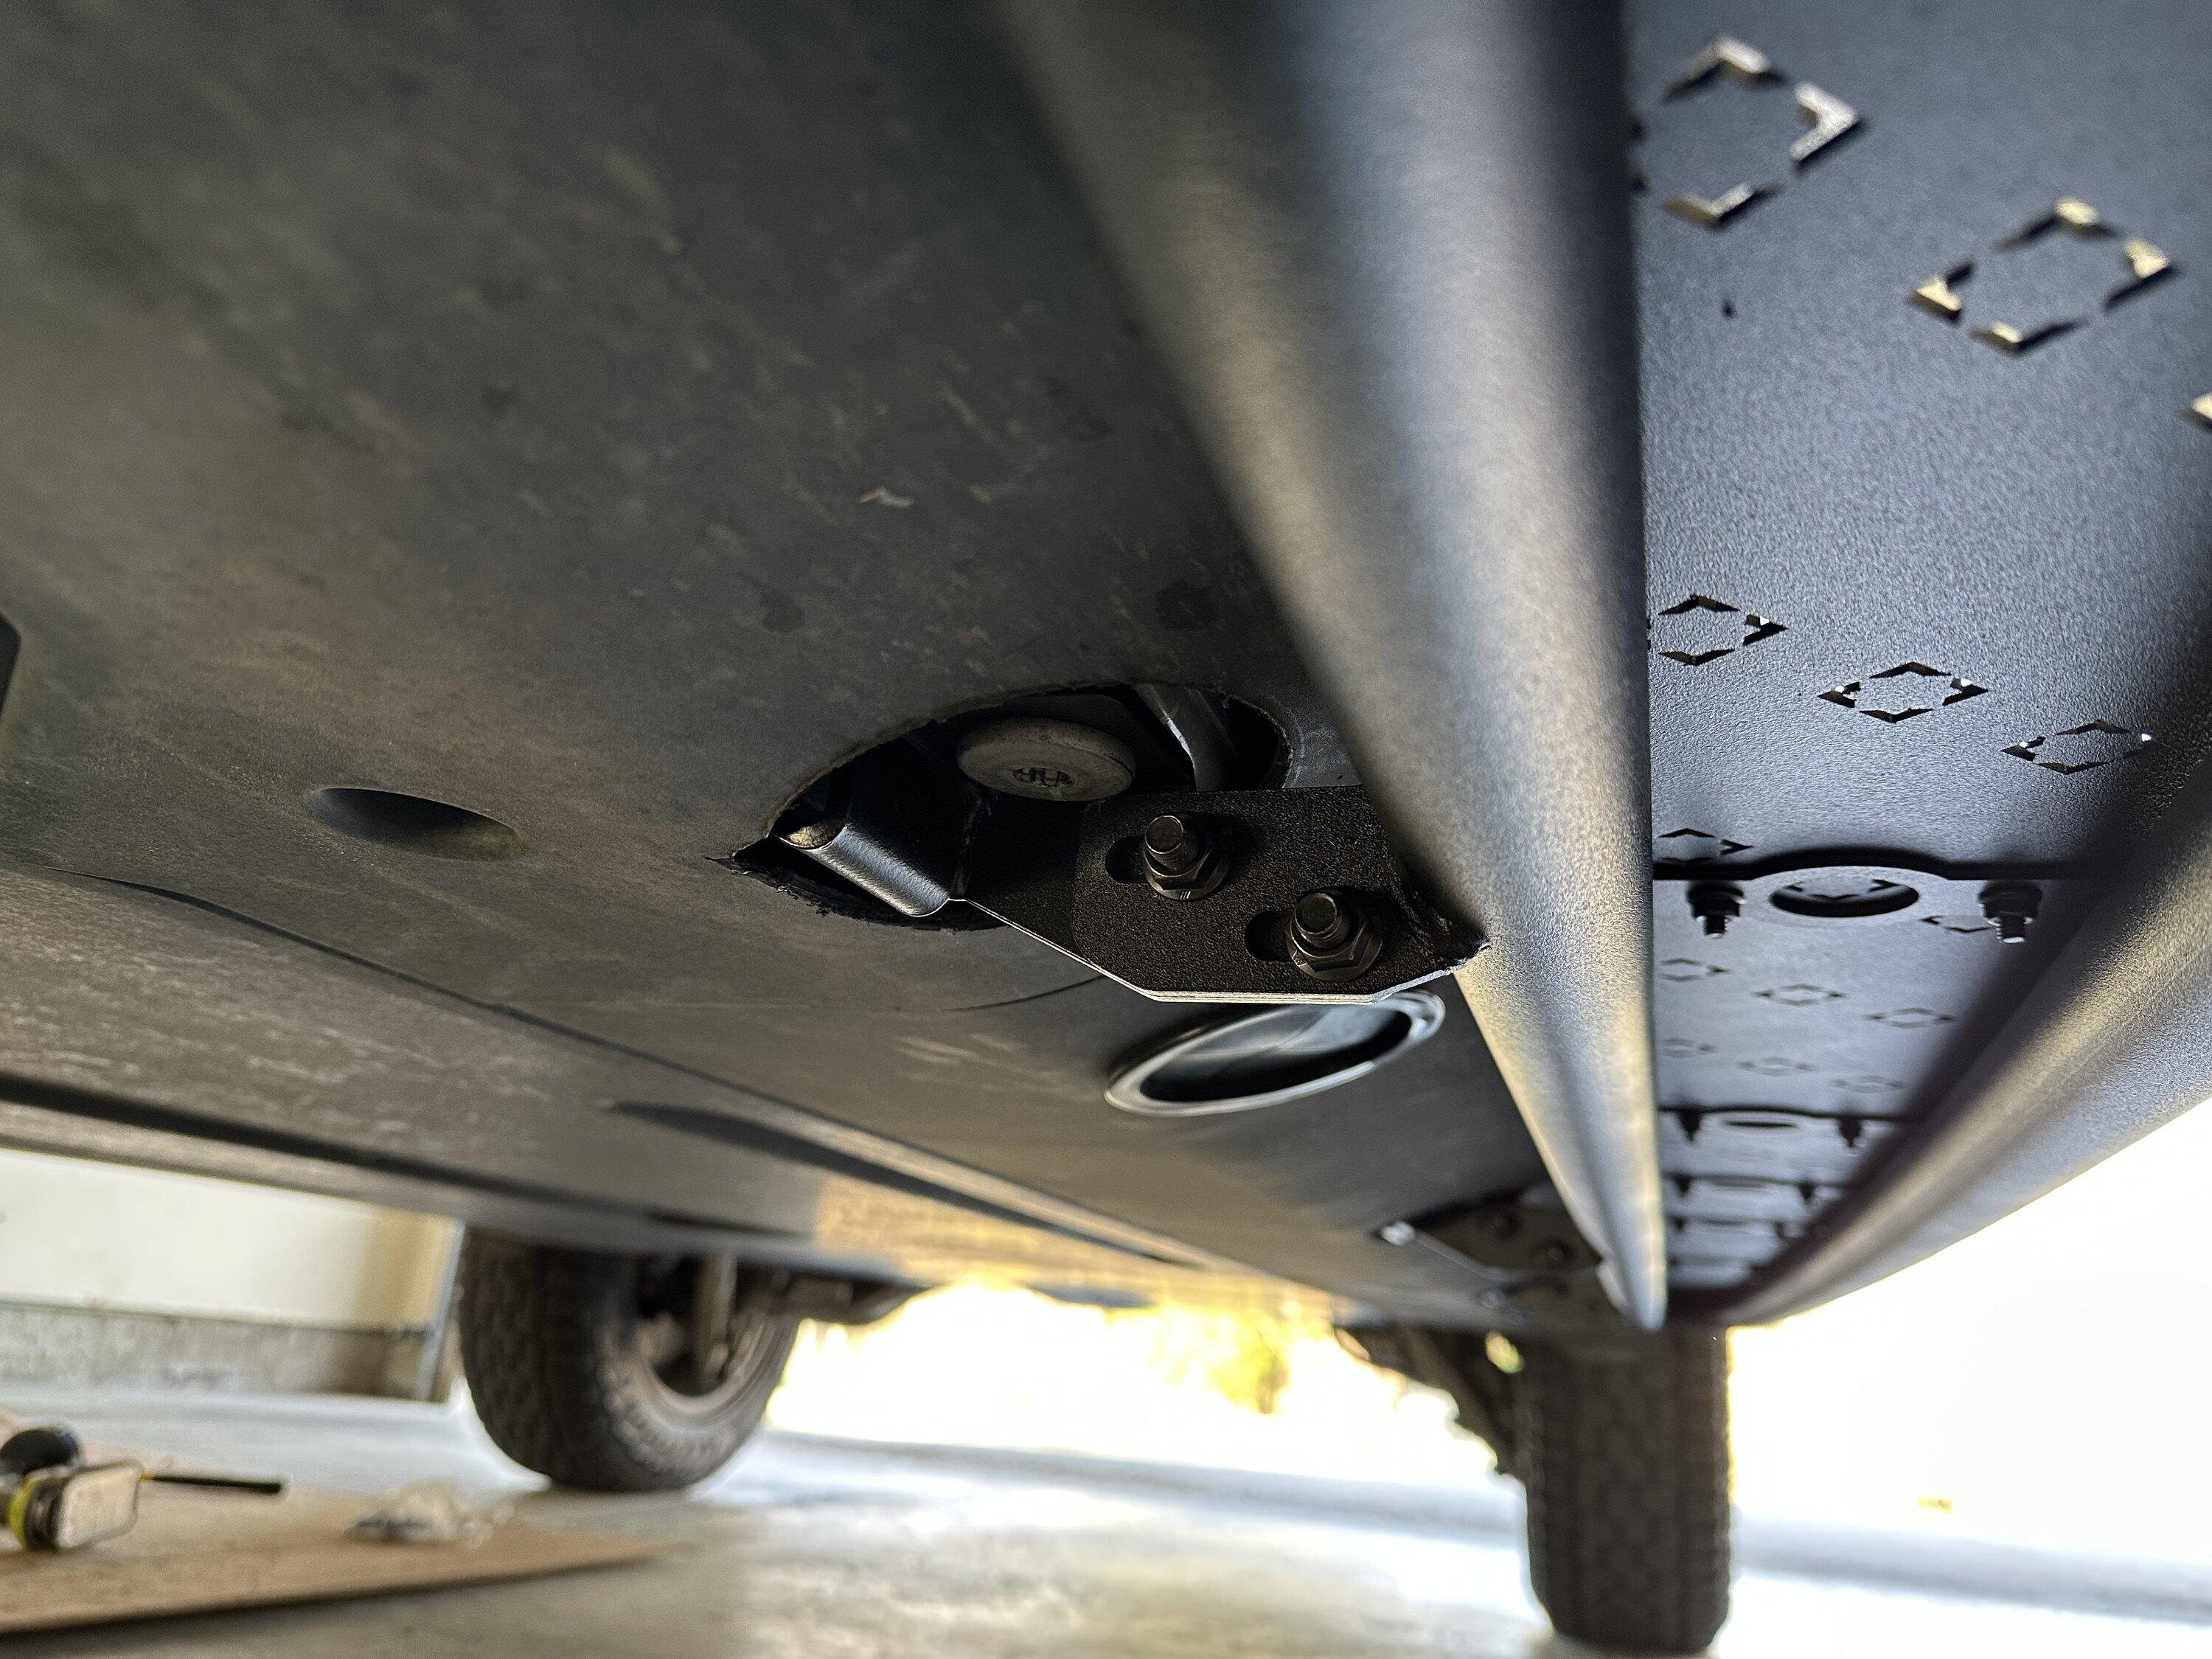
Now this is a thing a beauty! DESIGNED and MADE IN THE USA!
Beautiful aerodynamic design top, side, and bottom - no range impact! Indestructible rock slider (try your best, it wont flinch), full width running board / step, no loss in ground clearance, full replacement of plastic panels with steel armor plate (bolt-on / easily removed), removeable step plates, no branding 'logos' on the product since everyone hates those, no mods to vehicle (fully reversible), easy DIY install (actually easier that Running Boards too), retained jack puck usage (ie Rivian dealer's lifts work without removing anything), jack your Rivian up in the middle of the side - or anywhere you like on this rock slider....I promised you all,
Thanks again to all our loyal customers! #RivianNation
Sponsored