jebinc
Well-Known Member
- First Name
- John
- Joined
- Oct 5, 2022
- Threads
- 49
- Messages
- 2,310
- Reaction score
- 2,134
- Location
- Seattle, WA
- Vehicles
- 2021+ Tesla MS Plaid, R1T Adventure
- Occupation
- Retired
- Thread starter
- #1
tl;dr - They are STURDY and well-constructed! I took a “non-plug” easier and much less time-consuming approach to sealing the 4” holes! Any and all questions are welcome!
Please vote in the poll, after reviewing!
__________
Hello my fellow, “Riviarians”! While it’s been a long time coming (Ordered on 11/14/22), I’m pleased to report that @EV Sportline was right, that “it’s worth the wait”! I’ve attached photos (at the end) for the points I make in this write-up.
A “while waiting - Lesson Learned” for me is that it’s best to ask questions/make suggestions via DM/PM - or better yet, directly with EV Sportline’s Customer Service (“CS”) team. I have found communications with CS to be very responsive and transparent, especially when it comes to production and order delivery status. So, I would suggest you direct things like that to CS, vs. the various forum threads.
Here are two links to other informative threads on this. The first is my “Master Thread…” for all member Running Board (“RB”) reviews, which this review will be linked to. The second in the @EV Sportline “many page” long product thread for their Running Boards and Sliders.
https://www.rivianforums.com/forum/...x-running-boards-sliders-from-team-1ev.11589/
https://www.rivianforums.com/forum/...iders-for-rivian-r1t-r1s-from-team-1ev.10034/
Suggestion: First scan the “JEBINC “Lessons Learned” and Installation Tips:” section below, prior to proceeding.
Okay, now on with the actual JEBINC review!
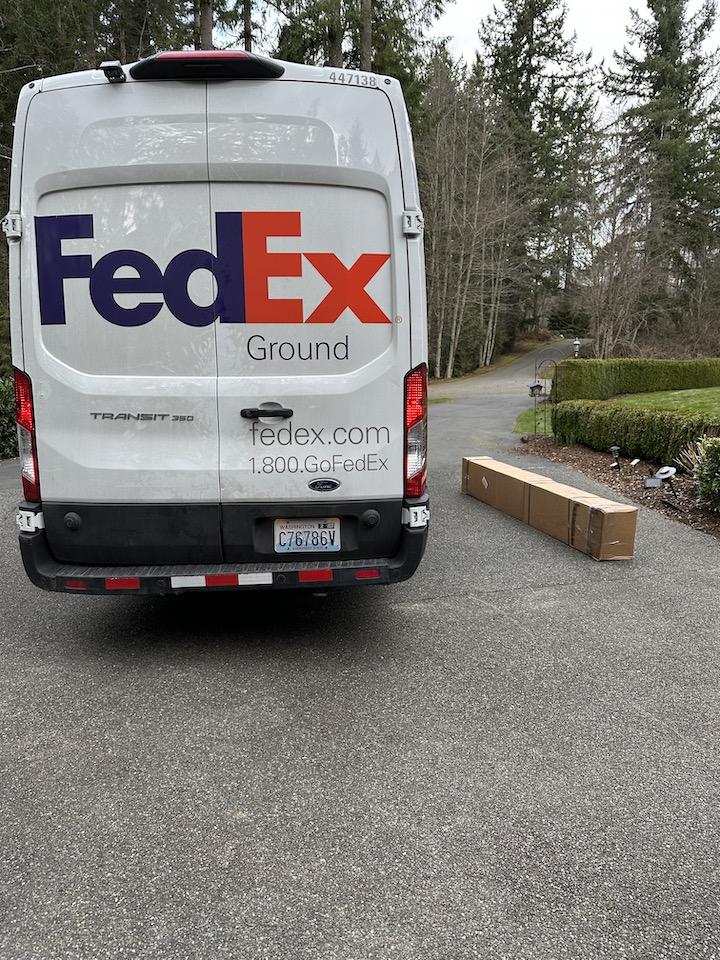
1) Surprisingly, FedEx actually delivered the package “on time” (a rarity for them); and boy is that box heavy – a early sign that the product within is of the highest quality!
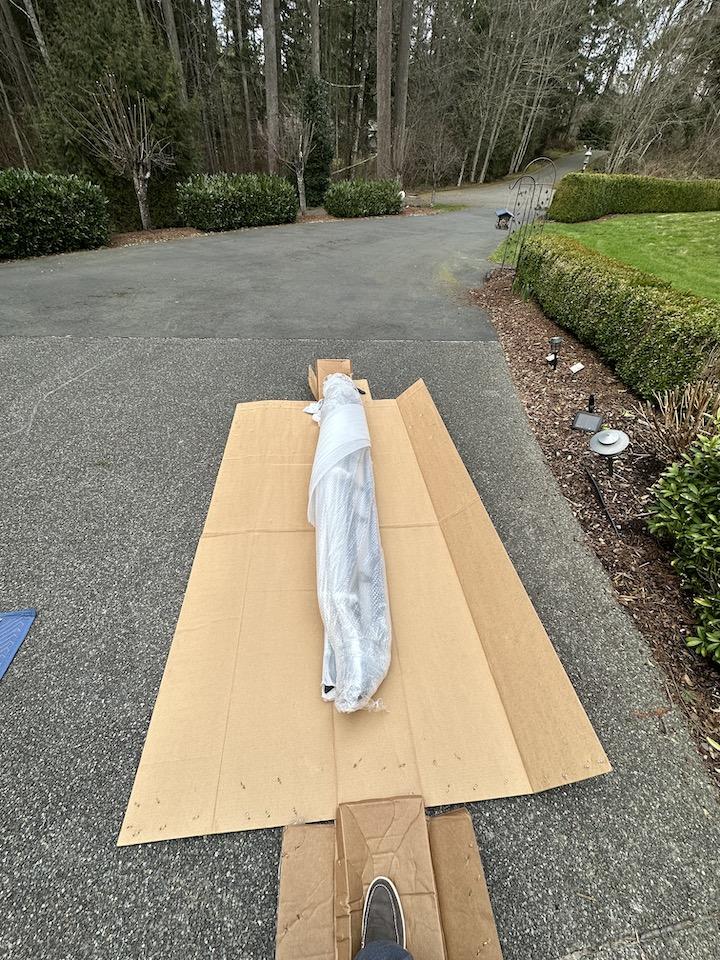
2) I felt like a kid during the winter holiday’s when doing the unboxing! The product was well packed to ensure the delivery process did not damage them! All of the needed parts, hardware and correct bits were provided, as promised – I think @EV Sportline is the only provider that “goes the extra mile” to provide customers with the needed odd Torx bits. Nice touch!
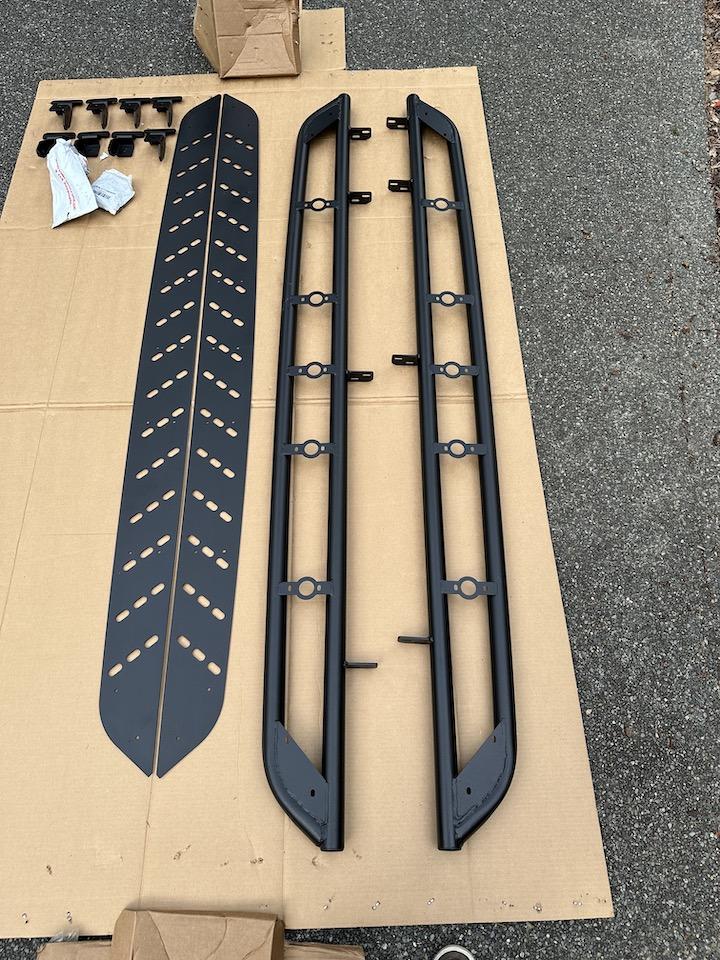
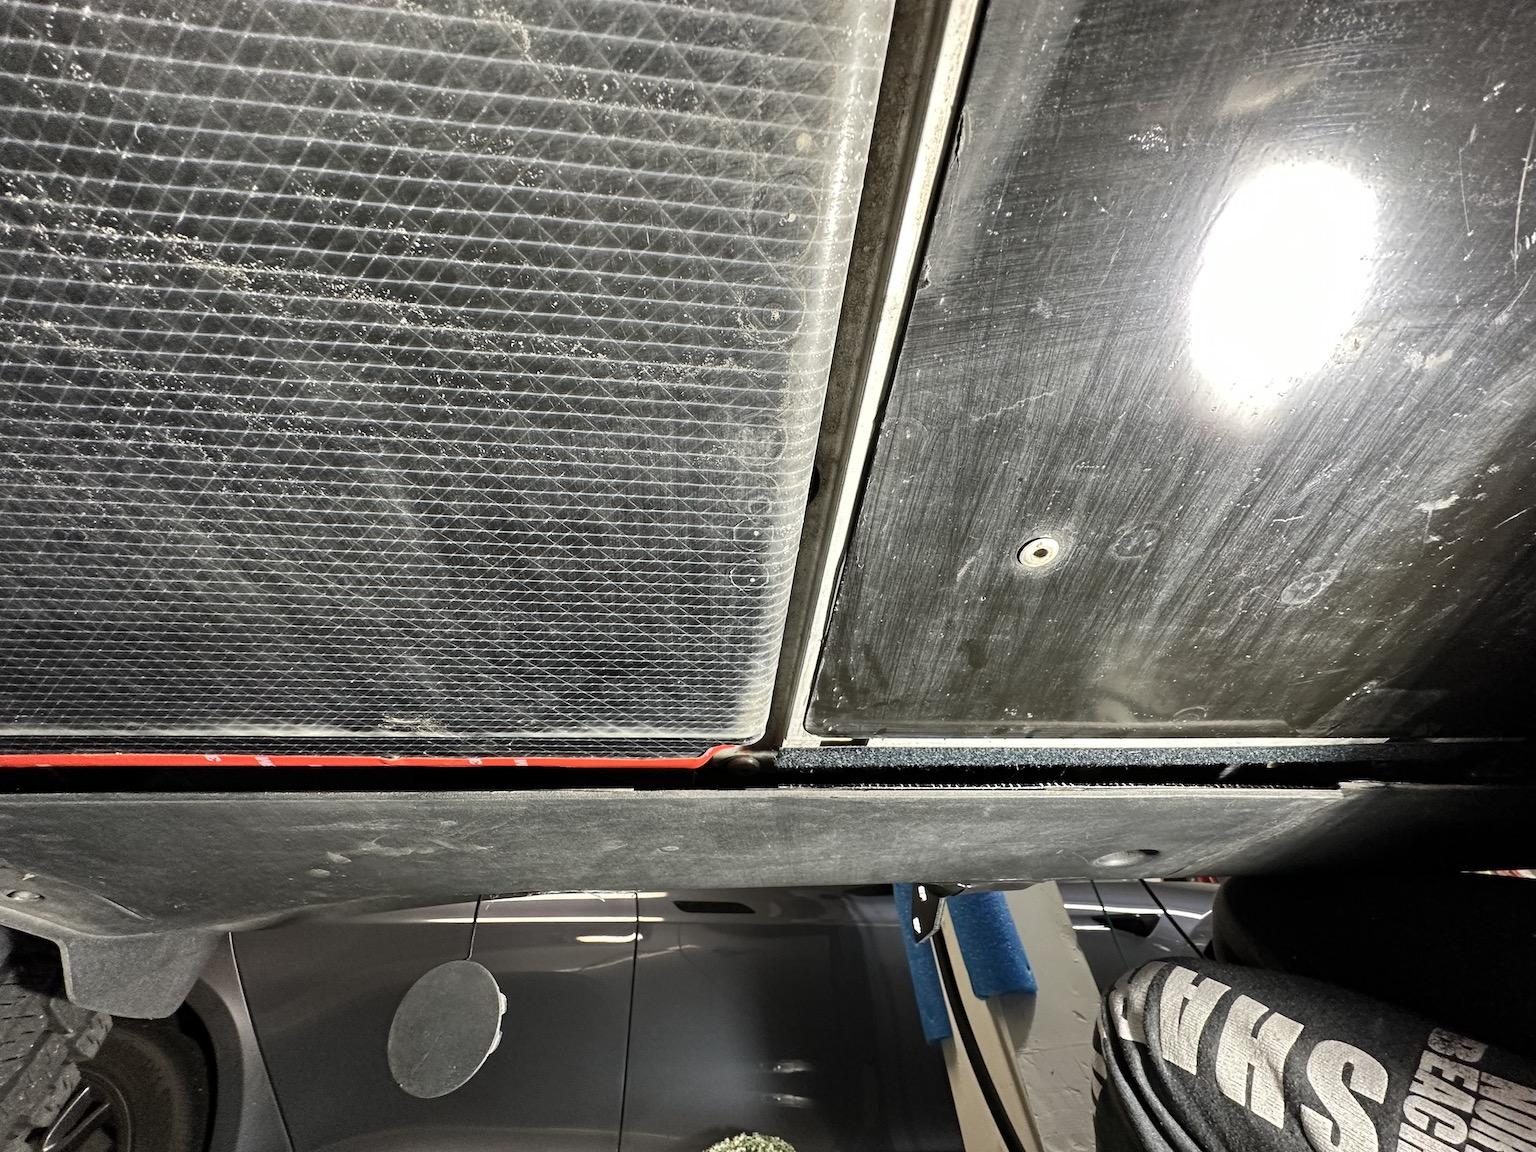
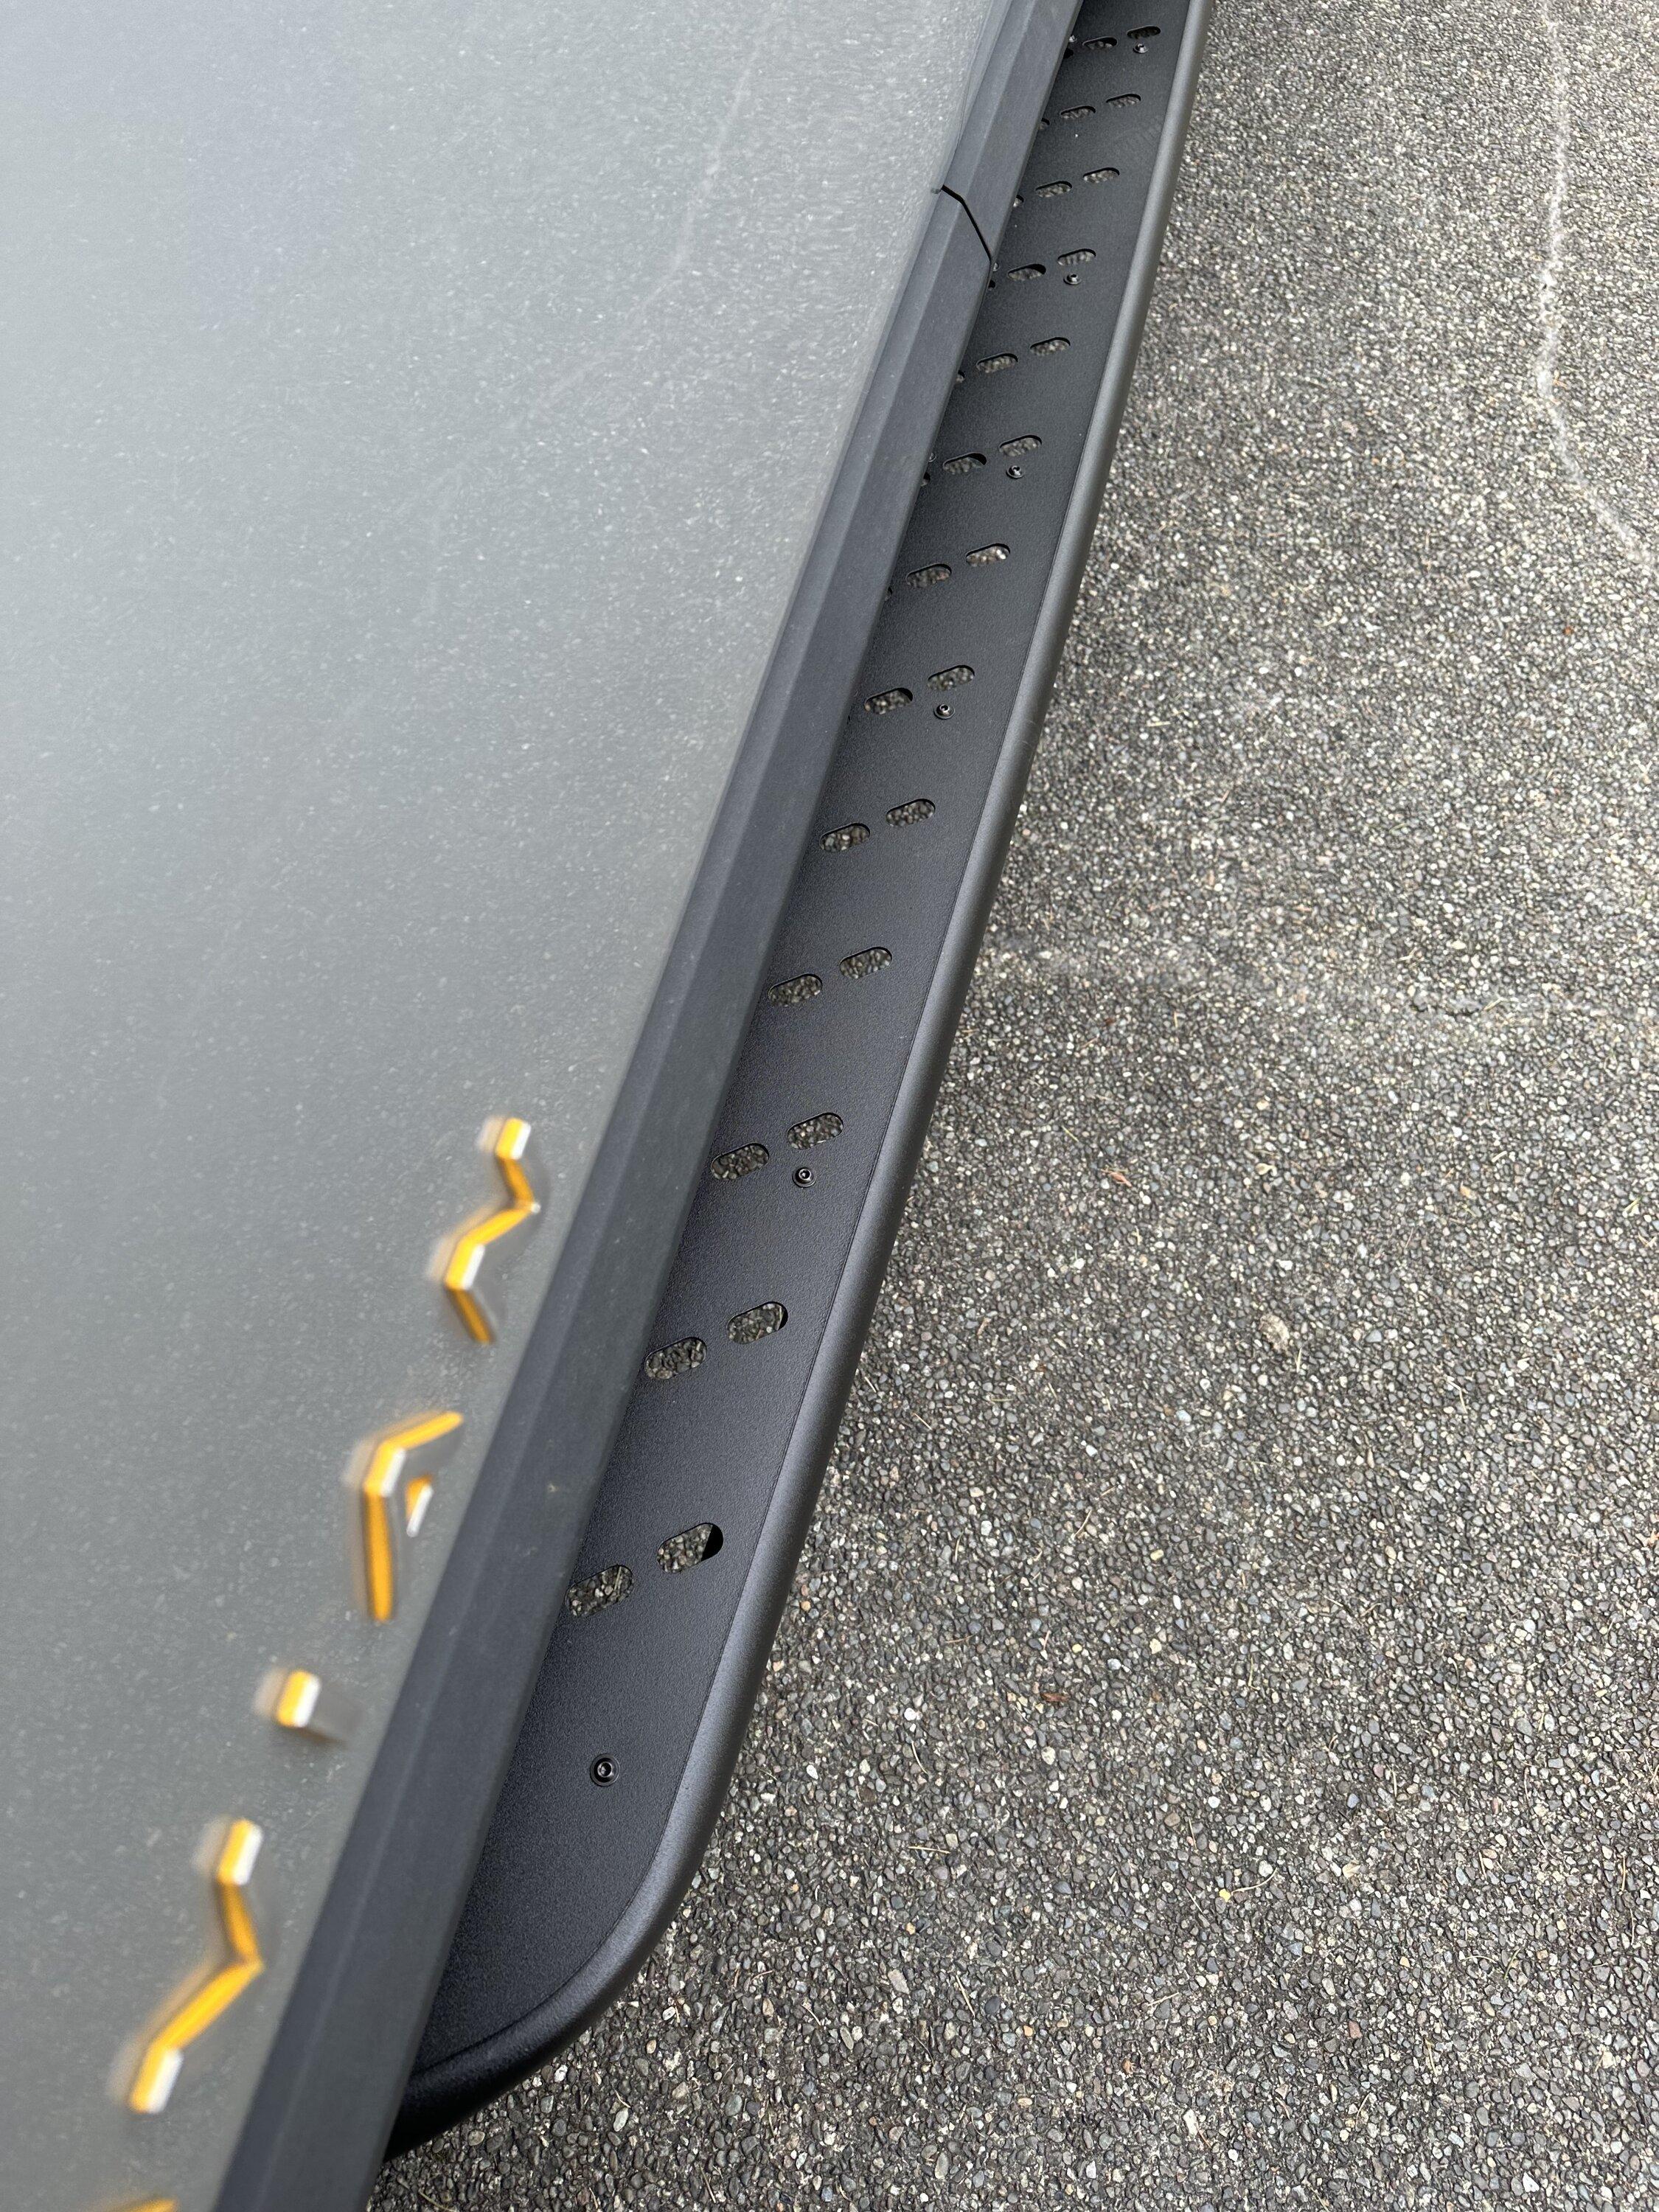
3) I went with the more open “Triple Slot” tread design, as I preferred the “Rivian Stadium” look over the original 1EV logo/box design (personal preference, of course). I designed and installed custom flaps for the front of the truck, so I’m not overly concerned about stuff flying through the ovals. I also self-PPF’d the lower portions of the doors, below the bend, thanks to Iliya at @twraps!
4) After unpacking, I installed the plates on the Running Board (“RB”) frames and headed out to the garage!
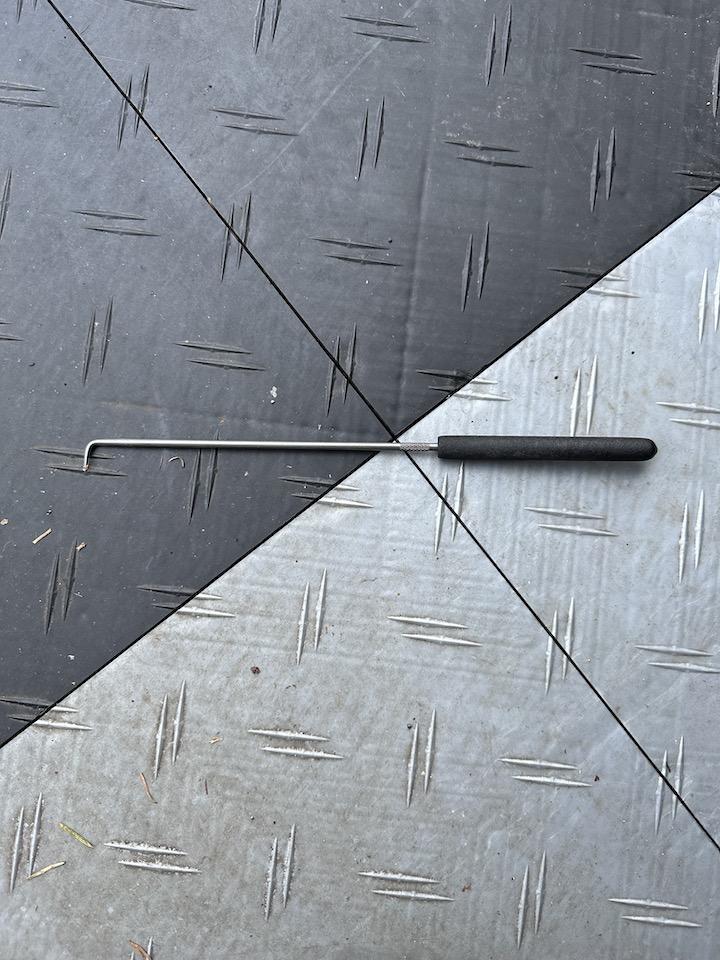
5) See my recommendation at the end of this step (5), if not wanting to try the rubber plug/grommet solution…. Because I’m anal, and want to ensure the drilled holes are exactly where I want them in the panels (to ensure I can get the plugs to fit w/o bracket interference at the margins), I removed the 10mm (6 total) and T20 bolts (4 total) and dropped just the inside edge of the panels (didn’t mess with those clips at all). Note 1: Mine also had some adhesive to break free as well (center and rear panels). Using an extra-long 90 degree “hook” tool – I aligned the point directly below the TP55 indentation and pushed up on the panels to make an impression (raised bump) on the outside of the panel. Now I know exactly where the bolt is relative to the panel. Note 2: As @EV Sportline told us, there is a lot of panel installation variability, so for those of you wanting to use plugs, you may want to do something similar, vs. using the templates provided with the product. Those work fine for people okay with leaving the holes open, of course, but may not be precise enough for plug installation. Note 3: Having the inside panels dropped also allows you to slide in a ~4” x ¾” plank (Optional, of course. I had my own hole saws so this worked best for me) for an improved panel drilling experience (i.e., drilling stability and frame protection). Note 4: Center of drill hole is off-set from center of TP55 bolt location.
JEBINC Recommendation – Skip this approach if you do not want to add Velcro (see below), or fiddle with plug fitting, and go with the @EV Sportline templates and “no panel removal” instructions! Sealing solution below…
6) Next…
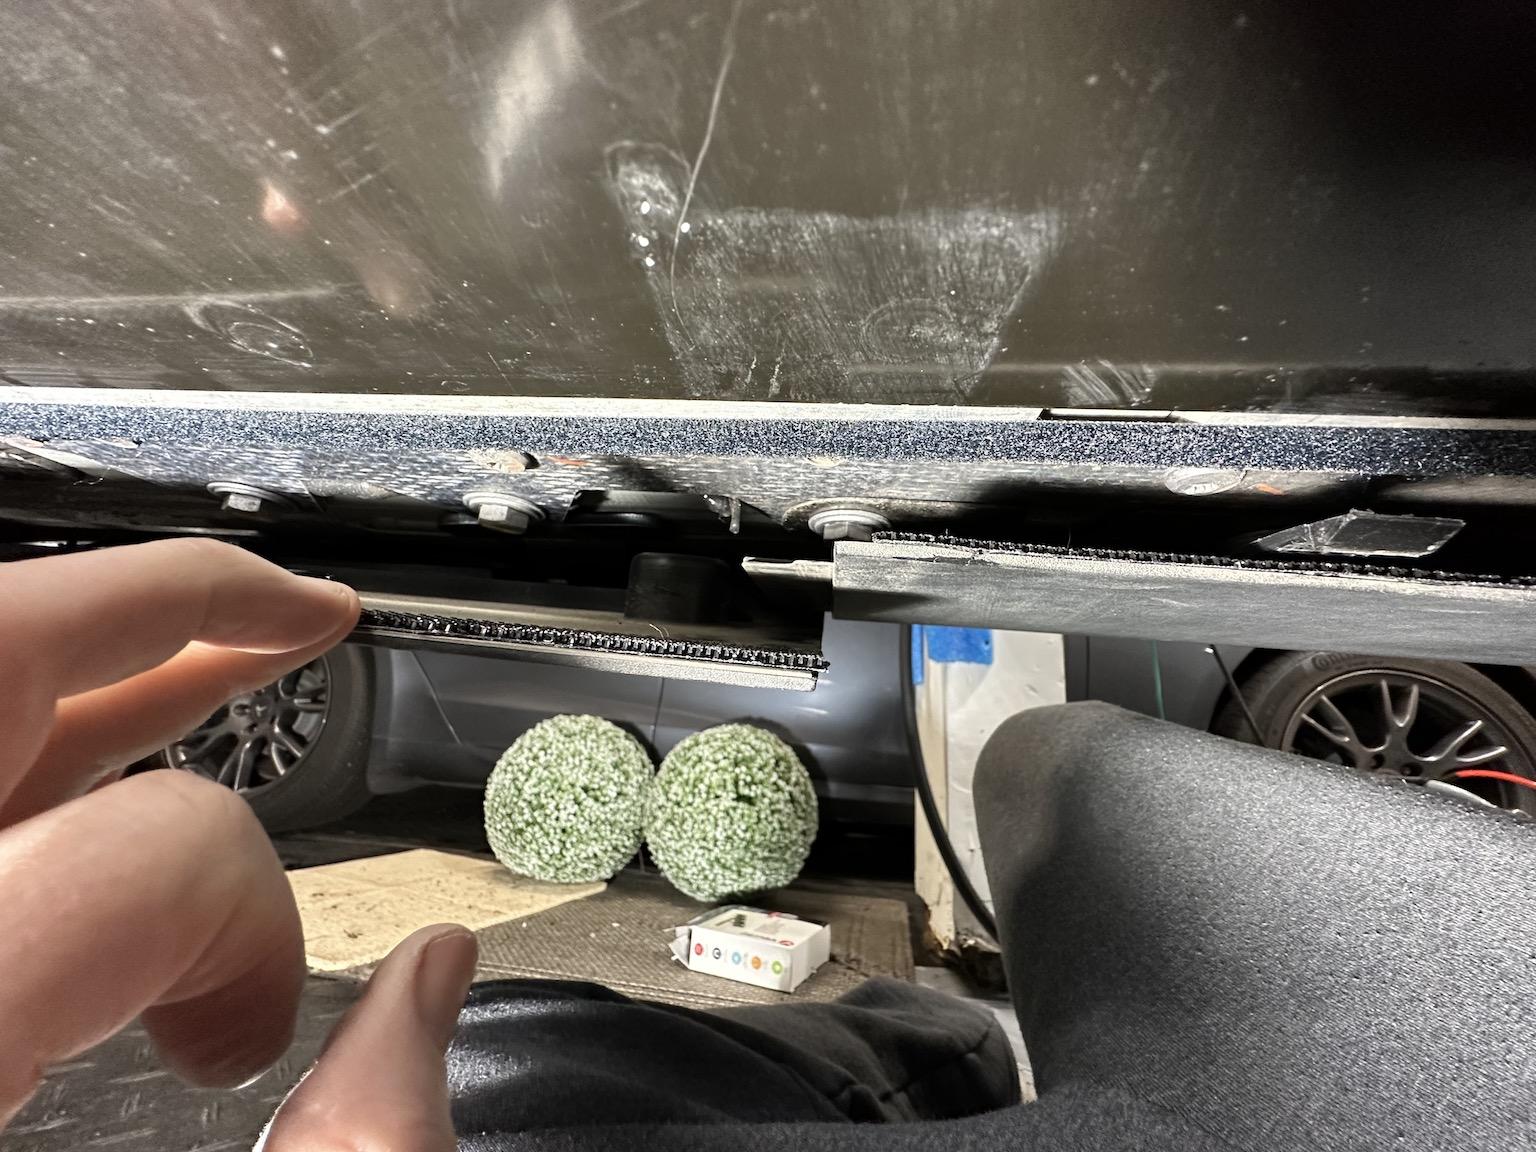
- Since I already had dropped the inner edge of the panels for experimentation and hole cutting, I installed ¾” w Marine grade Velcro (after cleaning well with 91% isopropyl alcohol) to the center and front panel inner edges. I found, center panel in particular, the plastic clips weak and panel rattle prone! For the rear, I went with 3M double sided tape, but Velcro works as well; maybe even better/more reliably.
- Reinstall the panels (if you decided to drop them for Velcro installation or precise hole locating).
- Snuggly (but not tightly) reinstall the frame brackets and running boards (Note 5: Since this is a temporary install, for alignment only, I only used ½ of the mounting bolts – one per bracket) to set the alignment. Tighten these enough so they properly orient the frame brackets - and then tightened down the frame brackets in that position. Remove the RB’s and torque the frame brackets to the frame, per Rivian spec. Note 6: I’m wondering if Loctite should be used, as it seems like some thread compound was on these bolts... Hmmm…
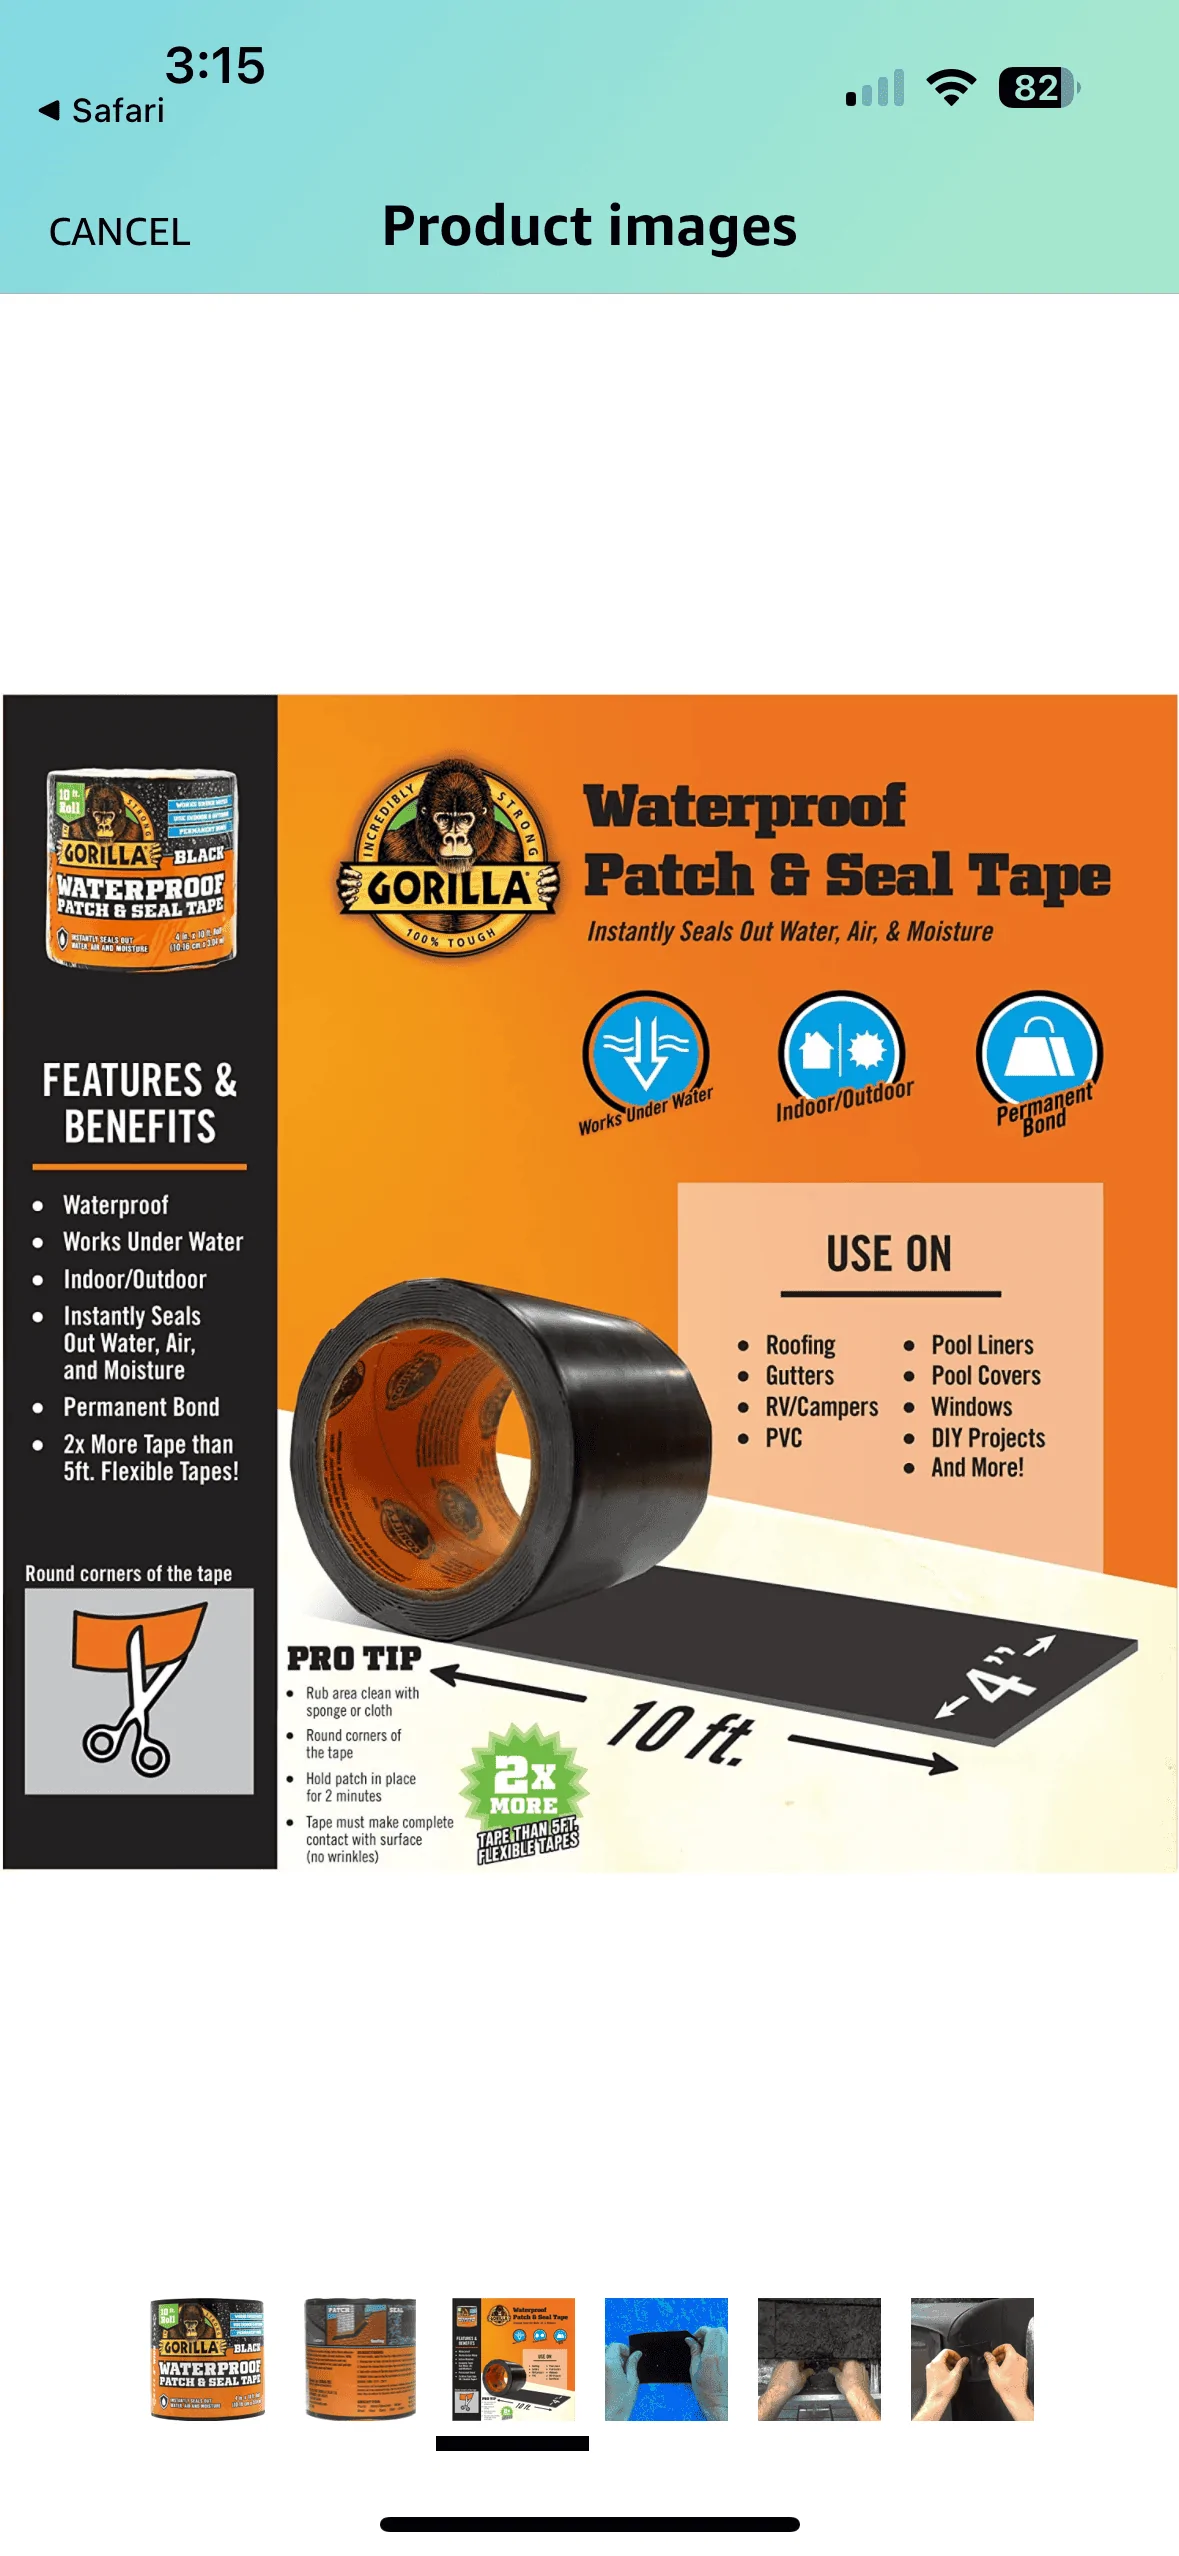
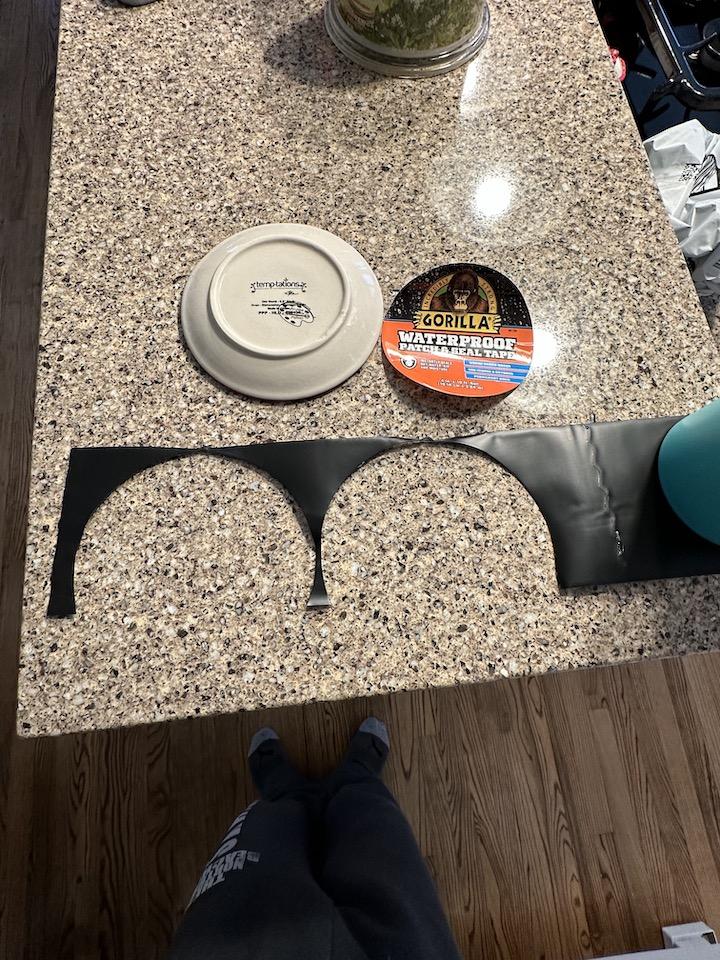
7) And now the plot twist (drum roll)… – I decided not to use thermoplastic plugs, or rubber grommets, as my experimentation with the Thermoplastic plugs was time consuming and results were “hit and miss,” depending on each bracket and hole. Yes, those bulges are a real PITA and protrude from the holes more in some locations than others. What did I go with, you ask? “Gorilla Waterproof Patch and Seal,” of course! It was a quick and easy job!
- I cut two 5 ½” radius pieces (out of the 4" wide product), using a X-acto knife and a small saucer as a guide. Extra diameter/material is needed for the bulge - to ensure at least ½” seal around the edge of the holes.
- Clean well, with 91% isopropyl alcohol, the area around each hole and frame bracket – to ensure good adhesion to plastic panel and metal frame brackets. Note 7: Since I already had the RB’s mounted, I installed the “seals” without having to remove RB’s! I also used my heat gun to warm the seal location prior to installing the seal.
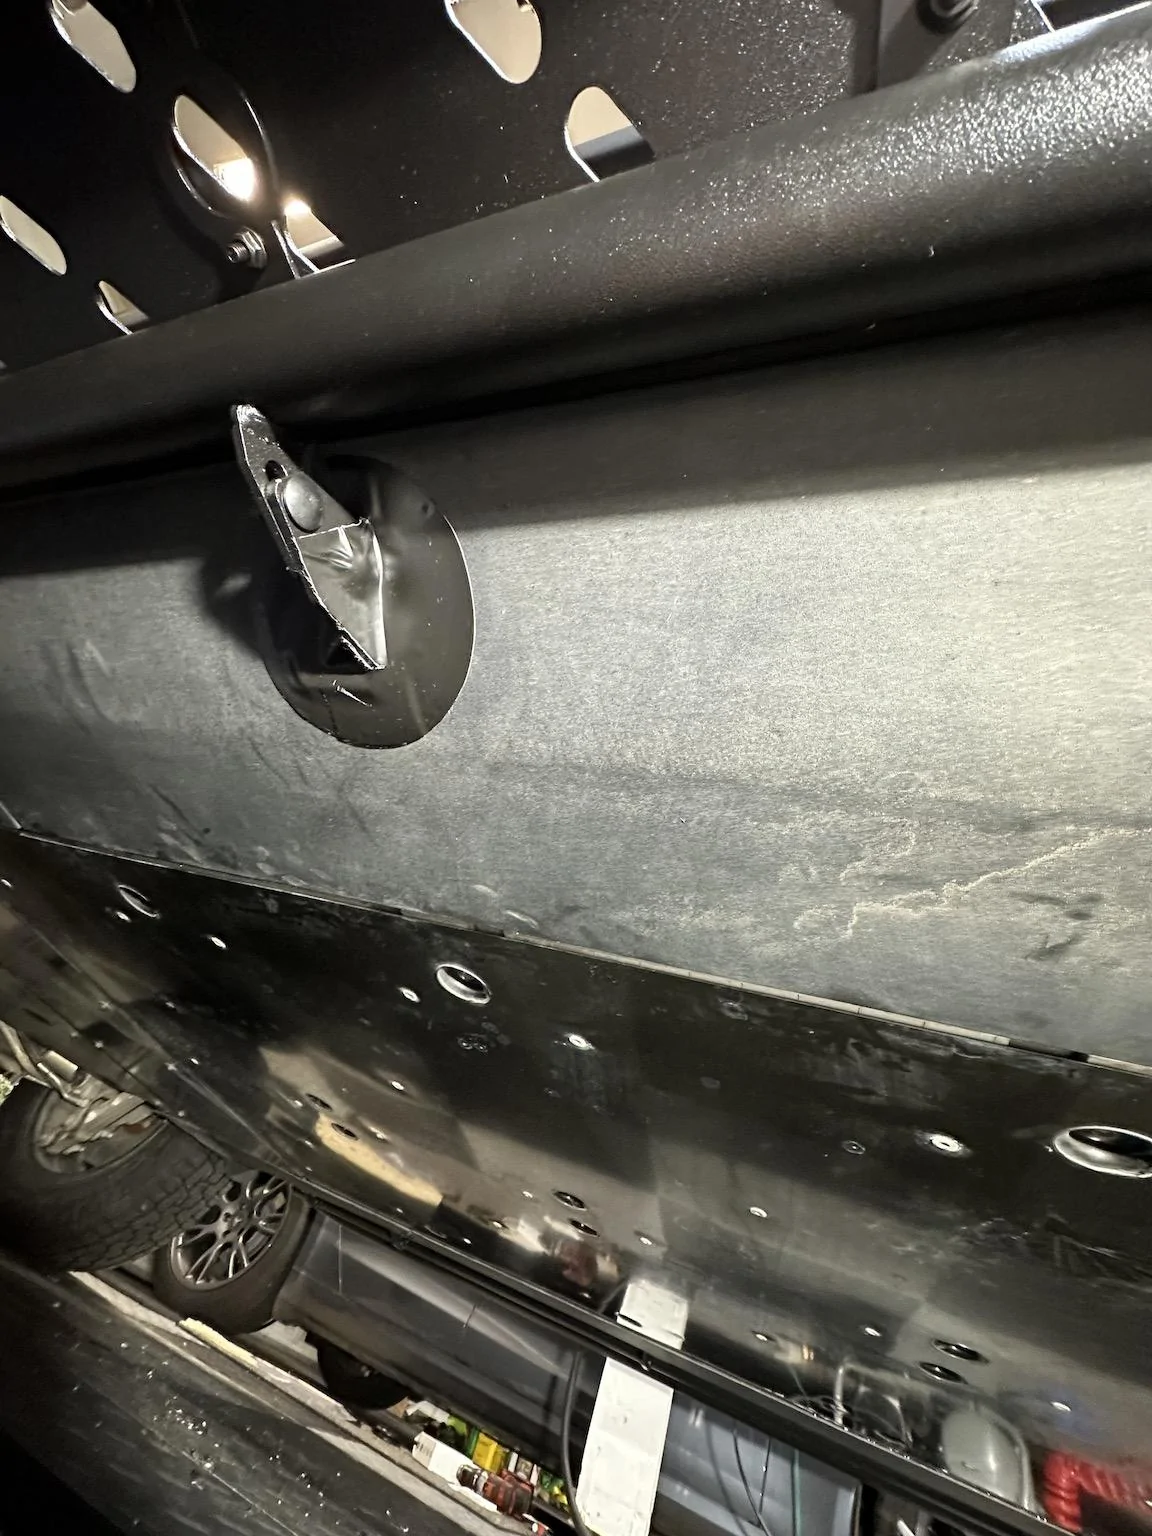
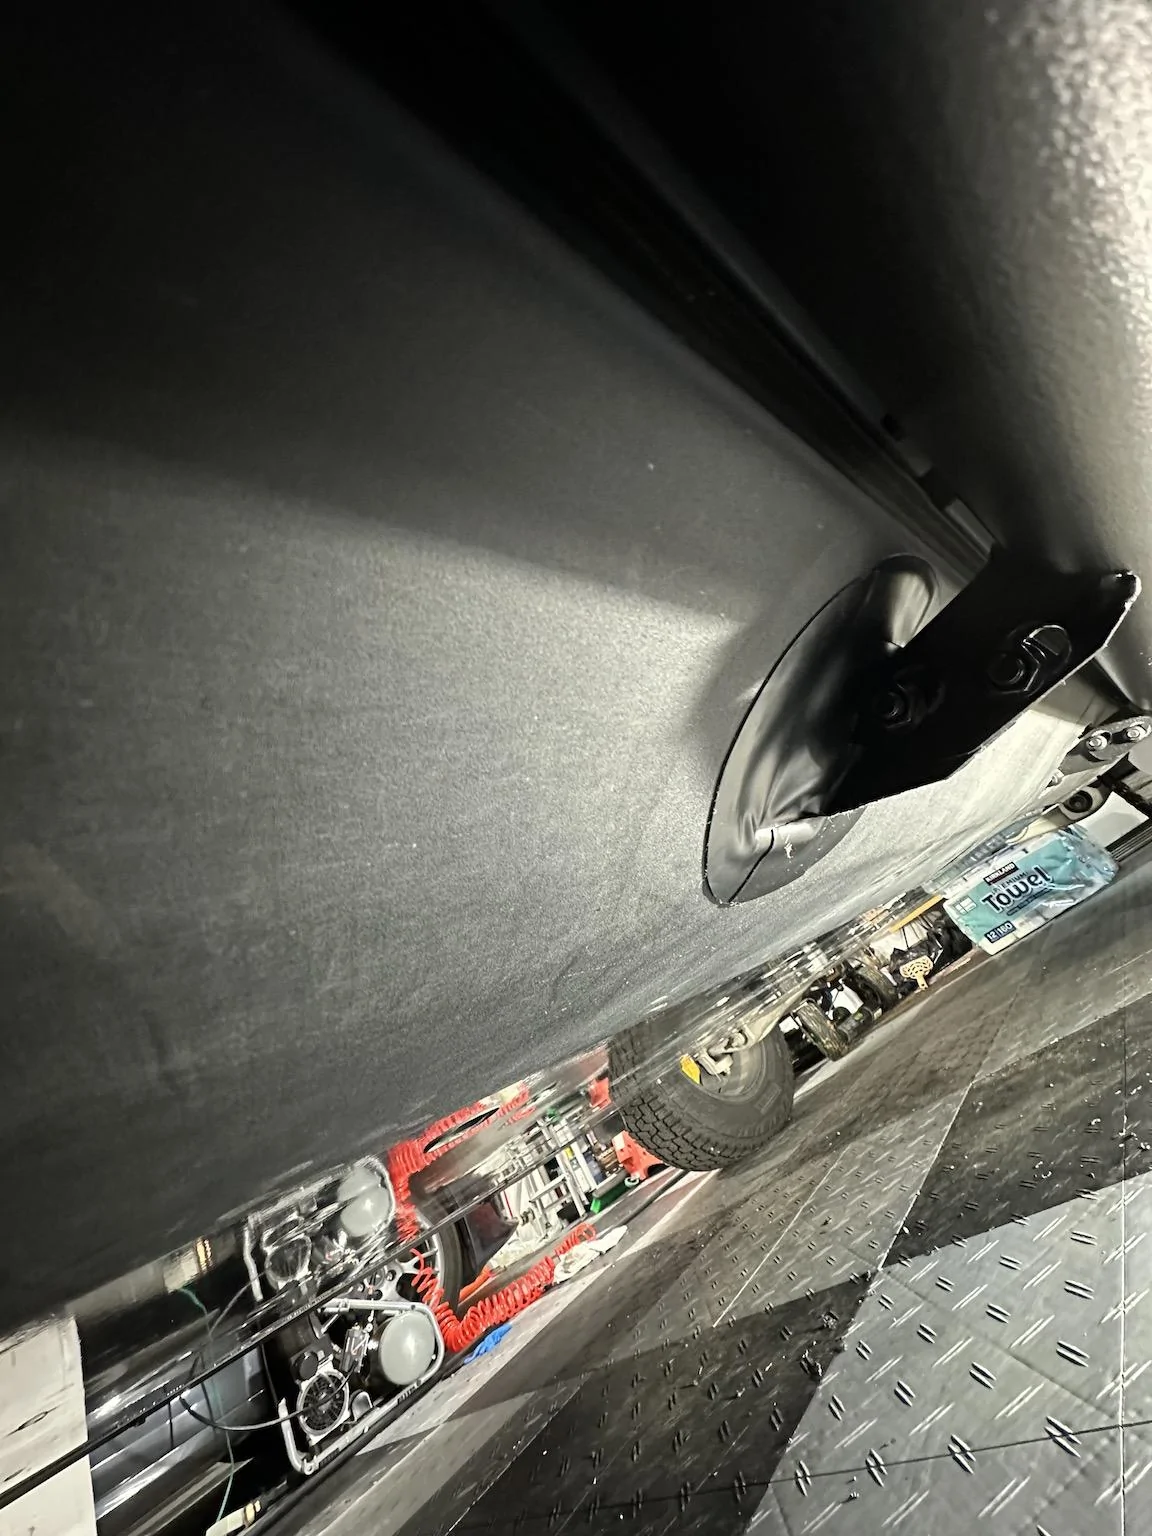
- The first half went on the back side of the frame bracket with a flap being affixed to the rear-facing side of the bracket (for sealing purposes), and the balance sealing around the outside perimeter of the 4" hole. Note 8: Ensure there is no seal material in the RB mounting interface area (the “slide zone”)!
- Next, I repeated this for the front side of the frame bracket and overlap the top and bottom of the backside piece already installed. Note 9: I did cover the front-facing panhead side of the bolts with seal to protect from debris chipping and subsequent corrosion.
- Note 10: Yes, yes, I know…. equivalent seal can be found in wider than 4" sizes, but I wanted to test this sealing approach ASAP; and my plan was always to "split and overlap" the seal, and to create bracket sealing tabs, so I went with this product (see link below). Again, I was searching for a "commercially viable," quick, easy and secure seal solution for those with existing 4" holes, and for those that plan to do 4" hole method themselves.
Link to product I purchased:
https://www.amazon.com/dp/B07HSKRYQW?ref=ppx_yo2ov_dt_b_product_details&th=1
8) Permanently install the RB’s, to the mounting brackets, as instructed by @EV Sportline.
9) Step back and take a moment to enjoy your great installation job, and the EV Sportline RB’s.
10) Test them out and go for a drive – Note 11: Take a passenger or two, so they can enjoy the experience as well!!
JEBINC “Lessons Learned” and Installation Tips:
1a) For those newly installing the running boards, install your seal halves after torquing down your frame brackets, but before mounting the RB's to said frame brackets - super easy! For those with RB's already installed, the two-piece seals can be added WITHOUT having to remove the RB's - This is how I did mine as I added the seals, "the day after" installation of the RB's!
1b) Because the frame brackets take up nearly the entire 4” hole (top and bottom, but not sides), and hole location (relative to the TP55 bolts) will vary for many reasons… If you “attempt” the rubber plug method, your 4” drill hole will need to be located “precisely,” otherwise the top side of the bracket, and/or “bulge” WILL NOT allow for the plugs to be installed, due to interference/proximity to the hole edge! For this reason, I abandoned all (thermoplastic and rubber) plug solutions, as those solutions would likely not work on all eight holes for those who drilled holes per the “template” provided, or for those that had @EV Sportline install the boards at one of their locations (this is due to panel installation location variability, and drill bit orientation when drilling the holes). One misaligned hole (in eight), and you are screwed! We needed a quick, easy, durable and “commercially viable” solution for all customers going with 4” holes, given the known variability and frame bracket challenges.
2) I’m going to experiment with some 3/32”, 1/8” and 3/16” rubber/Vinyl bead fender welting - between the tread plate and frame. More to come on this potential JEBINC mod…
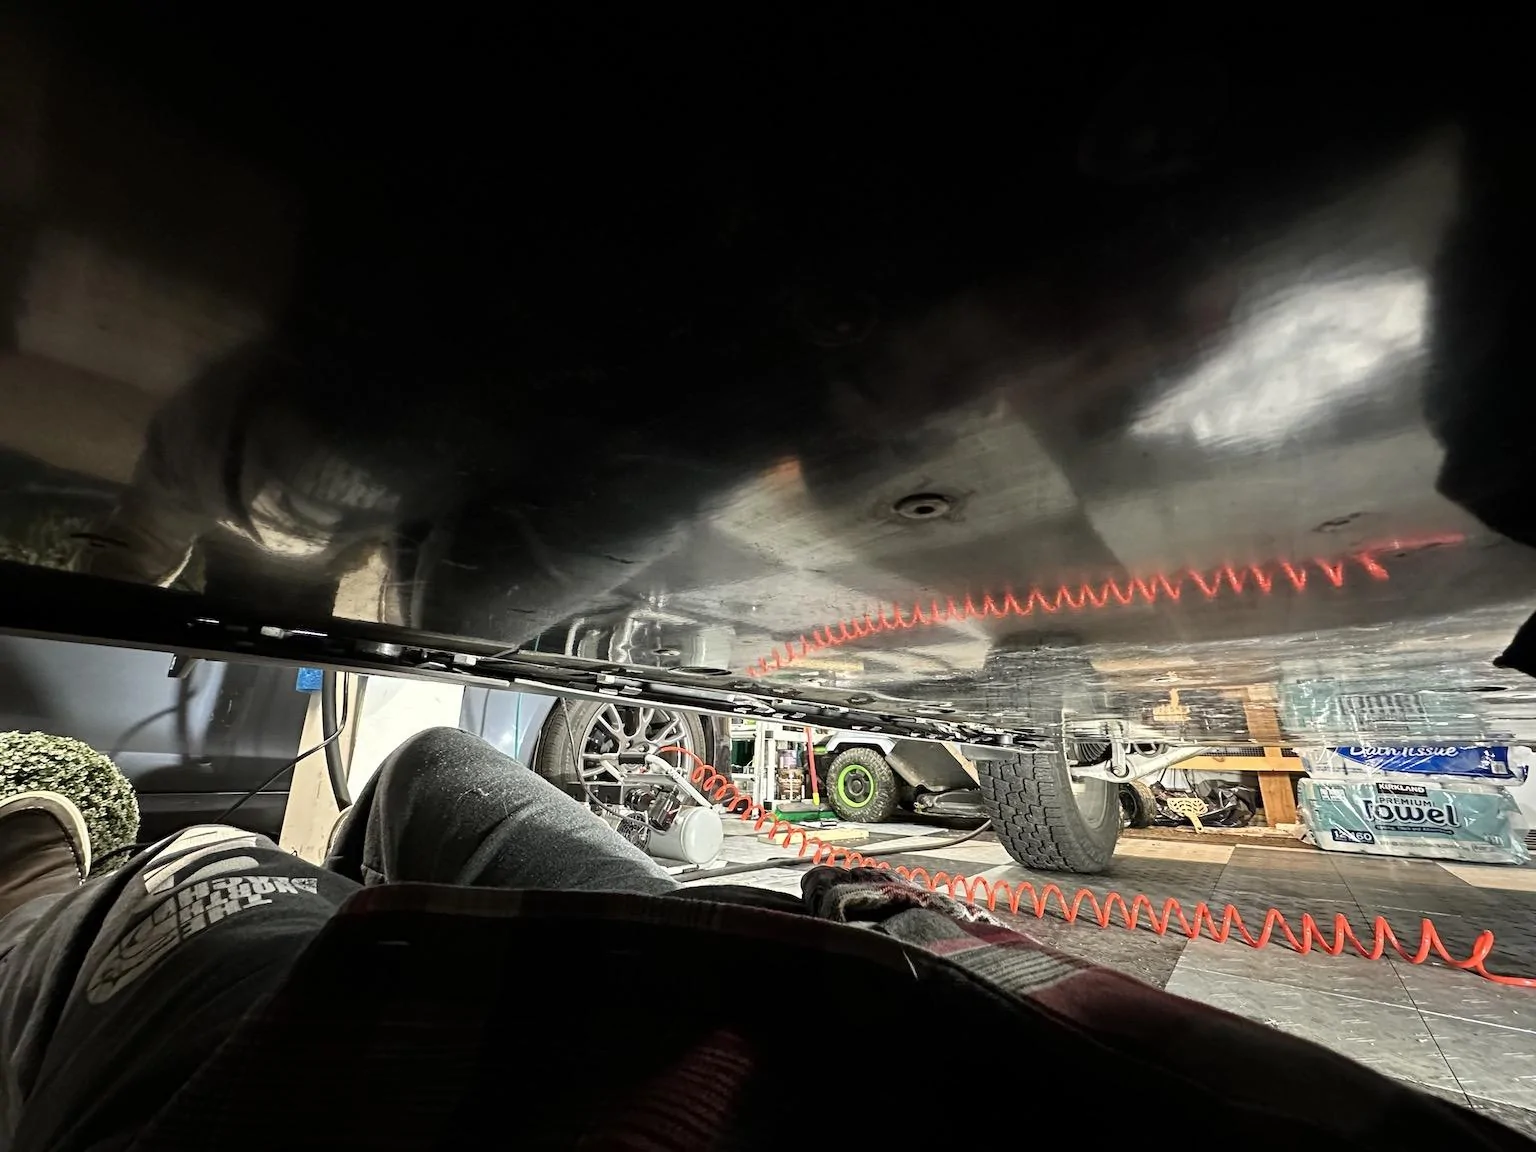
3) One person can install the boards. Just sit on the ground (between the 2nd and 3rd bracket from the front) and rest the RB just above your knees. Using your legs as a jack, raise your knees to hold the RB in place - whilst you insert some bolts and nuts!
4) I used a heat gun (or you can use a hair dryer) to warm the panels just prior installing the Gorilla Patch & Seal to each hole – and then again after installation. Give the warmed margins of the seal a good rub/press! This ensures great adhesion, and a “problem-free” installation.
5) After drilling each hole, scrape away, or otherwise remove, all loose drilling debris/shavings. This will ensure a smooth surface and will avoid unsightly “lumps” under the seal. I used a utility knife and some 100-grit sand paper for the inner edges.
6) I used my pneumatic impact wrench; that made easy work of removing TP55 bolts. I also tested an 18” breaker bar; that also worked well, if an impact wrench isn’t readily available.
7) Since I dropped the inner edge of my panels, as mentioned above, I installed the marine-grade Velcro – to further limit water/dirt intrusion, and to silence those damn loose rattle-prone center panels!
8) Wash the underside of your truck, and let dry out in the garage a few days (only if you plan to drop the panels for a plug “attempt” or to install Velcro), prior to starting. Your eyes will be very thankful.
9) Be careful not to scuff, scratch or chip the powder-coat paint on your RB’s when installing the plates or installing the assembled RB to your truck. I used several mover’s blankets ($9 ea. at Harbor Freight), to ensure this didn’t happen.
10) Pushed in, the RB’s look best, IMHO (YMMV) – and there is less mechanical leverage on the brackets and frame.
11) Enjoy the journey; it has been a long time in the making!


Please vote in the poll, after reviewing!
__________
Hello my fellow, “Riviarians”! While it’s been a long time coming (Ordered on 11/14/22), I’m pleased to report that @EV Sportline was right, that “it’s worth the wait”! I’ve attached photos (at the end) for the points I make in this write-up.
A “while waiting - Lesson Learned” for me is that it’s best to ask questions/make suggestions via DM/PM - or better yet, directly with EV Sportline’s Customer Service (“CS”) team. I have found communications with CS to be very responsive and transparent, especially when it comes to production and order delivery status. So, I would suggest you direct things like that to CS, vs. the various forum threads.
Here are two links to other informative threads on this. The first is my “Master Thread…” for all member Running Board (“RB”) reviews, which this review will be linked to. The second in the @EV Sportline “many page” long product thread for their Running Boards and Sliders.
https://www.rivianforums.com/forum/...x-running-boards-sliders-from-team-1ev.11589/
https://www.rivianforums.com/forum/...iders-for-rivian-r1t-r1s-from-team-1ev.10034/
Suggestion: First scan the “JEBINC “Lessons Learned” and Installation Tips:” section below, prior to proceeding.
Okay, now on with the actual JEBINC review!
1) Surprisingly, FedEx actually delivered the package “on time” (a rarity for them); and boy is that box heavy – a early sign that the product within is of the highest quality!
2) I felt like a kid during the winter holiday’s when doing the unboxing! The product was well packed to ensure the delivery process did not damage them! All of the needed parts, hardware and correct bits were provided, as promised – I think @EV Sportline is the only provider that “goes the extra mile” to provide customers with the needed odd Torx bits. Nice touch!
3) I went with the more open “Triple Slot” tread design, as I preferred the “Rivian Stadium” look over the original 1EV logo/box design (personal preference, of course). I designed and installed custom flaps for the front of the truck, so I’m not overly concerned about stuff flying through the ovals. I also self-PPF’d the lower portions of the doors, below the bend, thanks to Iliya at @twraps!
4) After unpacking, I installed the plates on the Running Board (“RB”) frames and headed out to the garage!
5) See my recommendation at the end of this step (5), if not wanting to try the rubber plug/grommet solution…. Because I’m anal, and want to ensure the drilled holes are exactly where I want them in the panels (to ensure I can get the plugs to fit w/o bracket interference at the margins), I removed the 10mm (6 total) and T20 bolts (4 total) and dropped just the inside edge of the panels (didn’t mess with those clips at all). Note 1: Mine also had some adhesive to break free as well (center and rear panels). Using an extra-long 90 degree “hook” tool – I aligned the point directly below the TP55 indentation and pushed up on the panels to make an impression (raised bump) on the outside of the panel. Now I know exactly where the bolt is relative to the panel. Note 2: As @EV Sportline told us, there is a lot of panel installation variability, so for those of you wanting to use plugs, you may want to do something similar, vs. using the templates provided with the product. Those work fine for people okay with leaving the holes open, of course, but may not be precise enough for plug installation. Note 3: Having the inside panels dropped also allows you to slide in a ~4” x ¾” plank (Optional, of course. I had my own hole saws so this worked best for me) for an improved panel drilling experience (i.e., drilling stability and frame protection). Note 4: Center of drill hole is off-set from center of TP55 bolt location.
JEBINC Recommendation – Skip this approach if you do not want to add Velcro (see below), or fiddle with plug fitting, and go with the @EV Sportline templates and “no panel removal” instructions! Sealing solution below…
6) Next…
- Since I already had dropped the inner edge of the panels for experimentation and hole cutting, I installed ¾” w Marine grade Velcro (after cleaning well with 91% isopropyl alcohol) to the center and front panel inner edges. I found, center panel in particular, the plastic clips weak and panel rattle prone! For the rear, I went with 3M double sided tape, but Velcro works as well; maybe even better/more reliably.
- Reinstall the panels (if you decided to drop them for Velcro installation or precise hole locating).
- Snuggly (but not tightly) reinstall the frame brackets and running boards (Note 5: Since this is a temporary install, for alignment only, I only used ½ of the mounting bolts – one per bracket) to set the alignment. Tighten these enough so they properly orient the frame brackets - and then tightened down the frame brackets in that position. Remove the RB’s and torque the frame brackets to the frame, per Rivian spec. Note 6: I’m wondering if Loctite should be used, as it seems like some thread compound was on these bolts... Hmmm…
7) And now the plot twist (drum roll)… – I decided not to use thermoplastic plugs, or rubber grommets, as my experimentation with the Thermoplastic plugs was time consuming and results were “hit and miss,” depending on each bracket and hole. Yes, those bulges are a real PITA and protrude from the holes more in some locations than others. What did I go with, you ask? “Gorilla Waterproof Patch and Seal,” of course! It was a quick and easy job!
- I cut two 5 ½” radius pieces (out of the 4" wide product), using a X-acto knife and a small saucer as a guide. Extra diameter/material is needed for the bulge - to ensure at least ½” seal around the edge of the holes.
- Clean well, with 91% isopropyl alcohol, the area around each hole and frame bracket – to ensure good adhesion to plastic panel and metal frame brackets. Note 7: Since I already had the RB’s mounted, I installed the “seals” without having to remove RB’s! I also used my heat gun to warm the seal location prior to installing the seal.
- The first half went on the back side of the frame bracket with a flap being affixed to the rear-facing side of the bracket (for sealing purposes), and the balance sealing around the outside perimeter of the 4" hole. Note 8: Ensure there is no seal material in the RB mounting interface area (the “slide zone”)!
- Next, I repeated this for the front side of the frame bracket and overlap the top and bottom of the backside piece already installed. Note 9: I did cover the front-facing panhead side of the bolts with seal to protect from debris chipping and subsequent corrosion.
- Note 10: Yes, yes, I know…. equivalent seal can be found in wider than 4" sizes, but I wanted to test this sealing approach ASAP; and my plan was always to "split and overlap" the seal, and to create bracket sealing tabs, so I went with this product (see link below). Again, I was searching for a "commercially viable," quick, easy and secure seal solution for those with existing 4" holes, and for those that plan to do 4" hole method themselves.
Link to product I purchased:
https://www.amazon.com/dp/B07HSKRYQW?ref=ppx_yo2ov_dt_b_product_details&th=1
8) Permanently install the RB’s, to the mounting brackets, as instructed by @EV Sportline.
9) Step back and take a moment to enjoy your great installation job, and the EV Sportline RB’s.
10) Test them out and go for a drive – Note 11: Take a passenger or two, so they can enjoy the experience as well!!
JEBINC “Lessons Learned” and Installation Tips:
1a) For those newly installing the running boards, install your seal halves after torquing down your frame brackets, but before mounting the RB's to said frame brackets - super easy! For those with RB's already installed, the two-piece seals can be added WITHOUT having to remove the RB's - This is how I did mine as I added the seals, "the day after" installation of the RB's!
1b) Because the frame brackets take up nearly the entire 4” hole (top and bottom, but not sides), and hole location (relative to the TP55 bolts) will vary for many reasons… If you “attempt” the rubber plug method, your 4” drill hole will need to be located “precisely,” otherwise the top side of the bracket, and/or “bulge” WILL NOT allow for the plugs to be installed, due to interference/proximity to the hole edge! For this reason, I abandoned all (thermoplastic and rubber) plug solutions, as those solutions would likely not work on all eight holes for those who drilled holes per the “template” provided, or for those that had @EV Sportline install the boards at one of their locations (this is due to panel installation location variability, and drill bit orientation when drilling the holes). One misaligned hole (in eight), and you are screwed! We needed a quick, easy, durable and “commercially viable” solution for all customers going with 4” holes, given the known variability and frame bracket challenges.
2) I’m going to experiment with some 3/32”, 1/8” and 3/16” rubber/Vinyl bead fender welting - between the tread plate and frame. More to come on this potential JEBINC mod…
3) One person can install the boards. Just sit on the ground (between the 2nd and 3rd bracket from the front) and rest the RB just above your knees. Using your legs as a jack, raise your knees to hold the RB in place - whilst you insert some bolts and nuts!
4) I used a heat gun (or you can use a hair dryer) to warm the panels just prior installing the Gorilla Patch & Seal to each hole – and then again after installation. Give the warmed margins of the seal a good rub/press! This ensures great adhesion, and a “problem-free” installation.
5) After drilling each hole, scrape away, or otherwise remove, all loose drilling debris/shavings. This will ensure a smooth surface and will avoid unsightly “lumps” under the seal. I used a utility knife and some 100-grit sand paper for the inner edges.
6) I used my pneumatic impact wrench; that made easy work of removing TP55 bolts. I also tested an 18” breaker bar; that also worked well, if an impact wrench isn’t readily available.
7) Since I dropped the inner edge of my panels, as mentioned above, I installed the marine-grade Velcro – to further limit water/dirt intrusion, and to silence those damn loose rattle-prone center panels!
8) Wash the underside of your truck, and let dry out in the garage a few days (only if you plan to drop the panels for a plug “attempt” or to install Velcro), prior to starting. Your eyes will be very thankful.
9) Be careful not to scuff, scratch or chip the powder-coat paint on your RB’s when installing the plates or installing the assembled RB to your truck. I used several mover’s blankets ($9 ea. at Harbor Freight), to ensure this didn’t happen.
10) Pushed in, the RB’s look best, IMHO (YMMV) – and there is less mechanical leverage on the brackets and frame.
11) Enjoy the journey; it has been a long time in the making!
Sponsored
Last edited: