AYAYRON
Well-Known Member
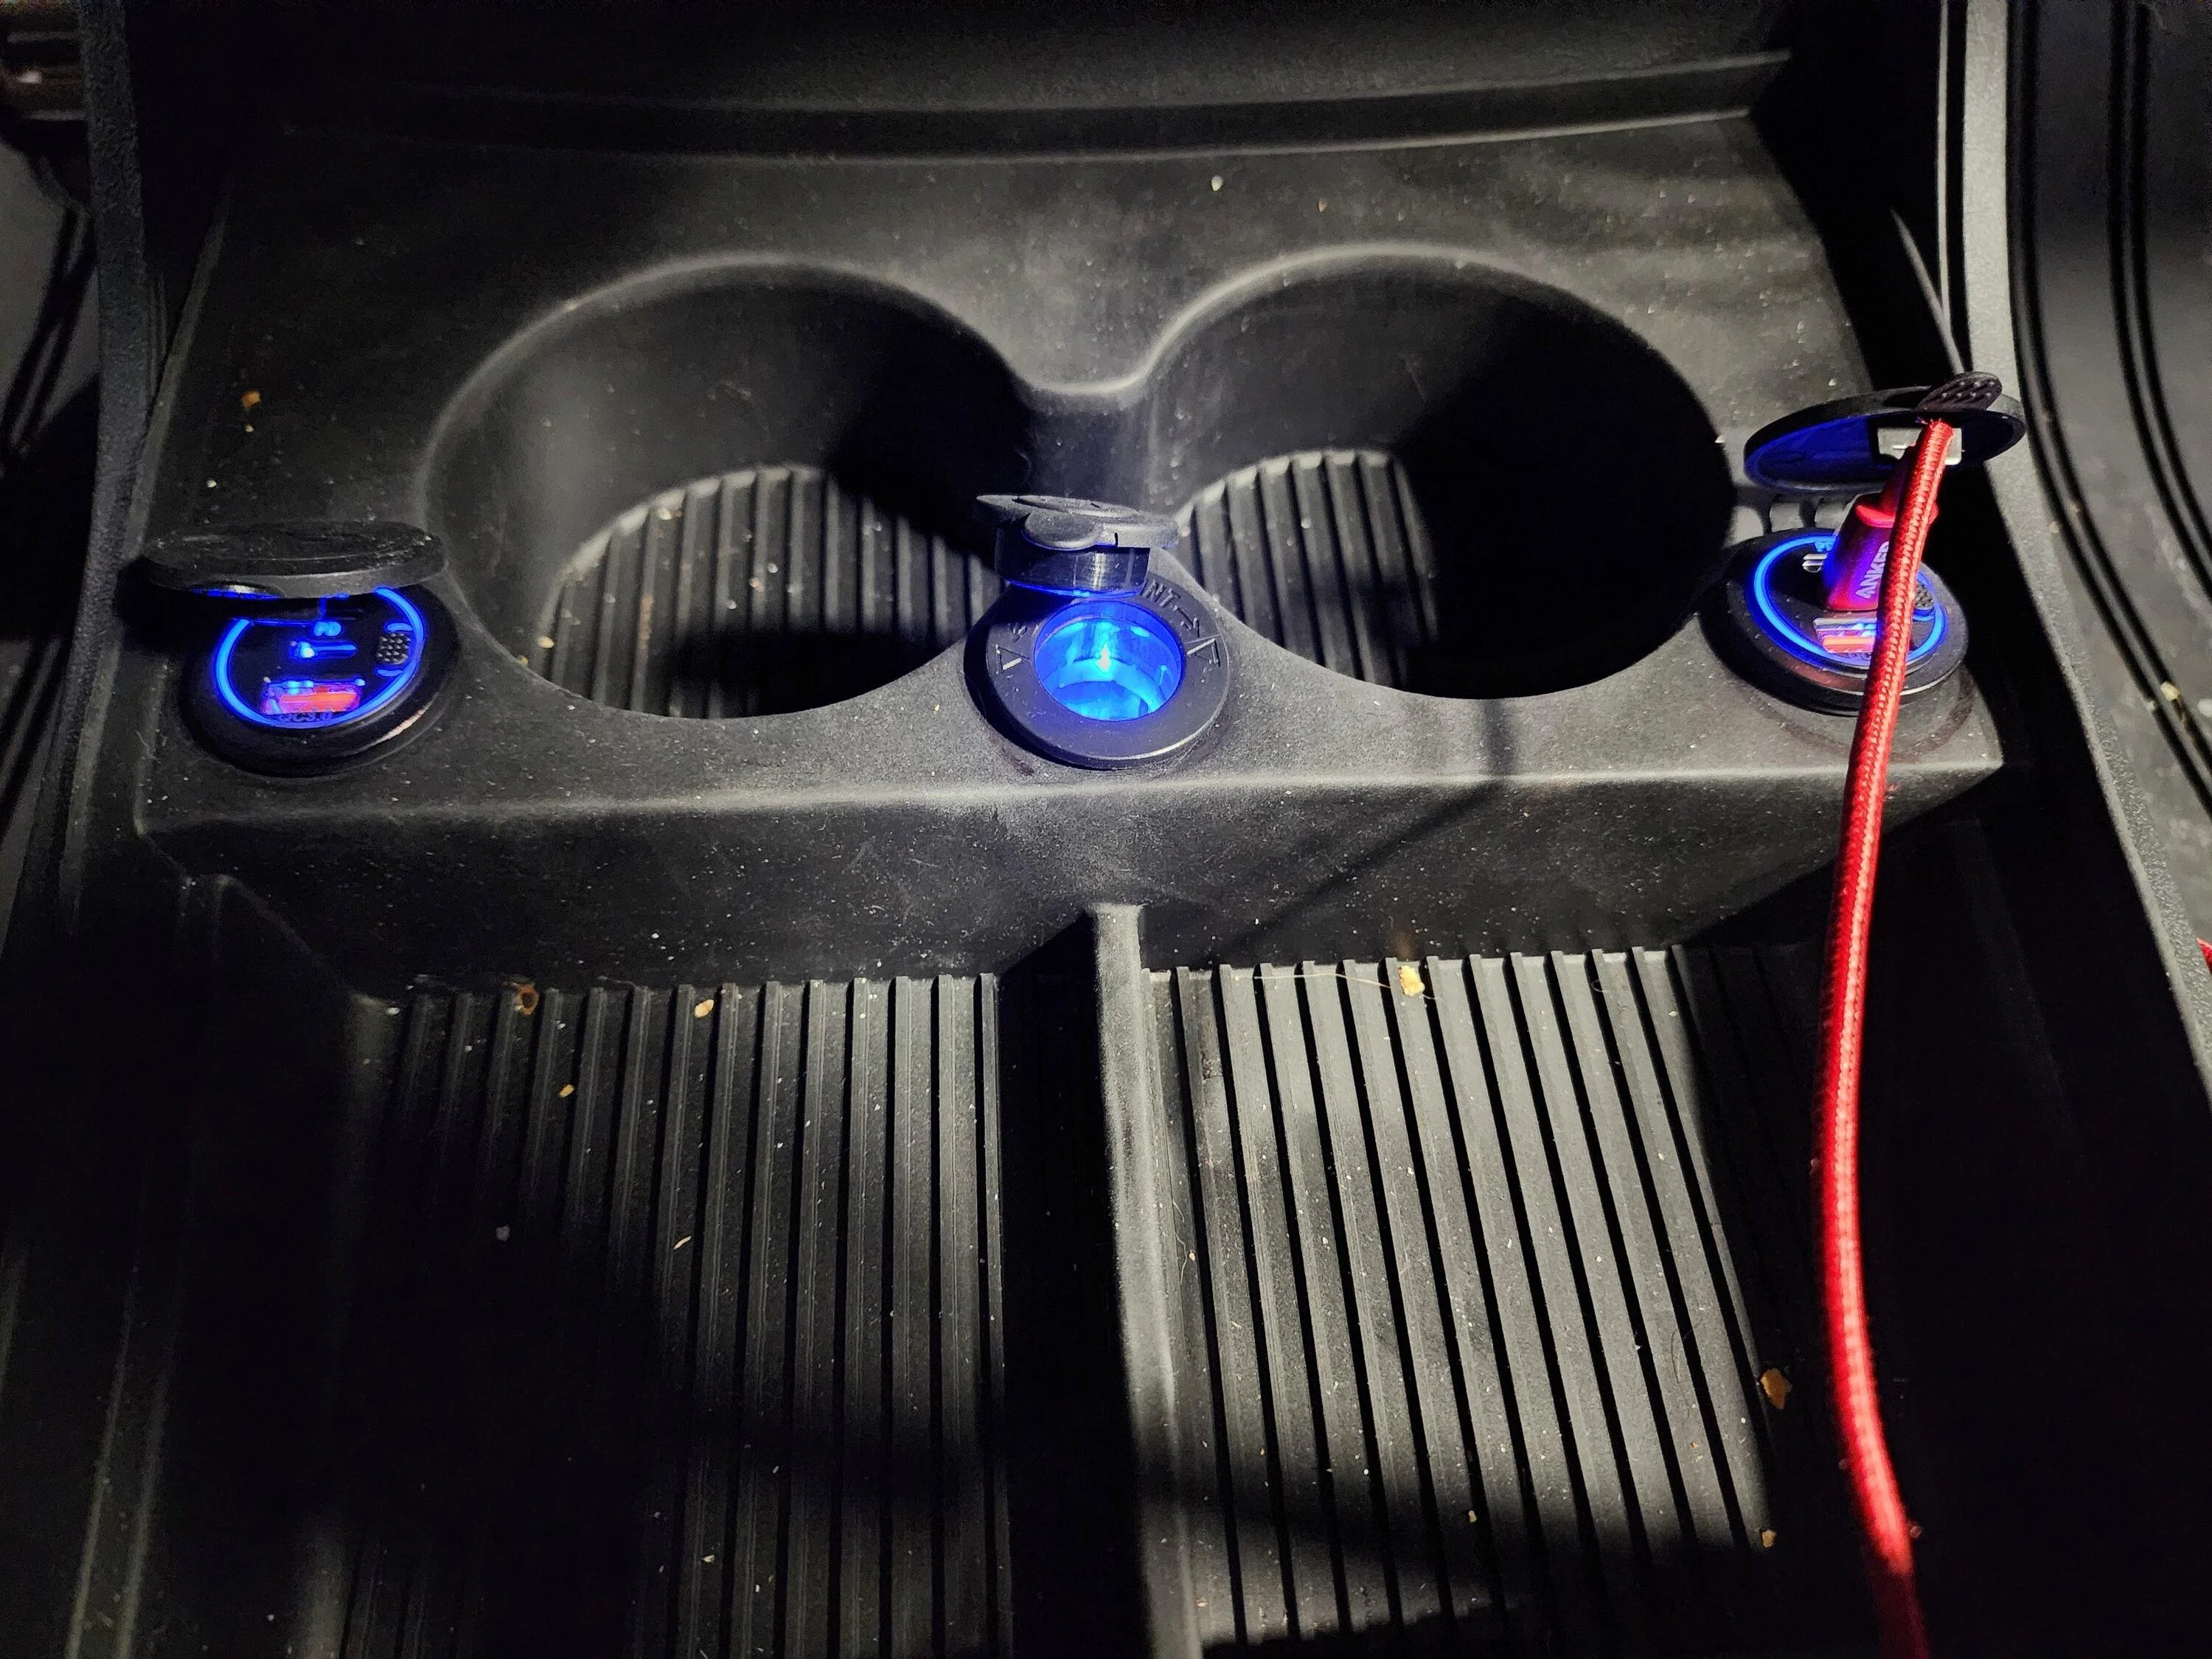
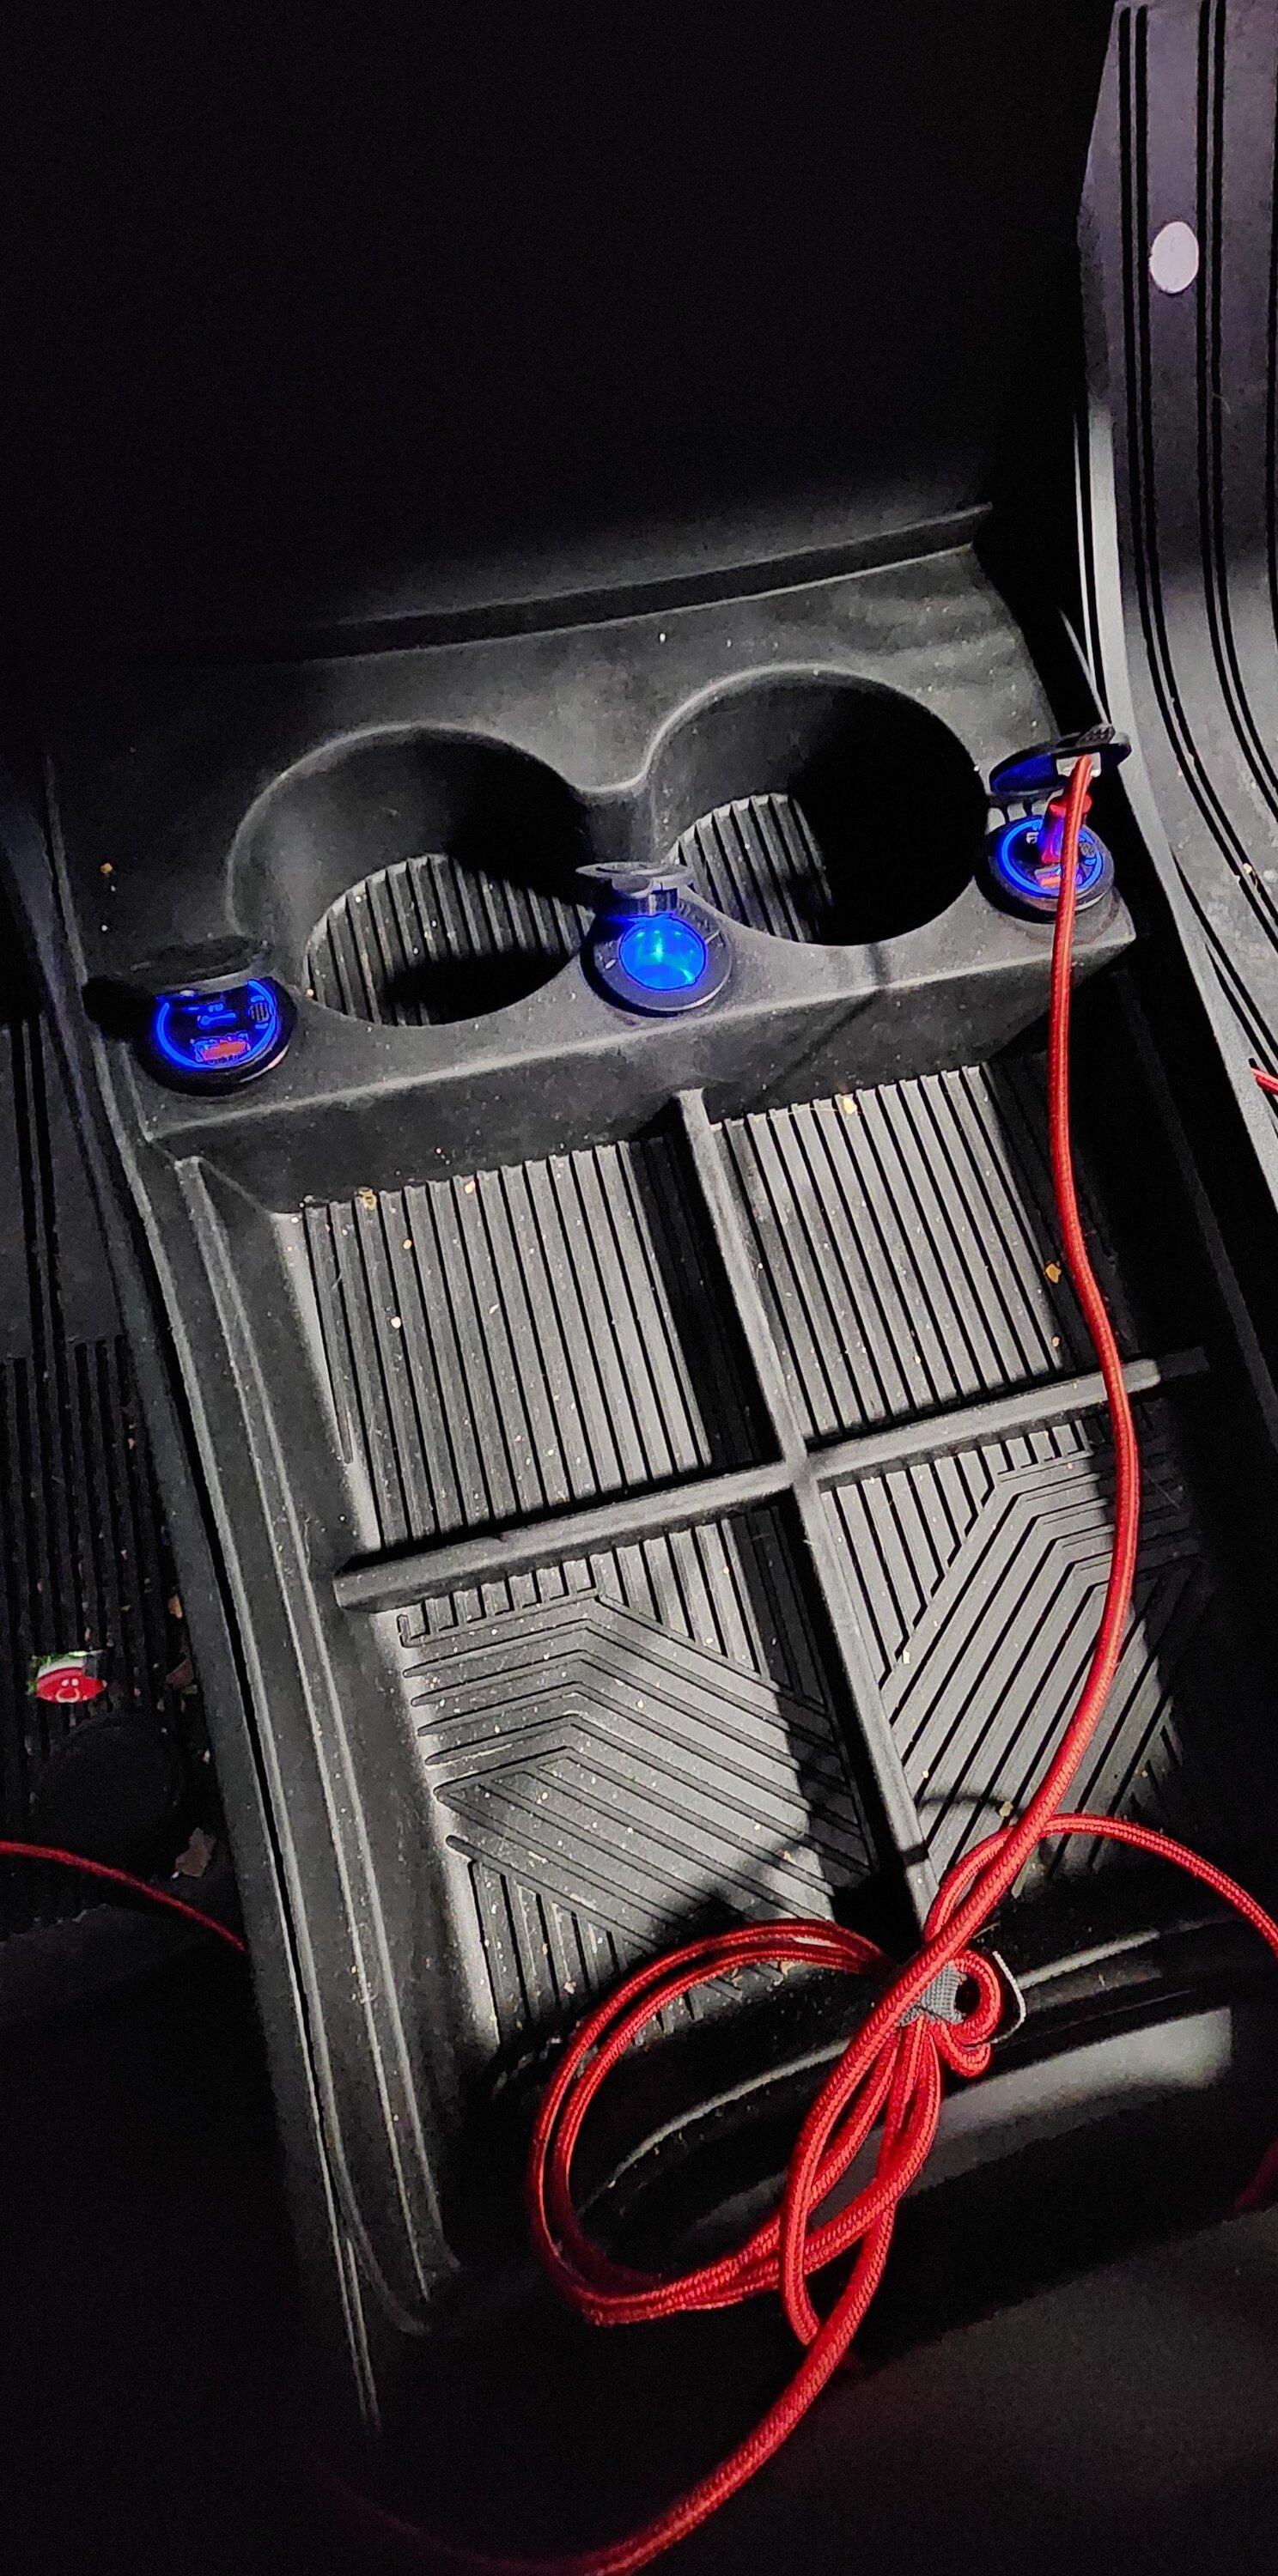
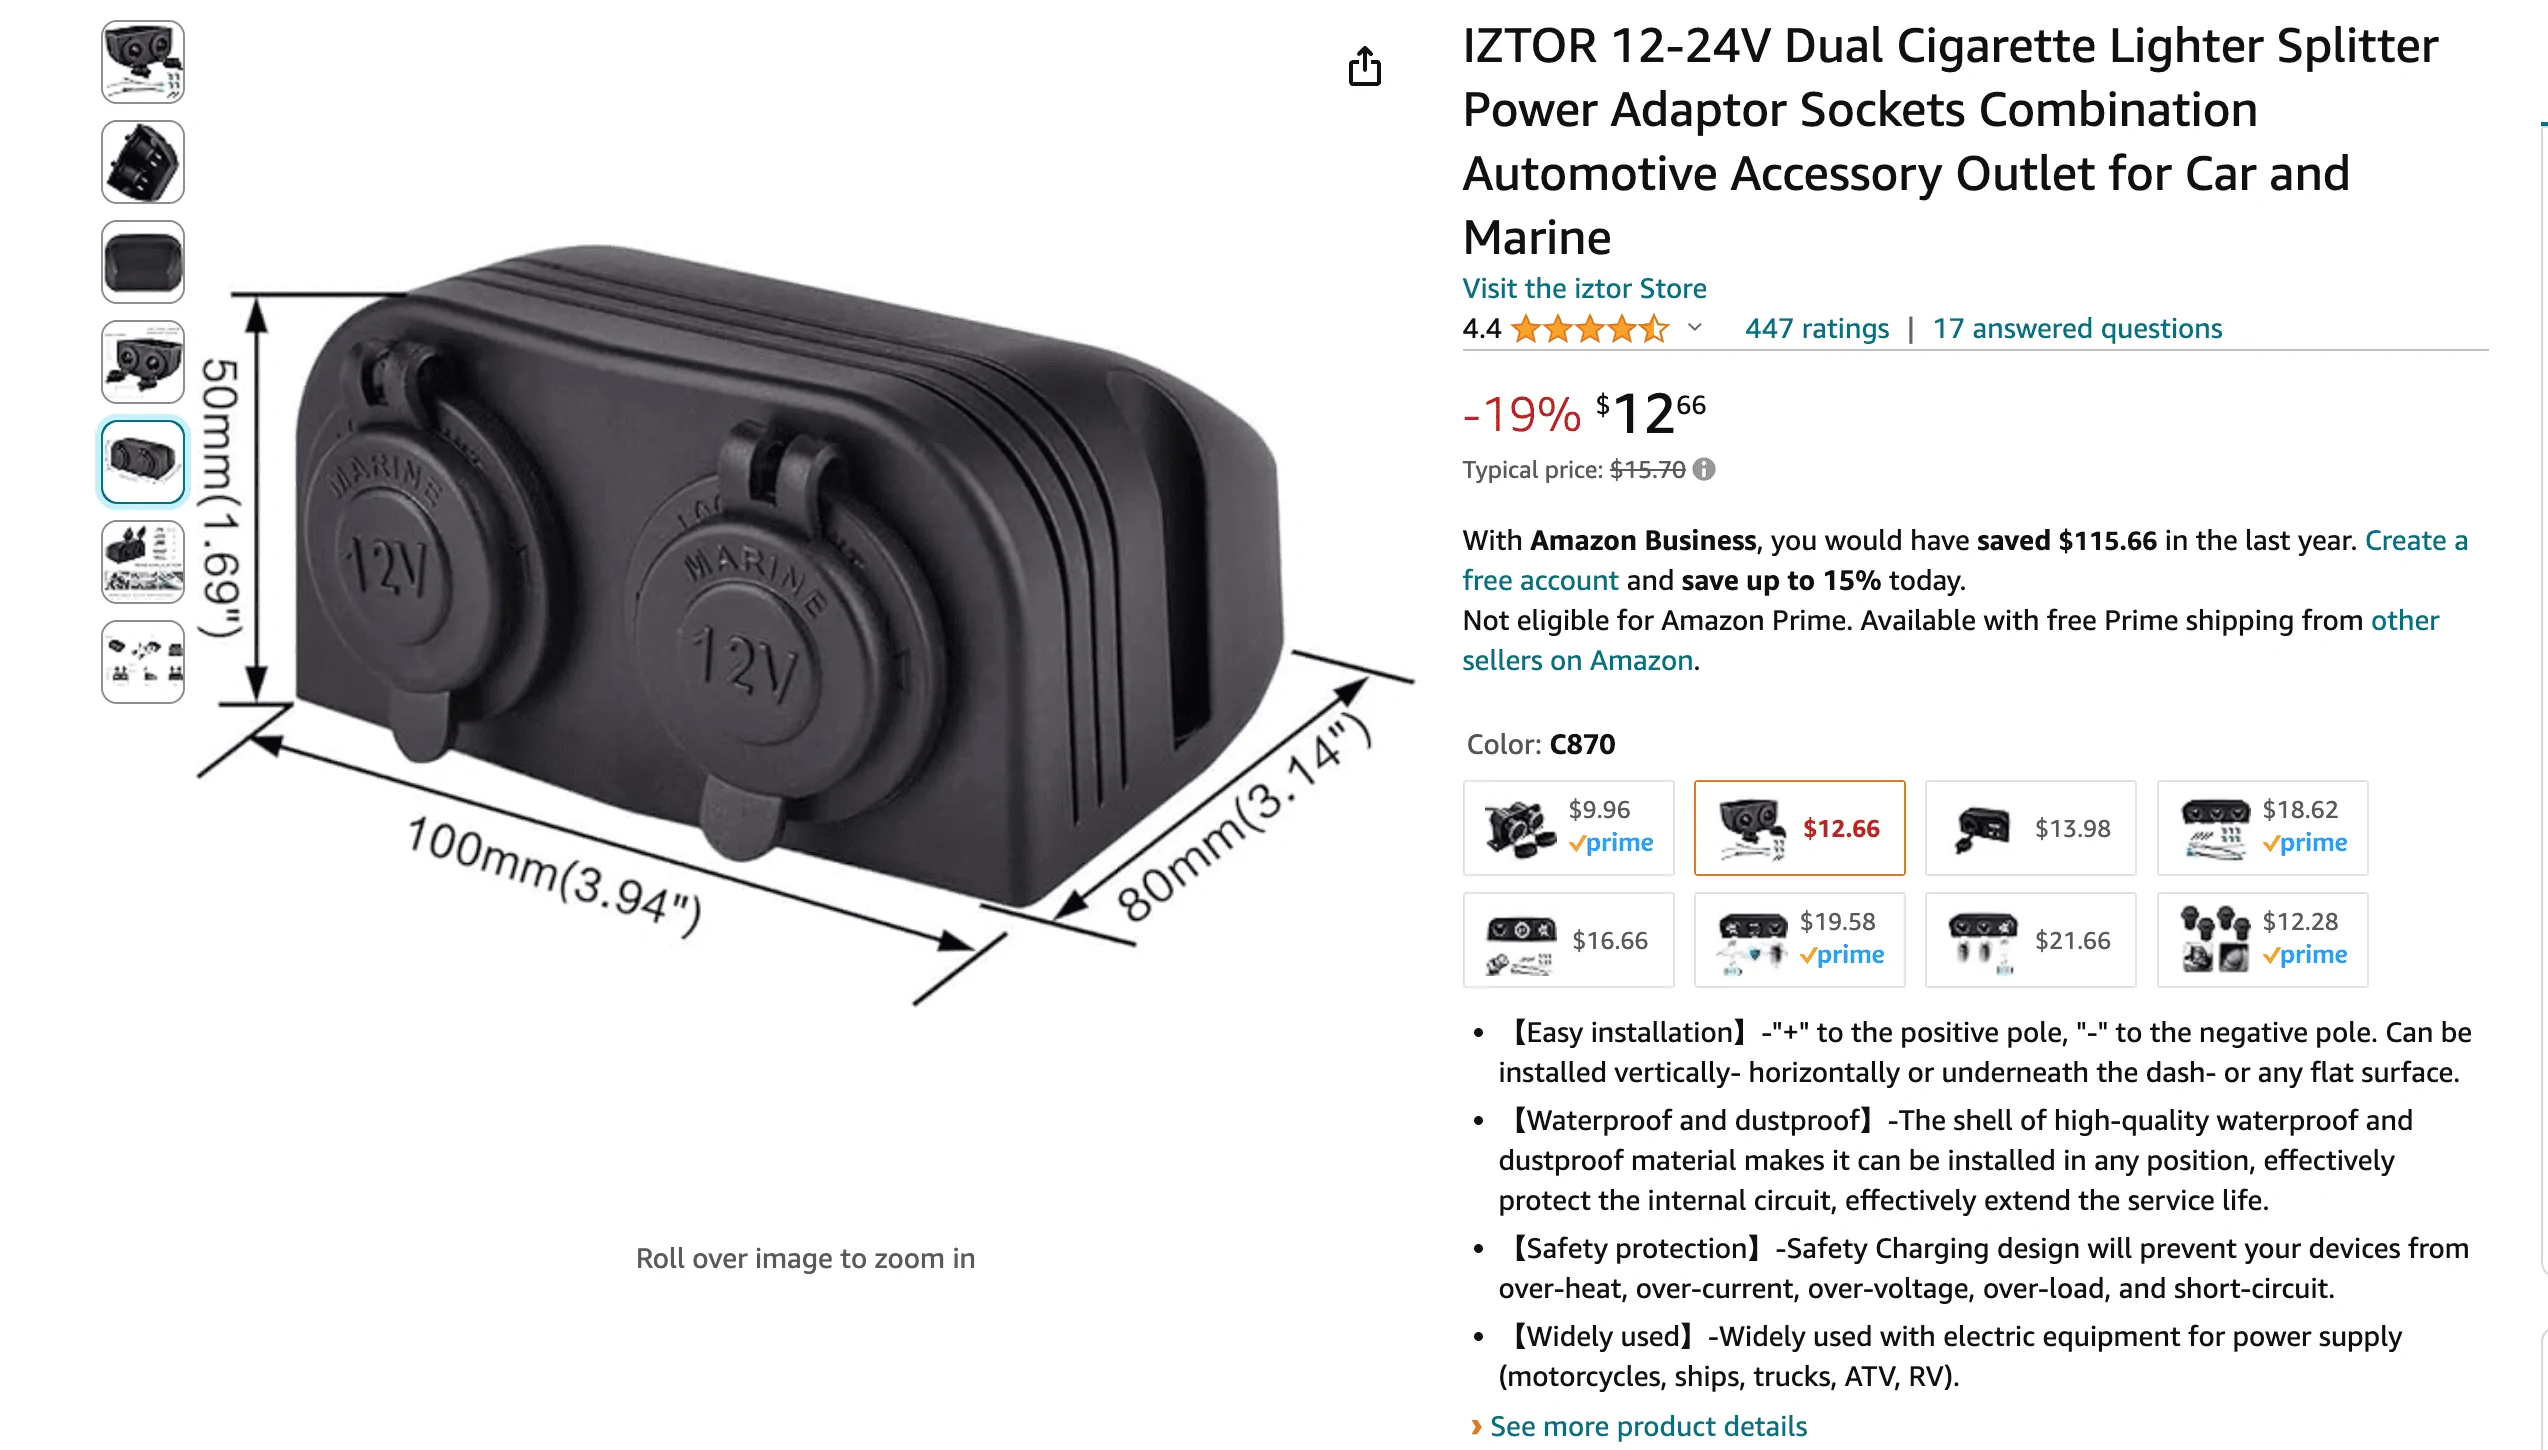
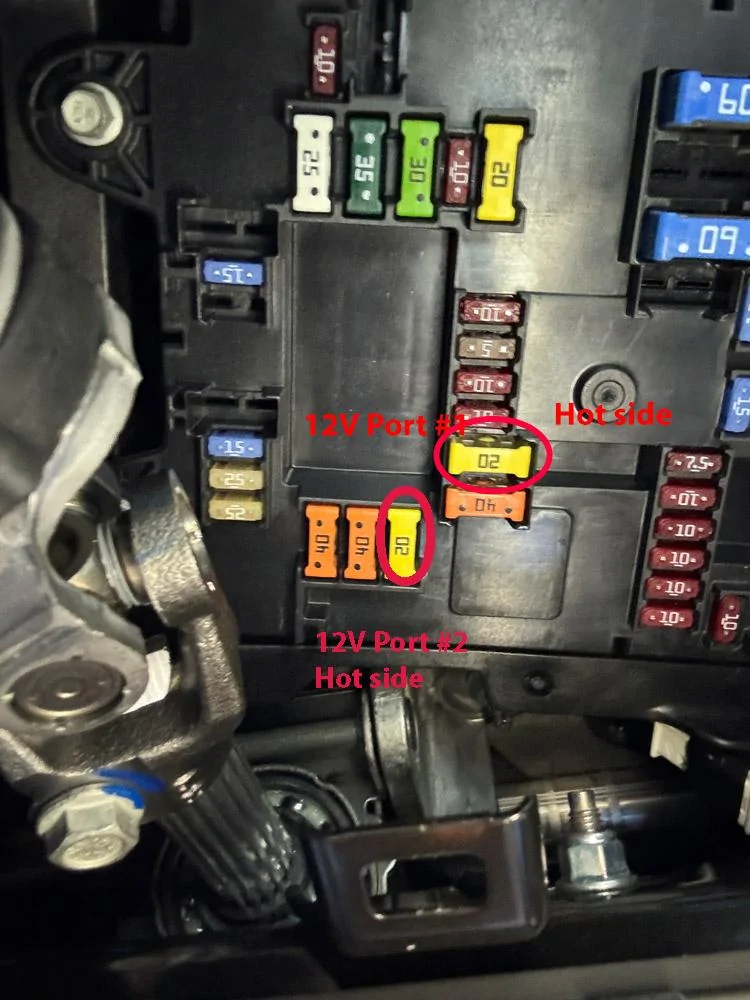
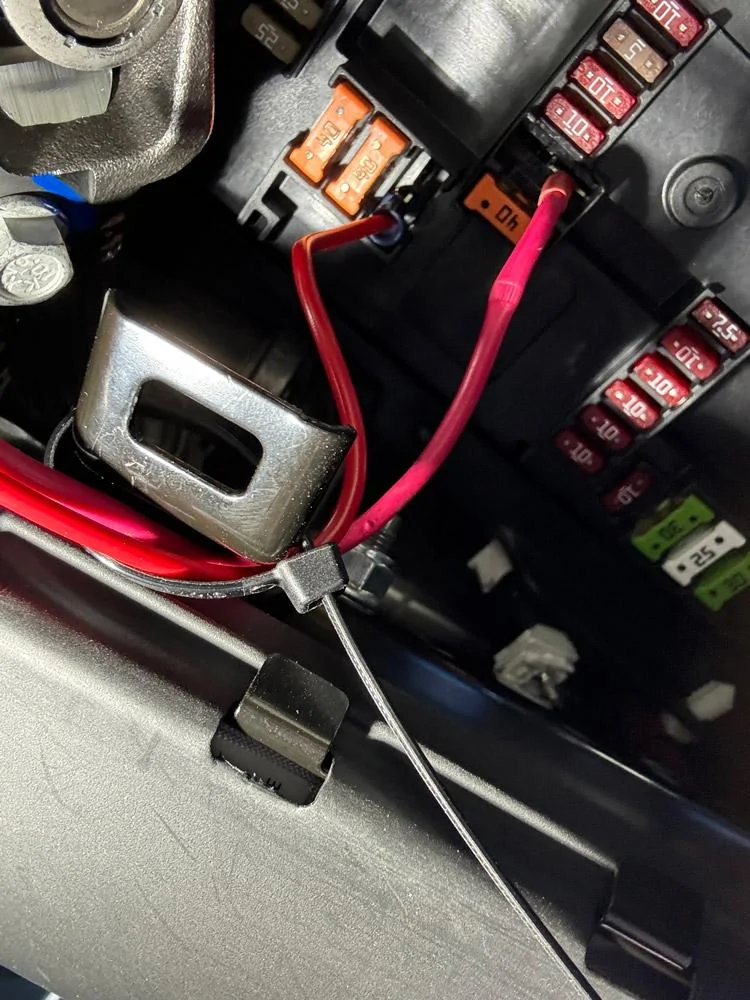
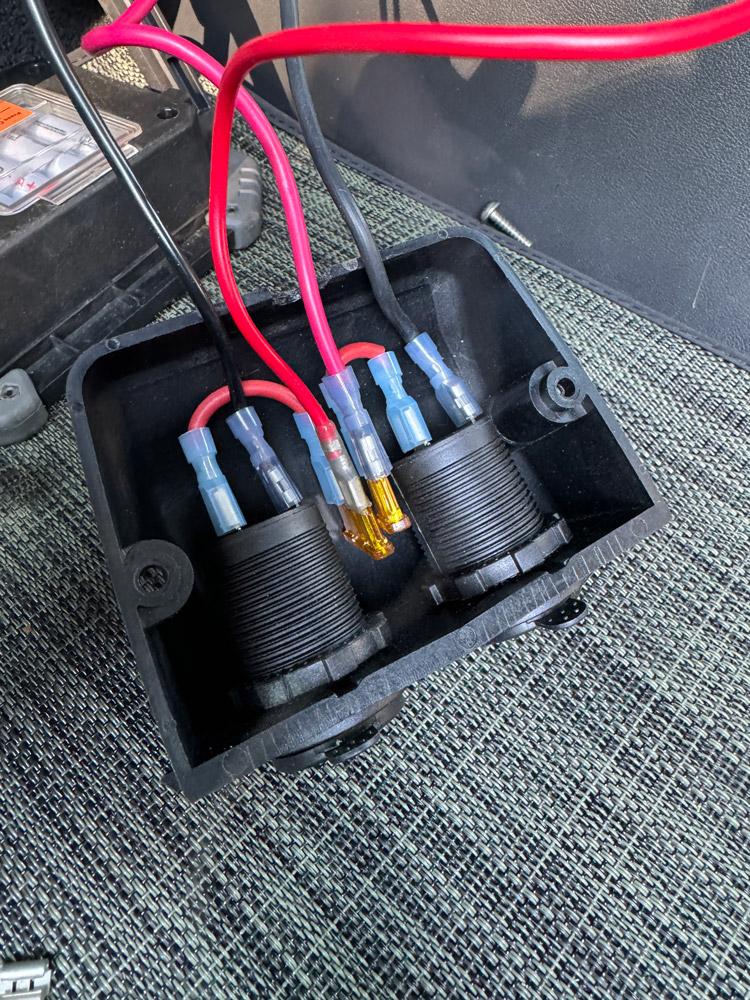
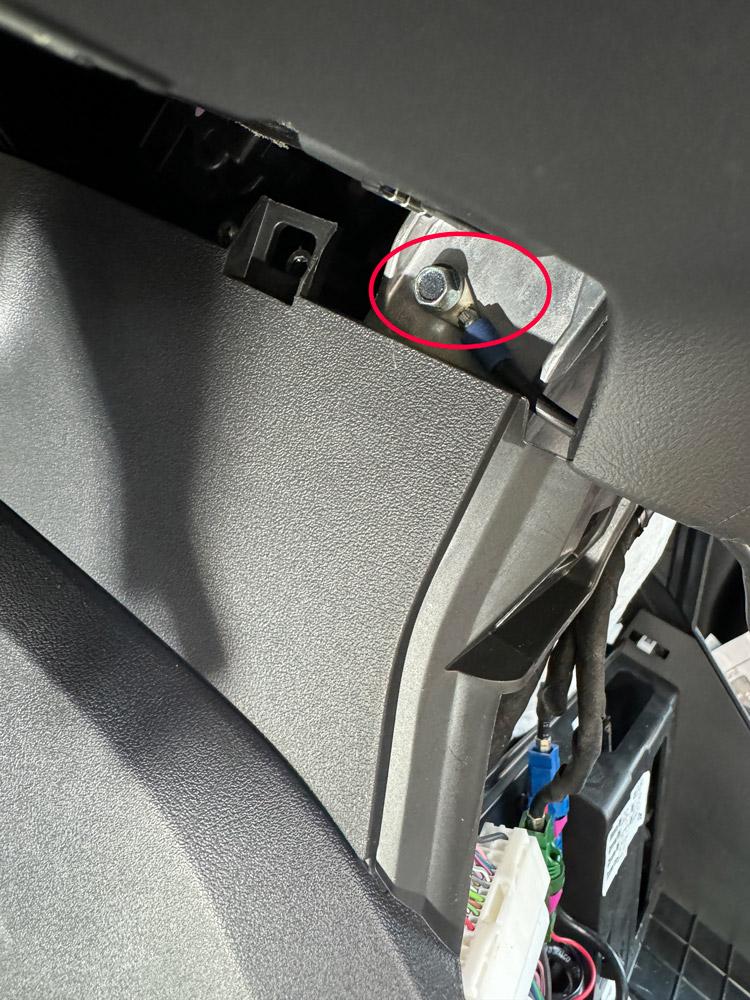
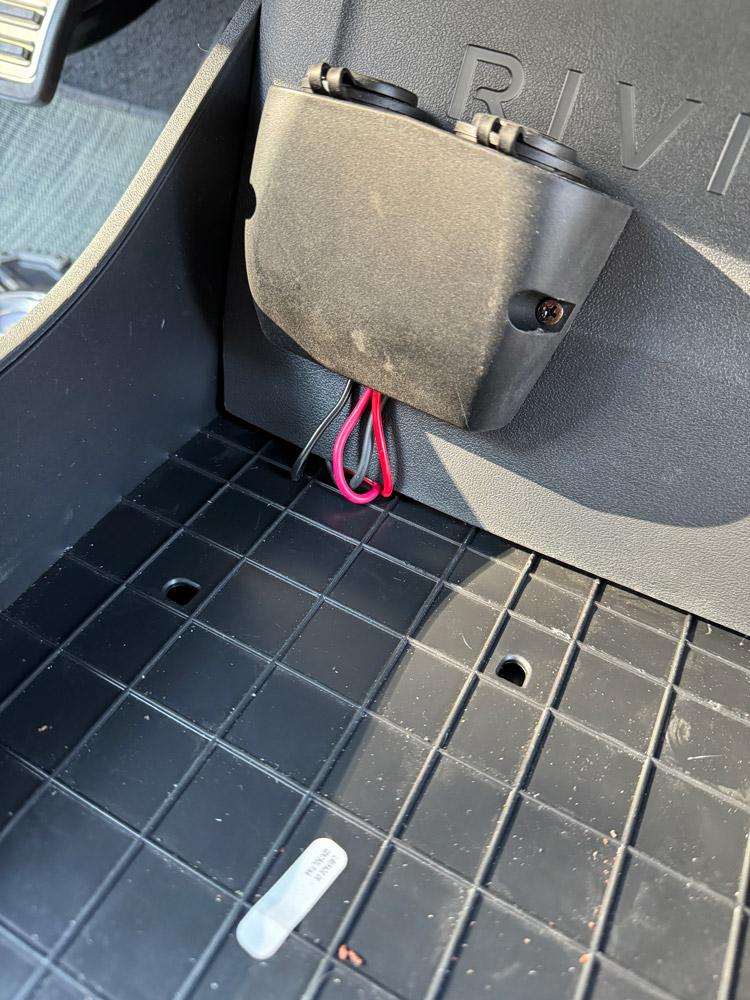
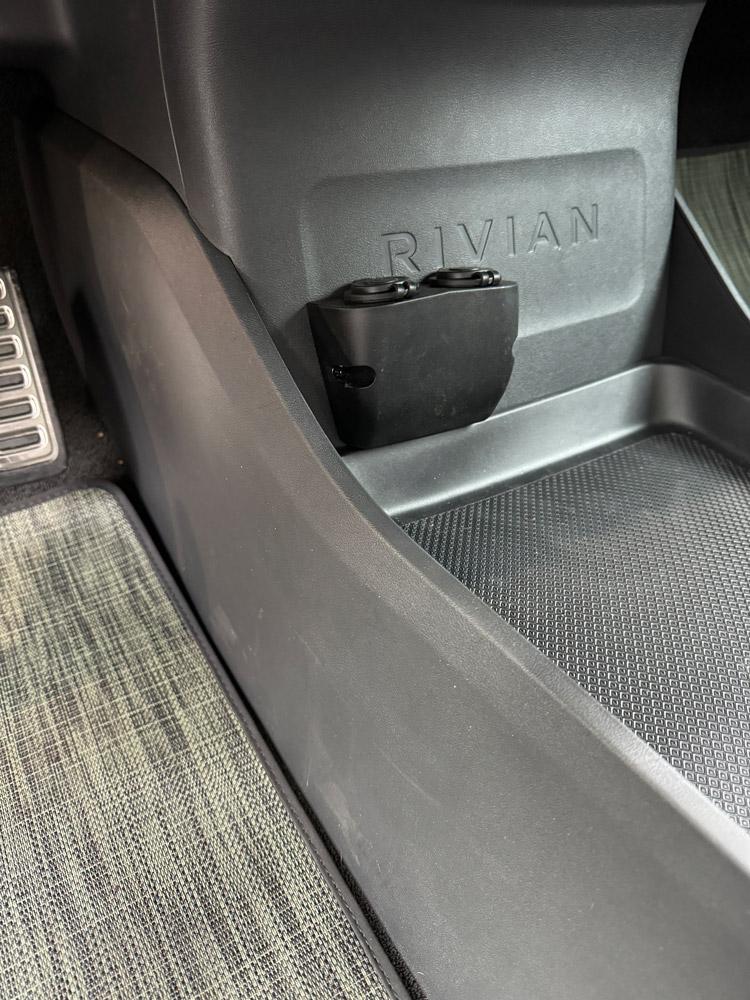
This should be one of your next purchases, I do have the 12v under the dash, and this allows me to have usbc and a on the plug plus 4 more on a remotely located plug, I love it!
https://www.amazon.com/dp/B0BDZ6V1Y4?psc=1&ref=ppx_yo2ov_dt_b_product_details
https://www.amazon.com/dp/B0BDZ6V1Y4?psc=1&ref=ppx_yo2ov_dt_b_product_details
Sponsored