k3g
Well-Known Member
- Thread starter
- #1
Current truck state:


Things that didn't come with the truck but are now on the truck:
Aesthetic/Exterior:
1. Lamin-x amber film on fog lights
2. Brain exploder emblem vinyl blackout kit
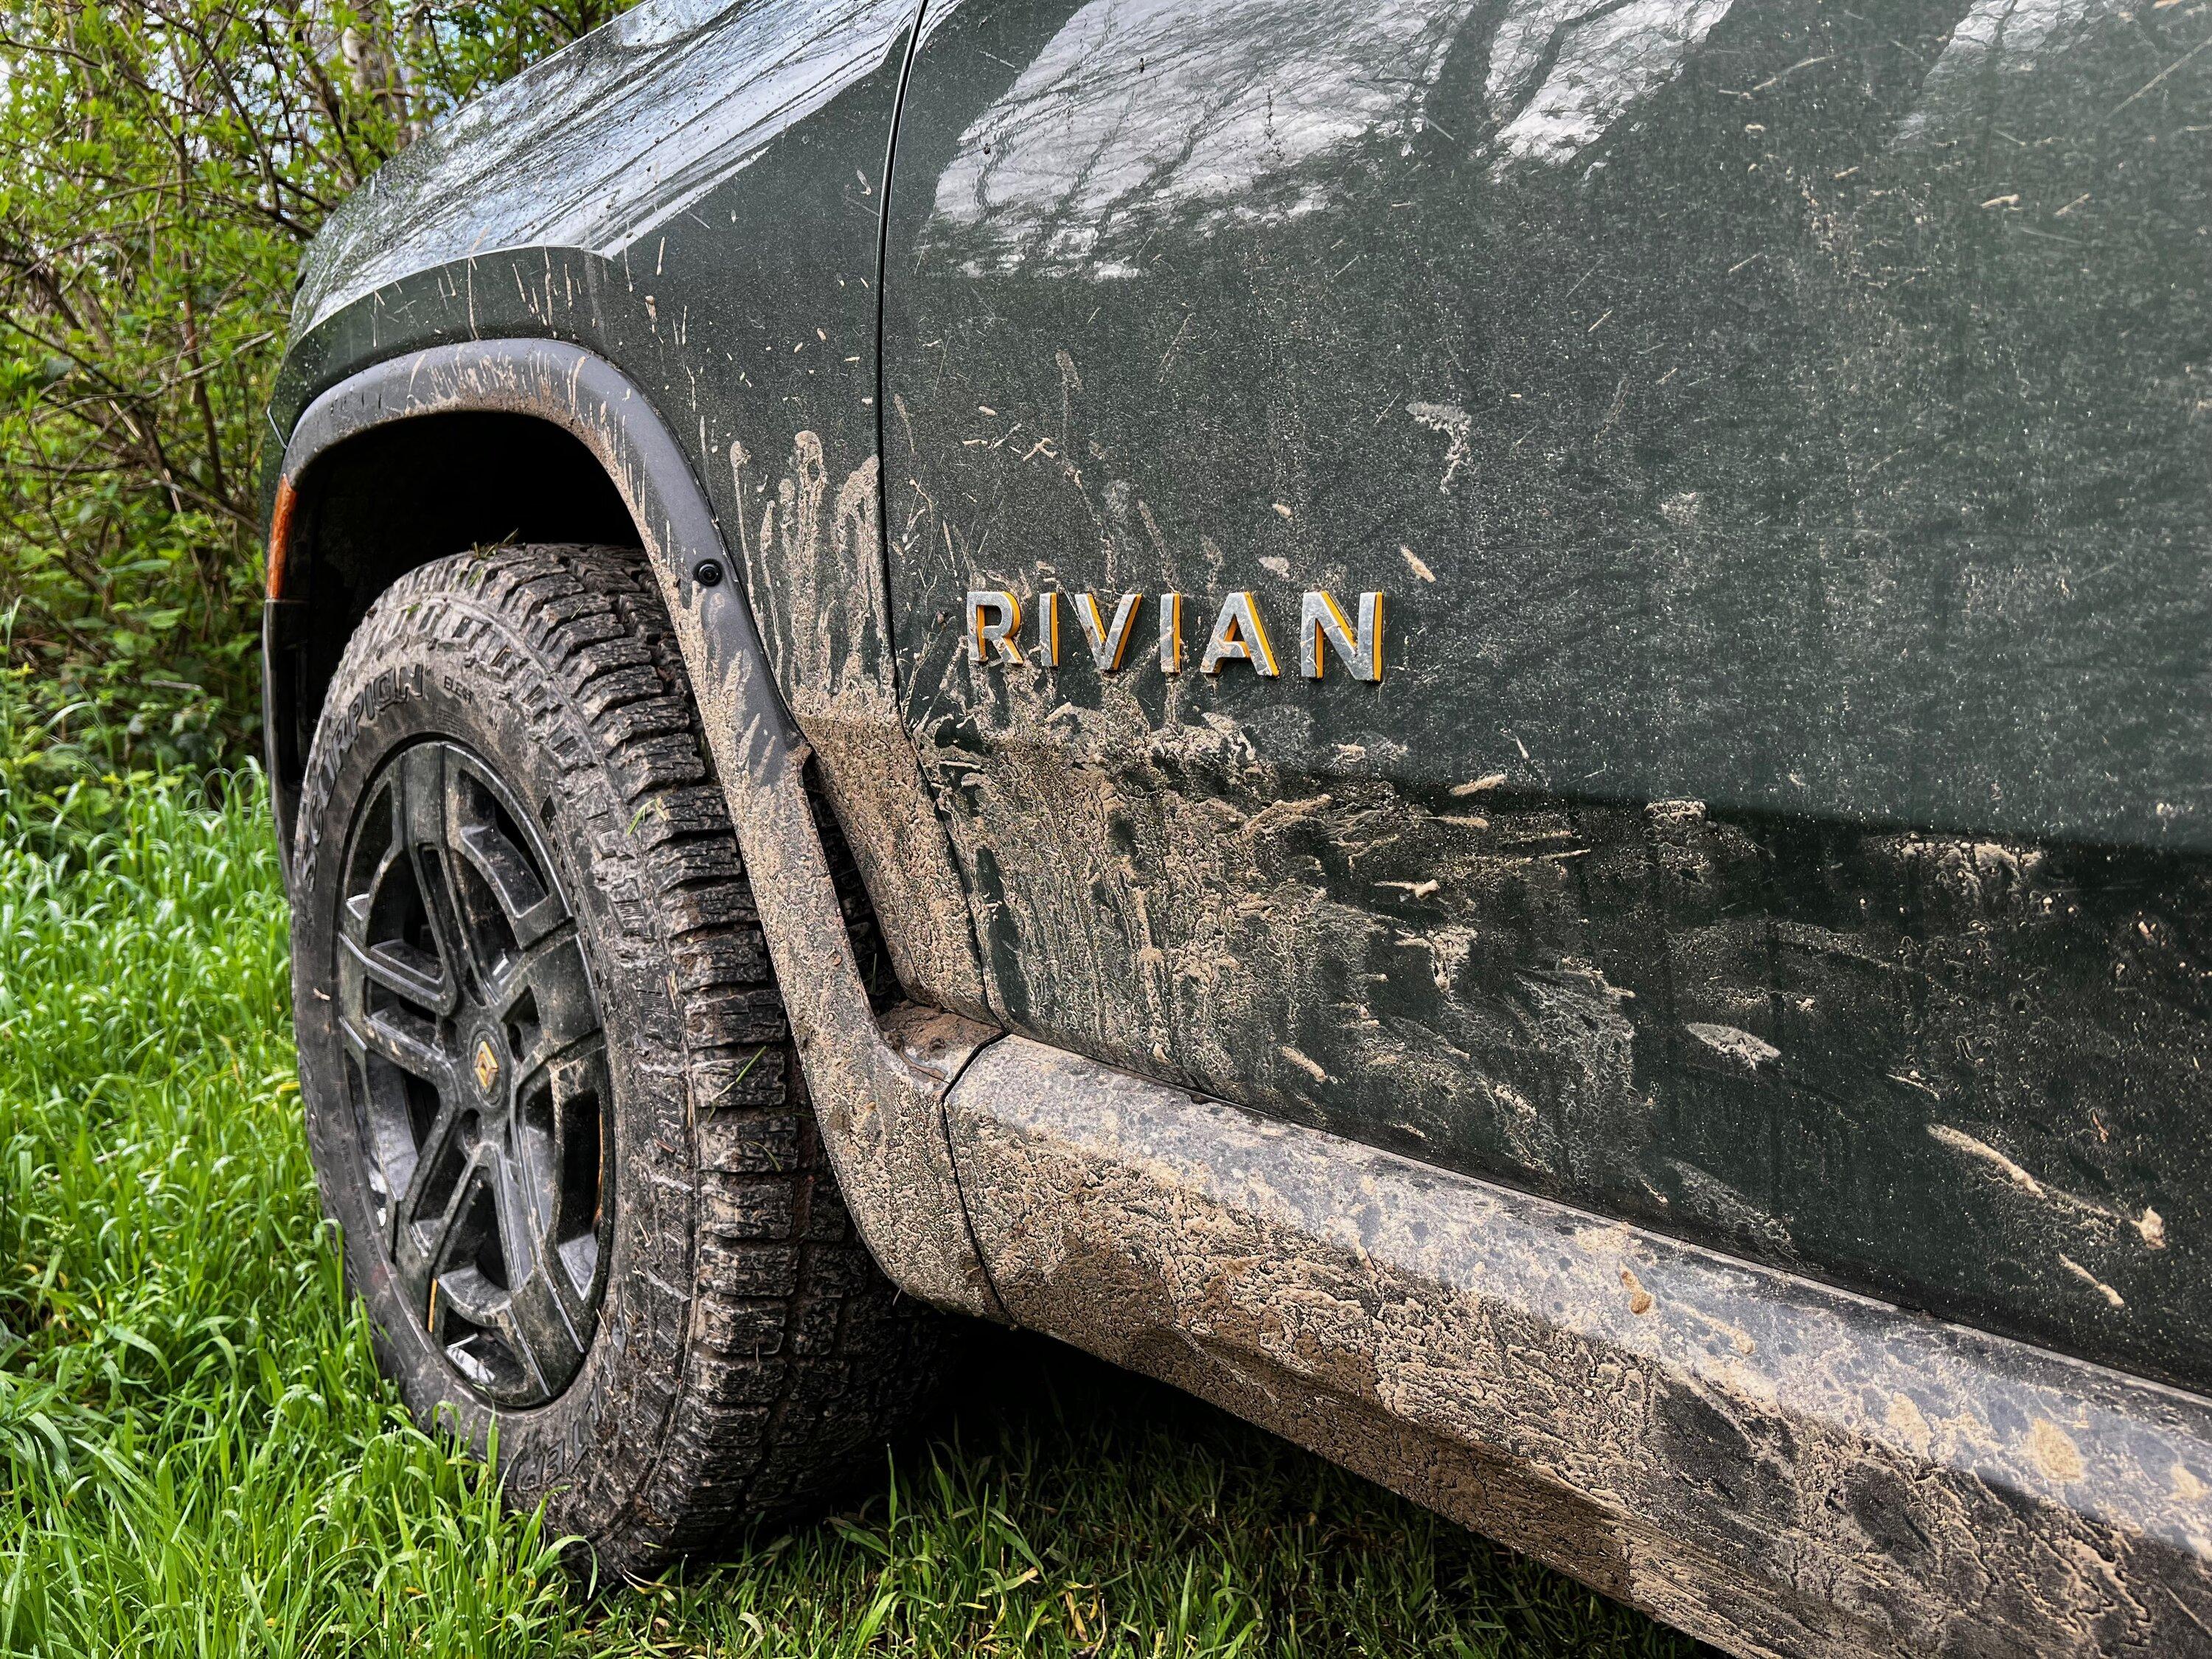
3. Builtrite license plate holder (I snapped off a plastic one crossing a river:
 )
)
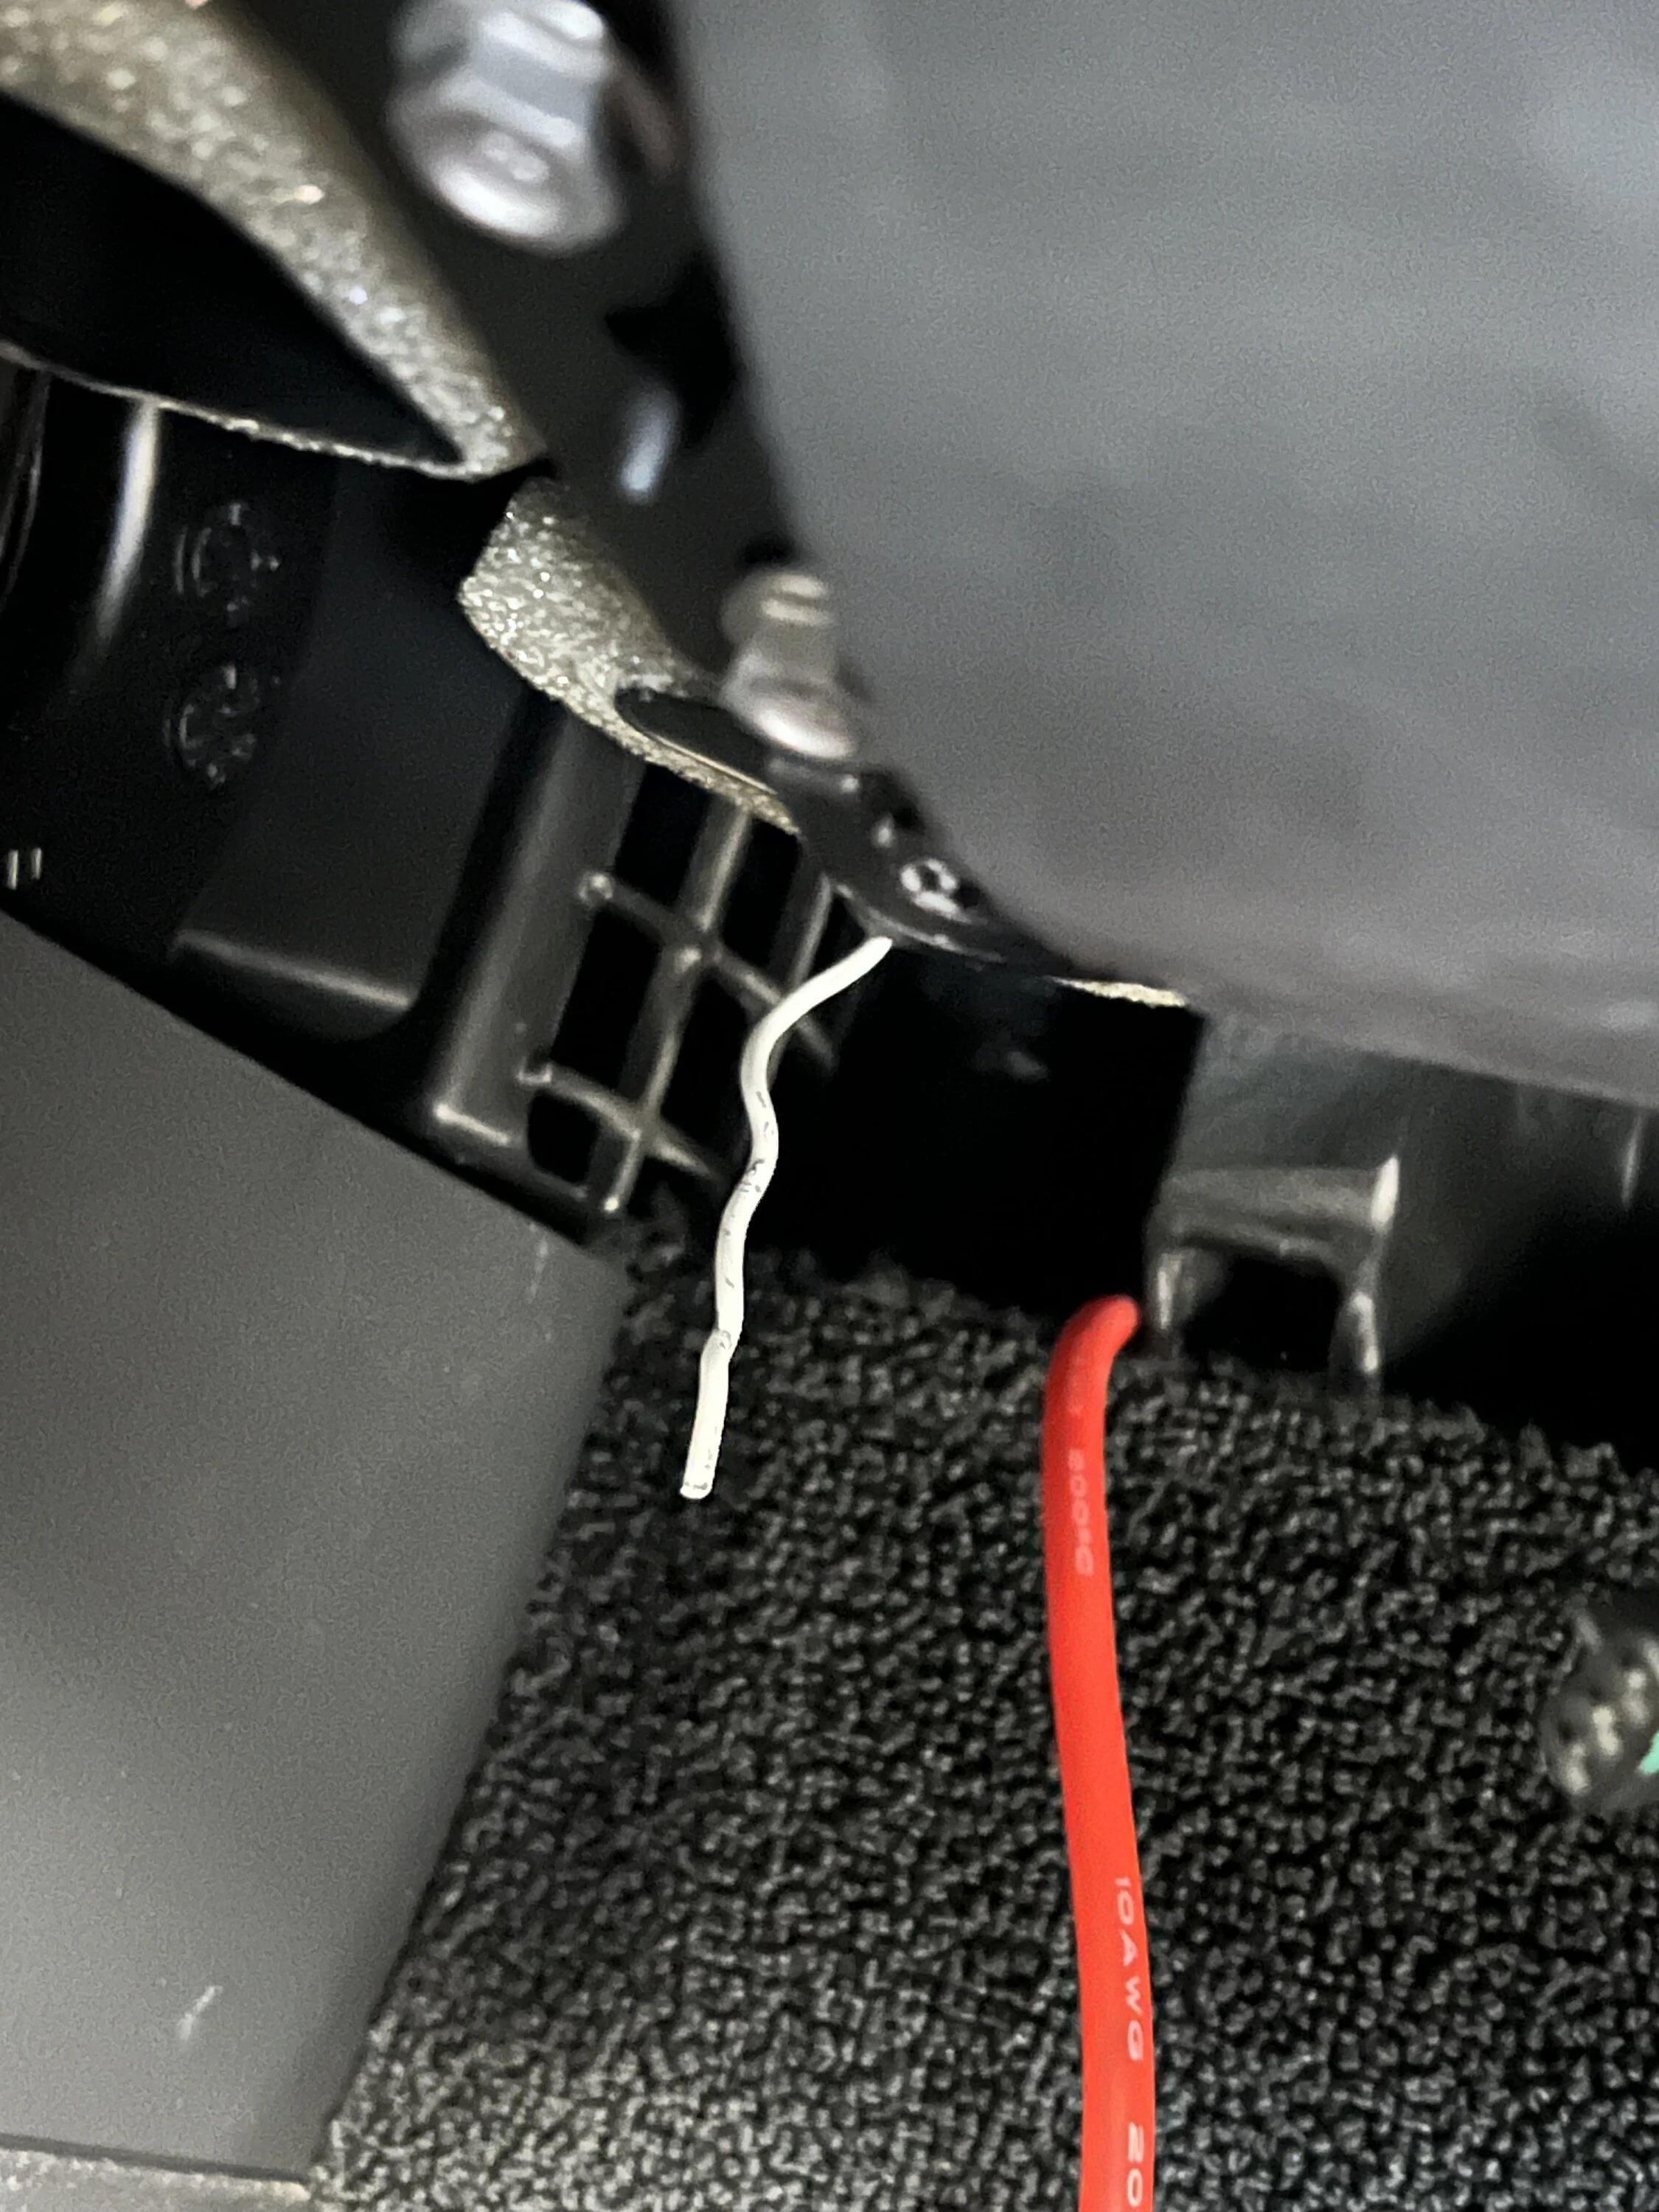
Electrical:
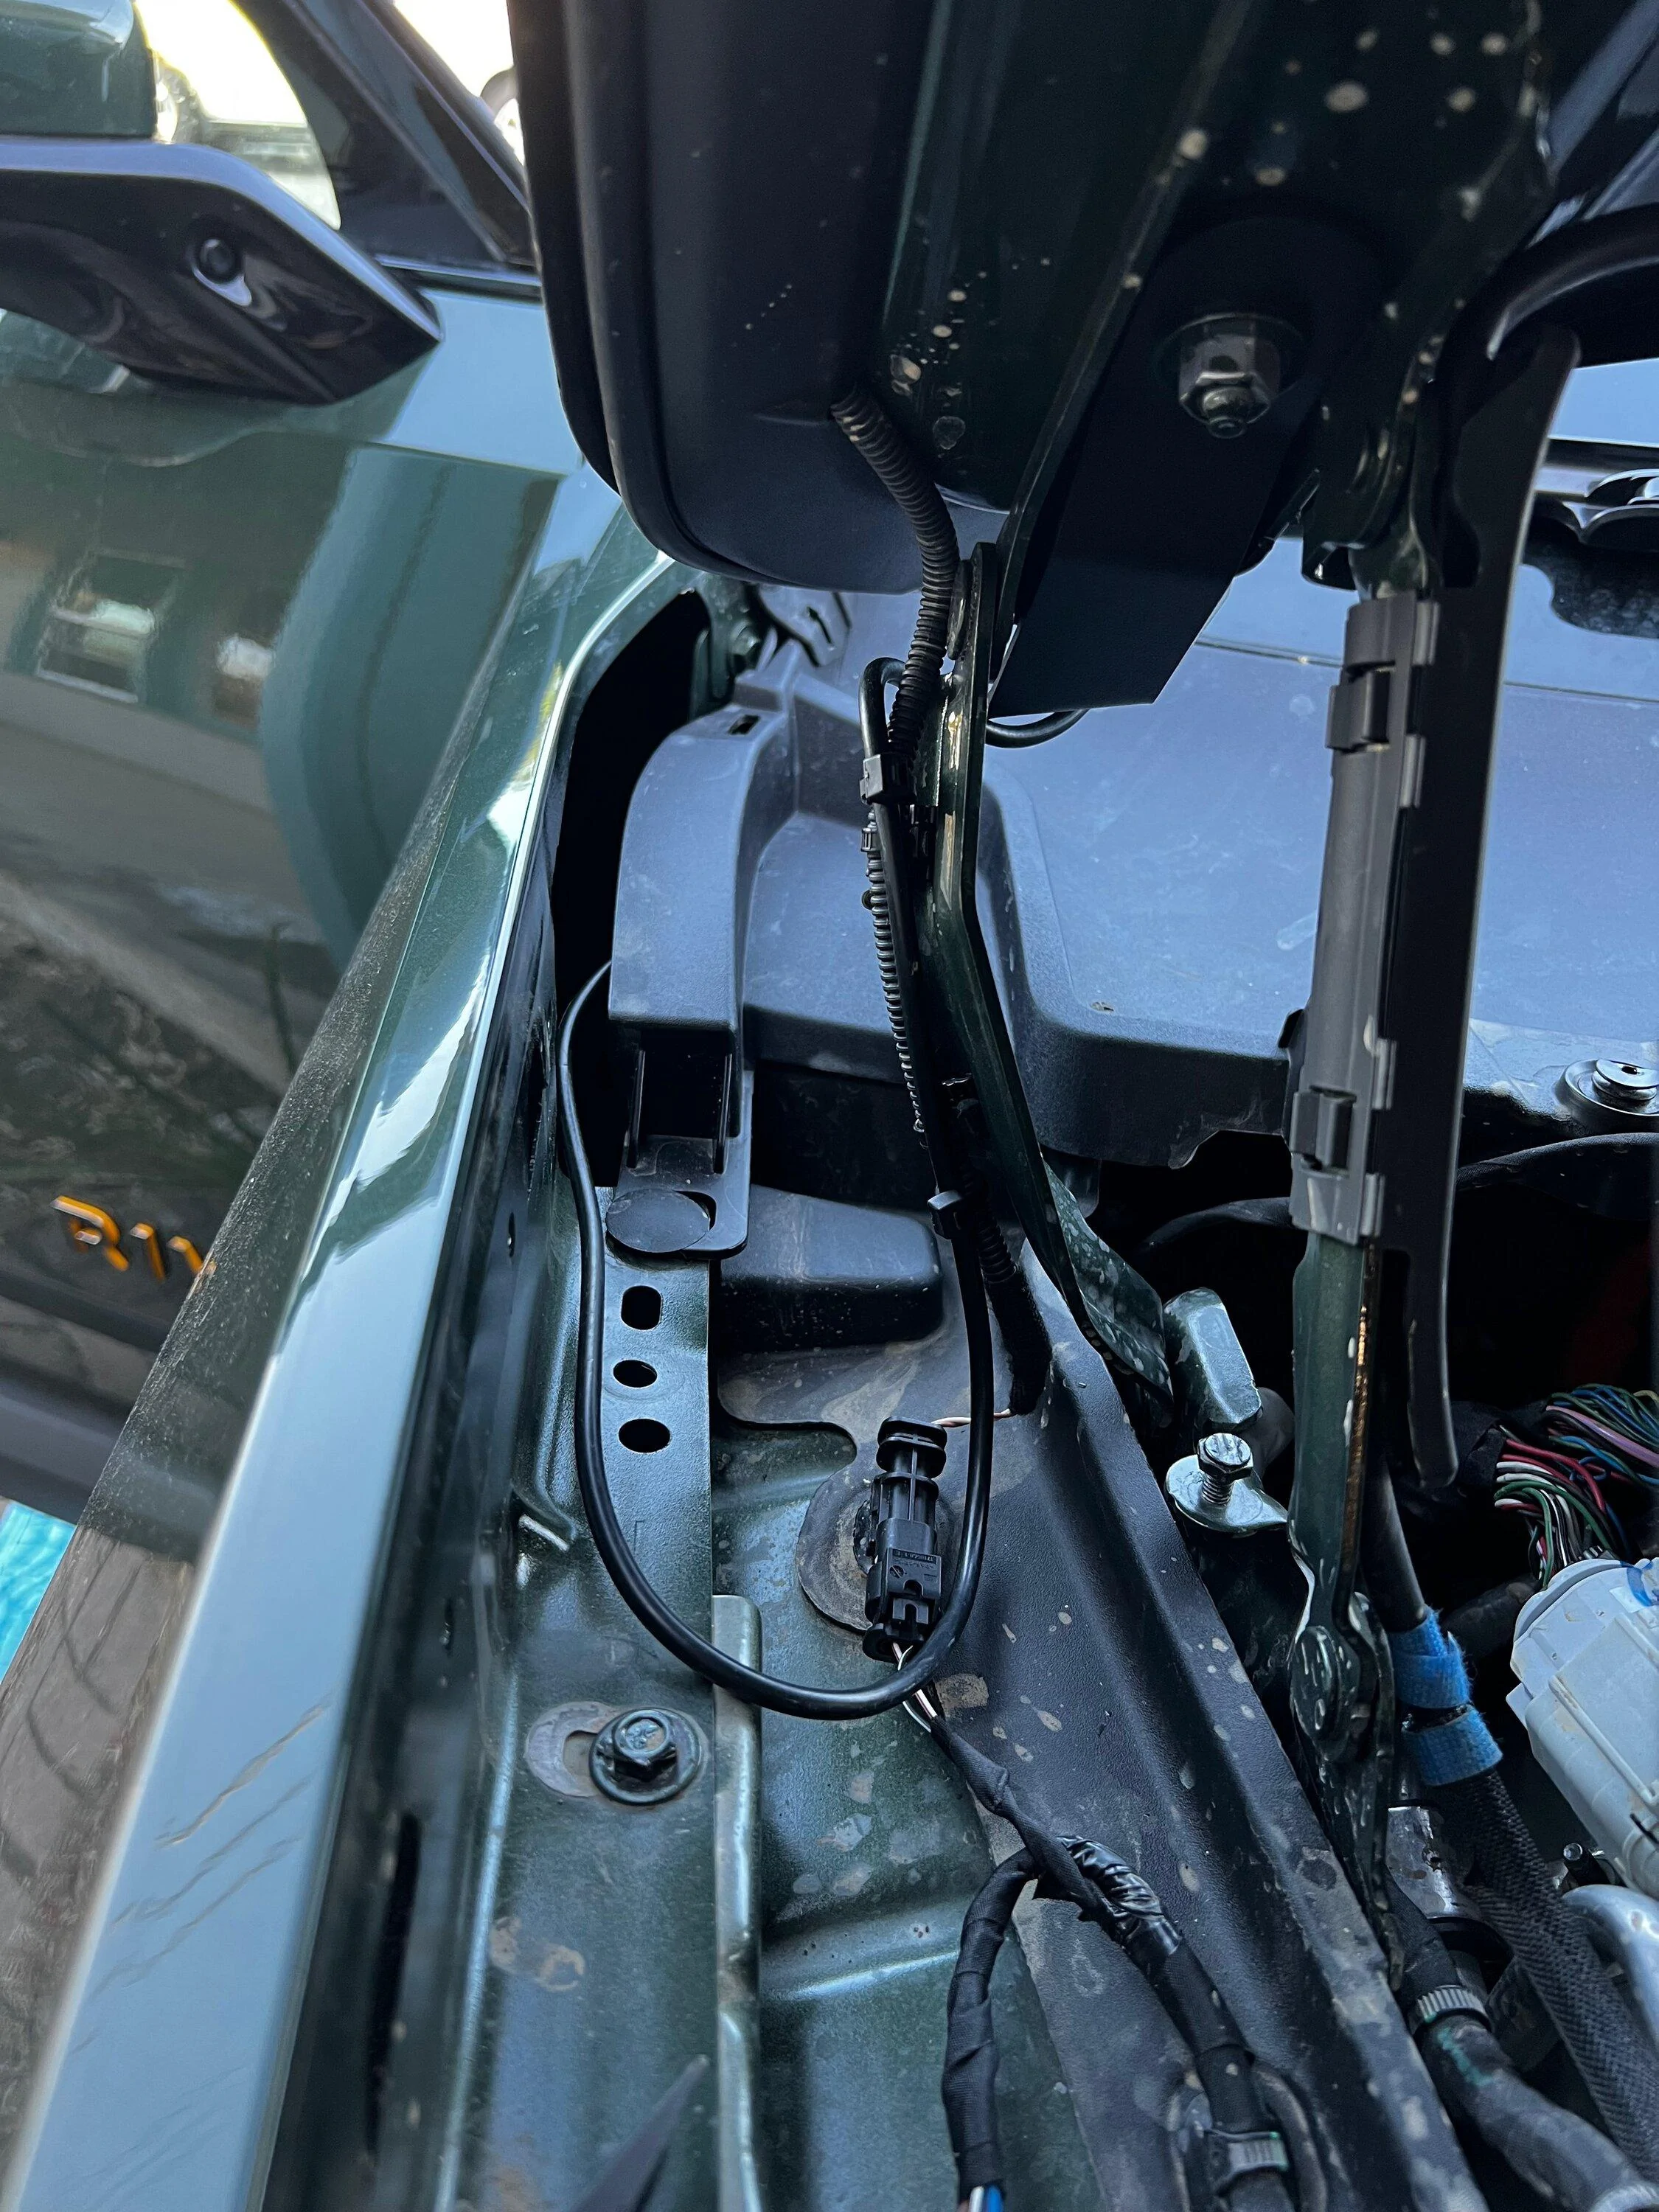
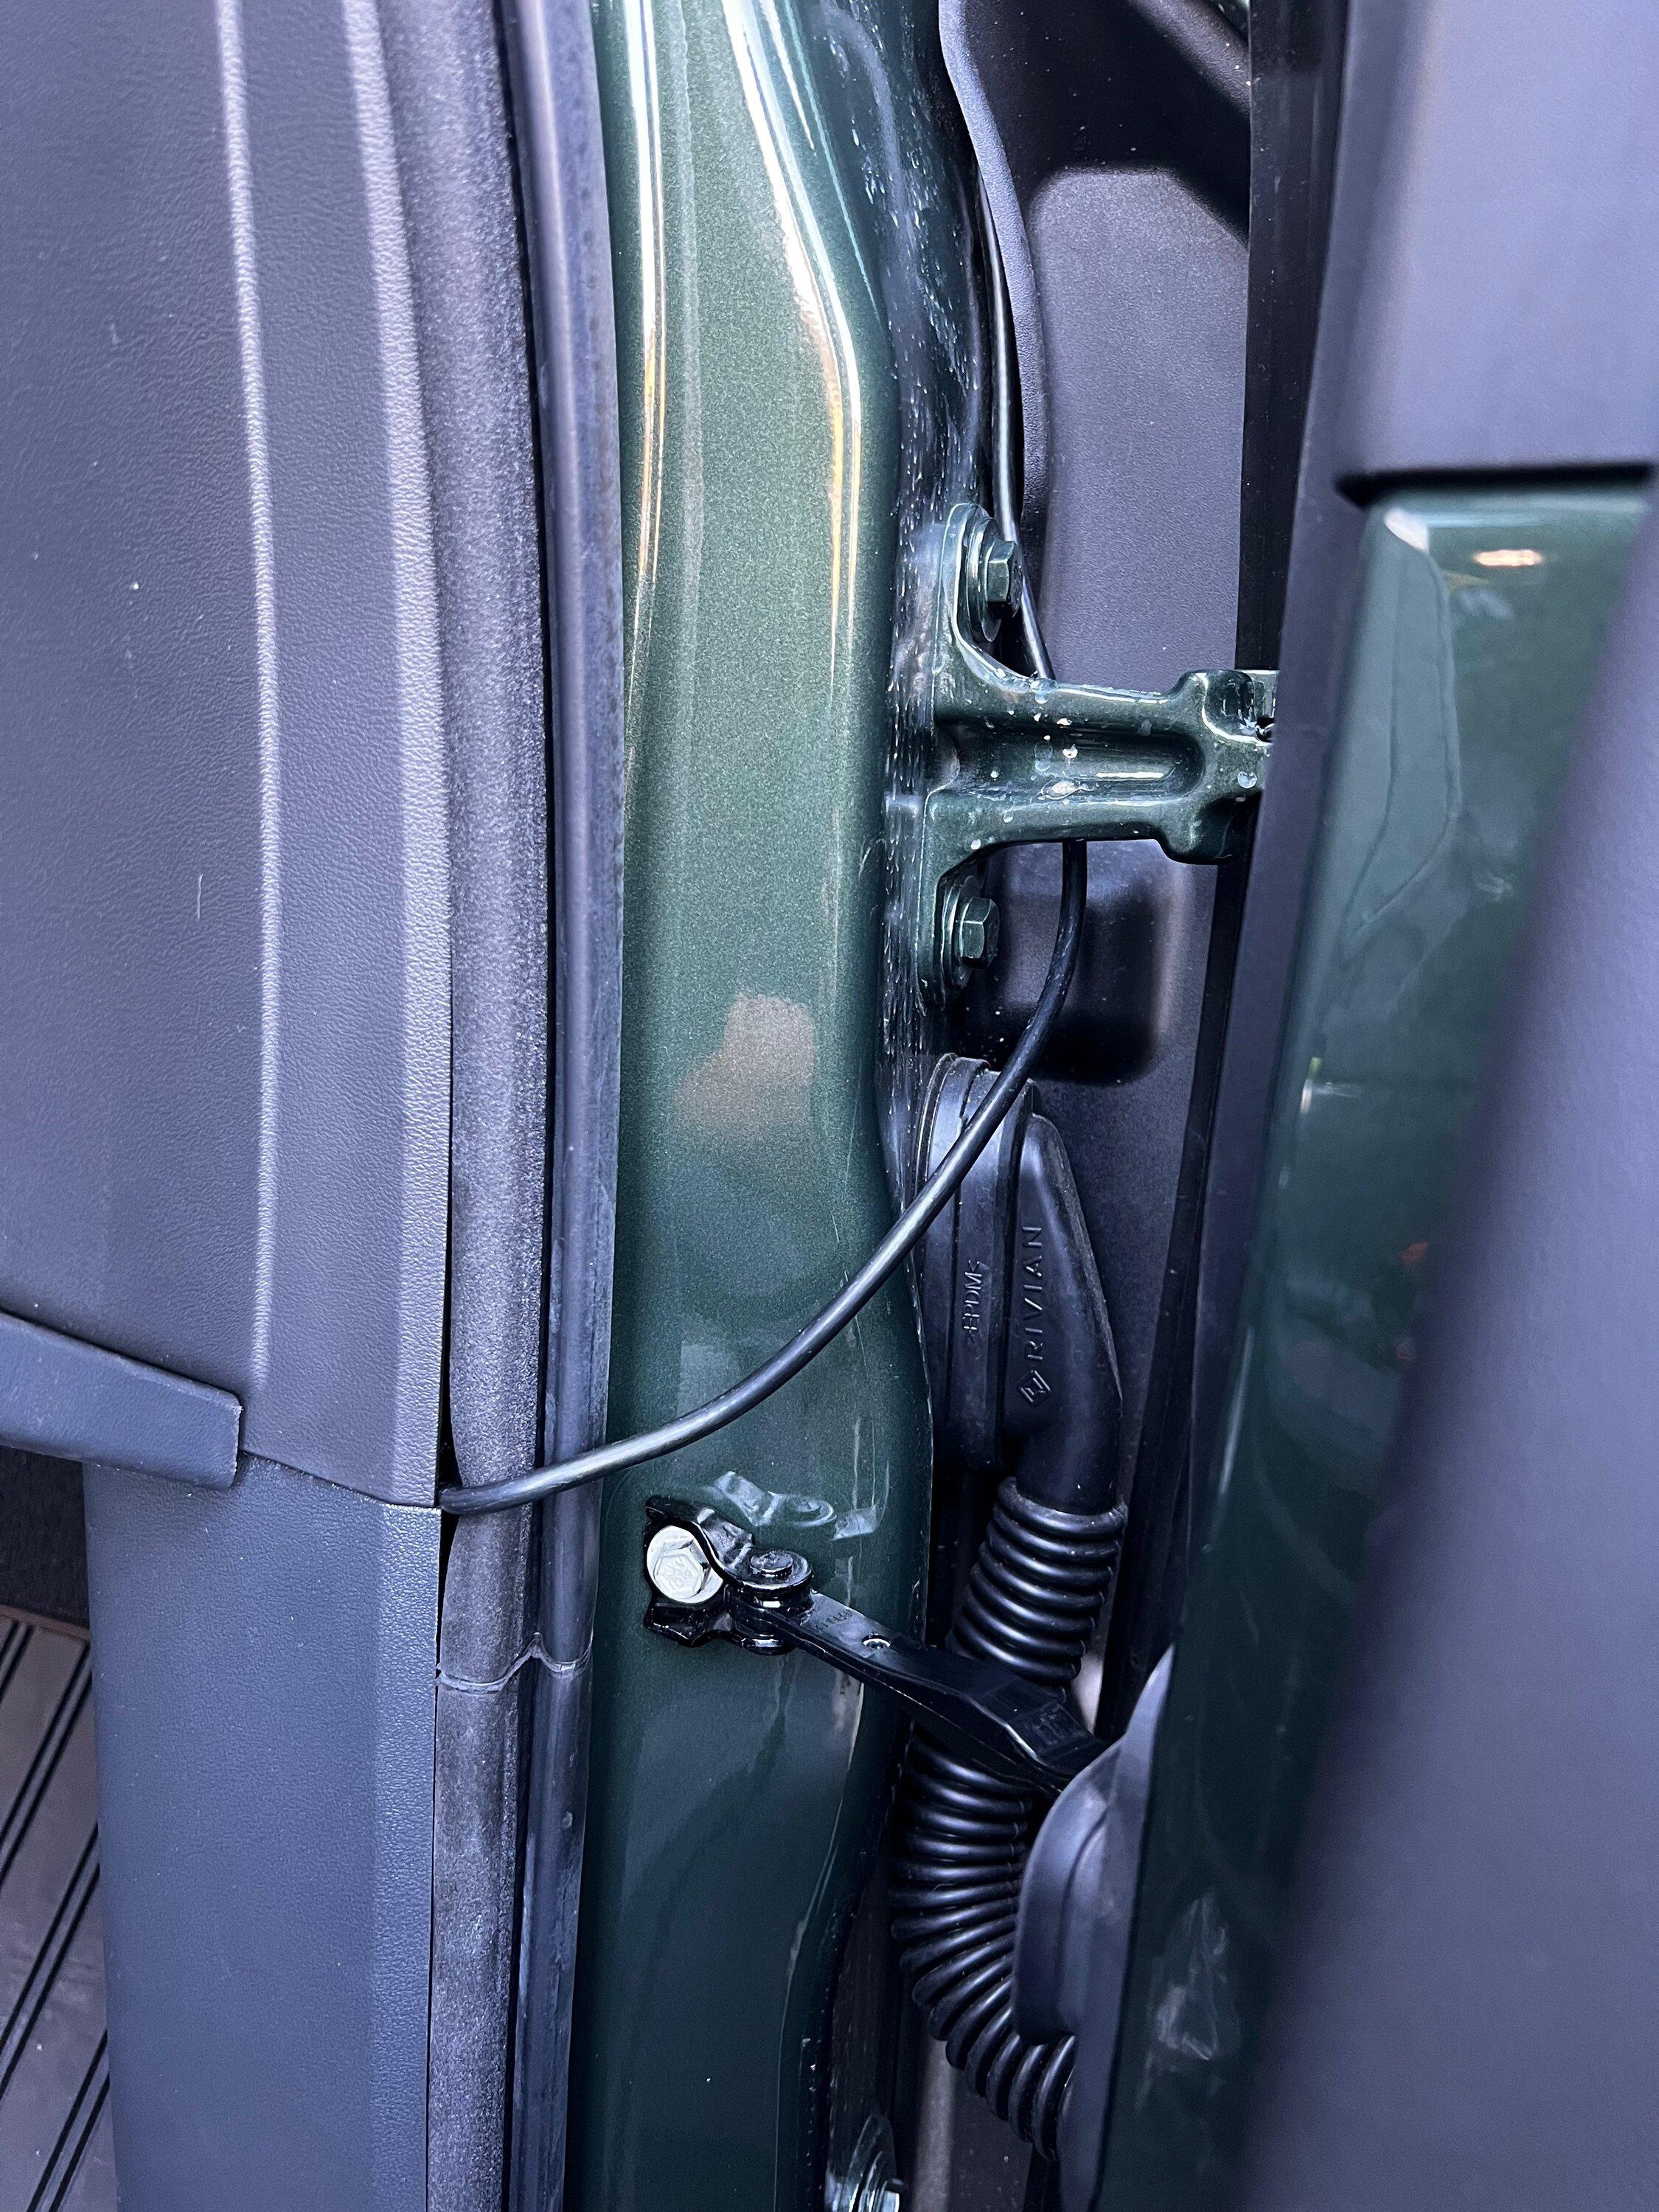
1. s00nish ditch light bracket
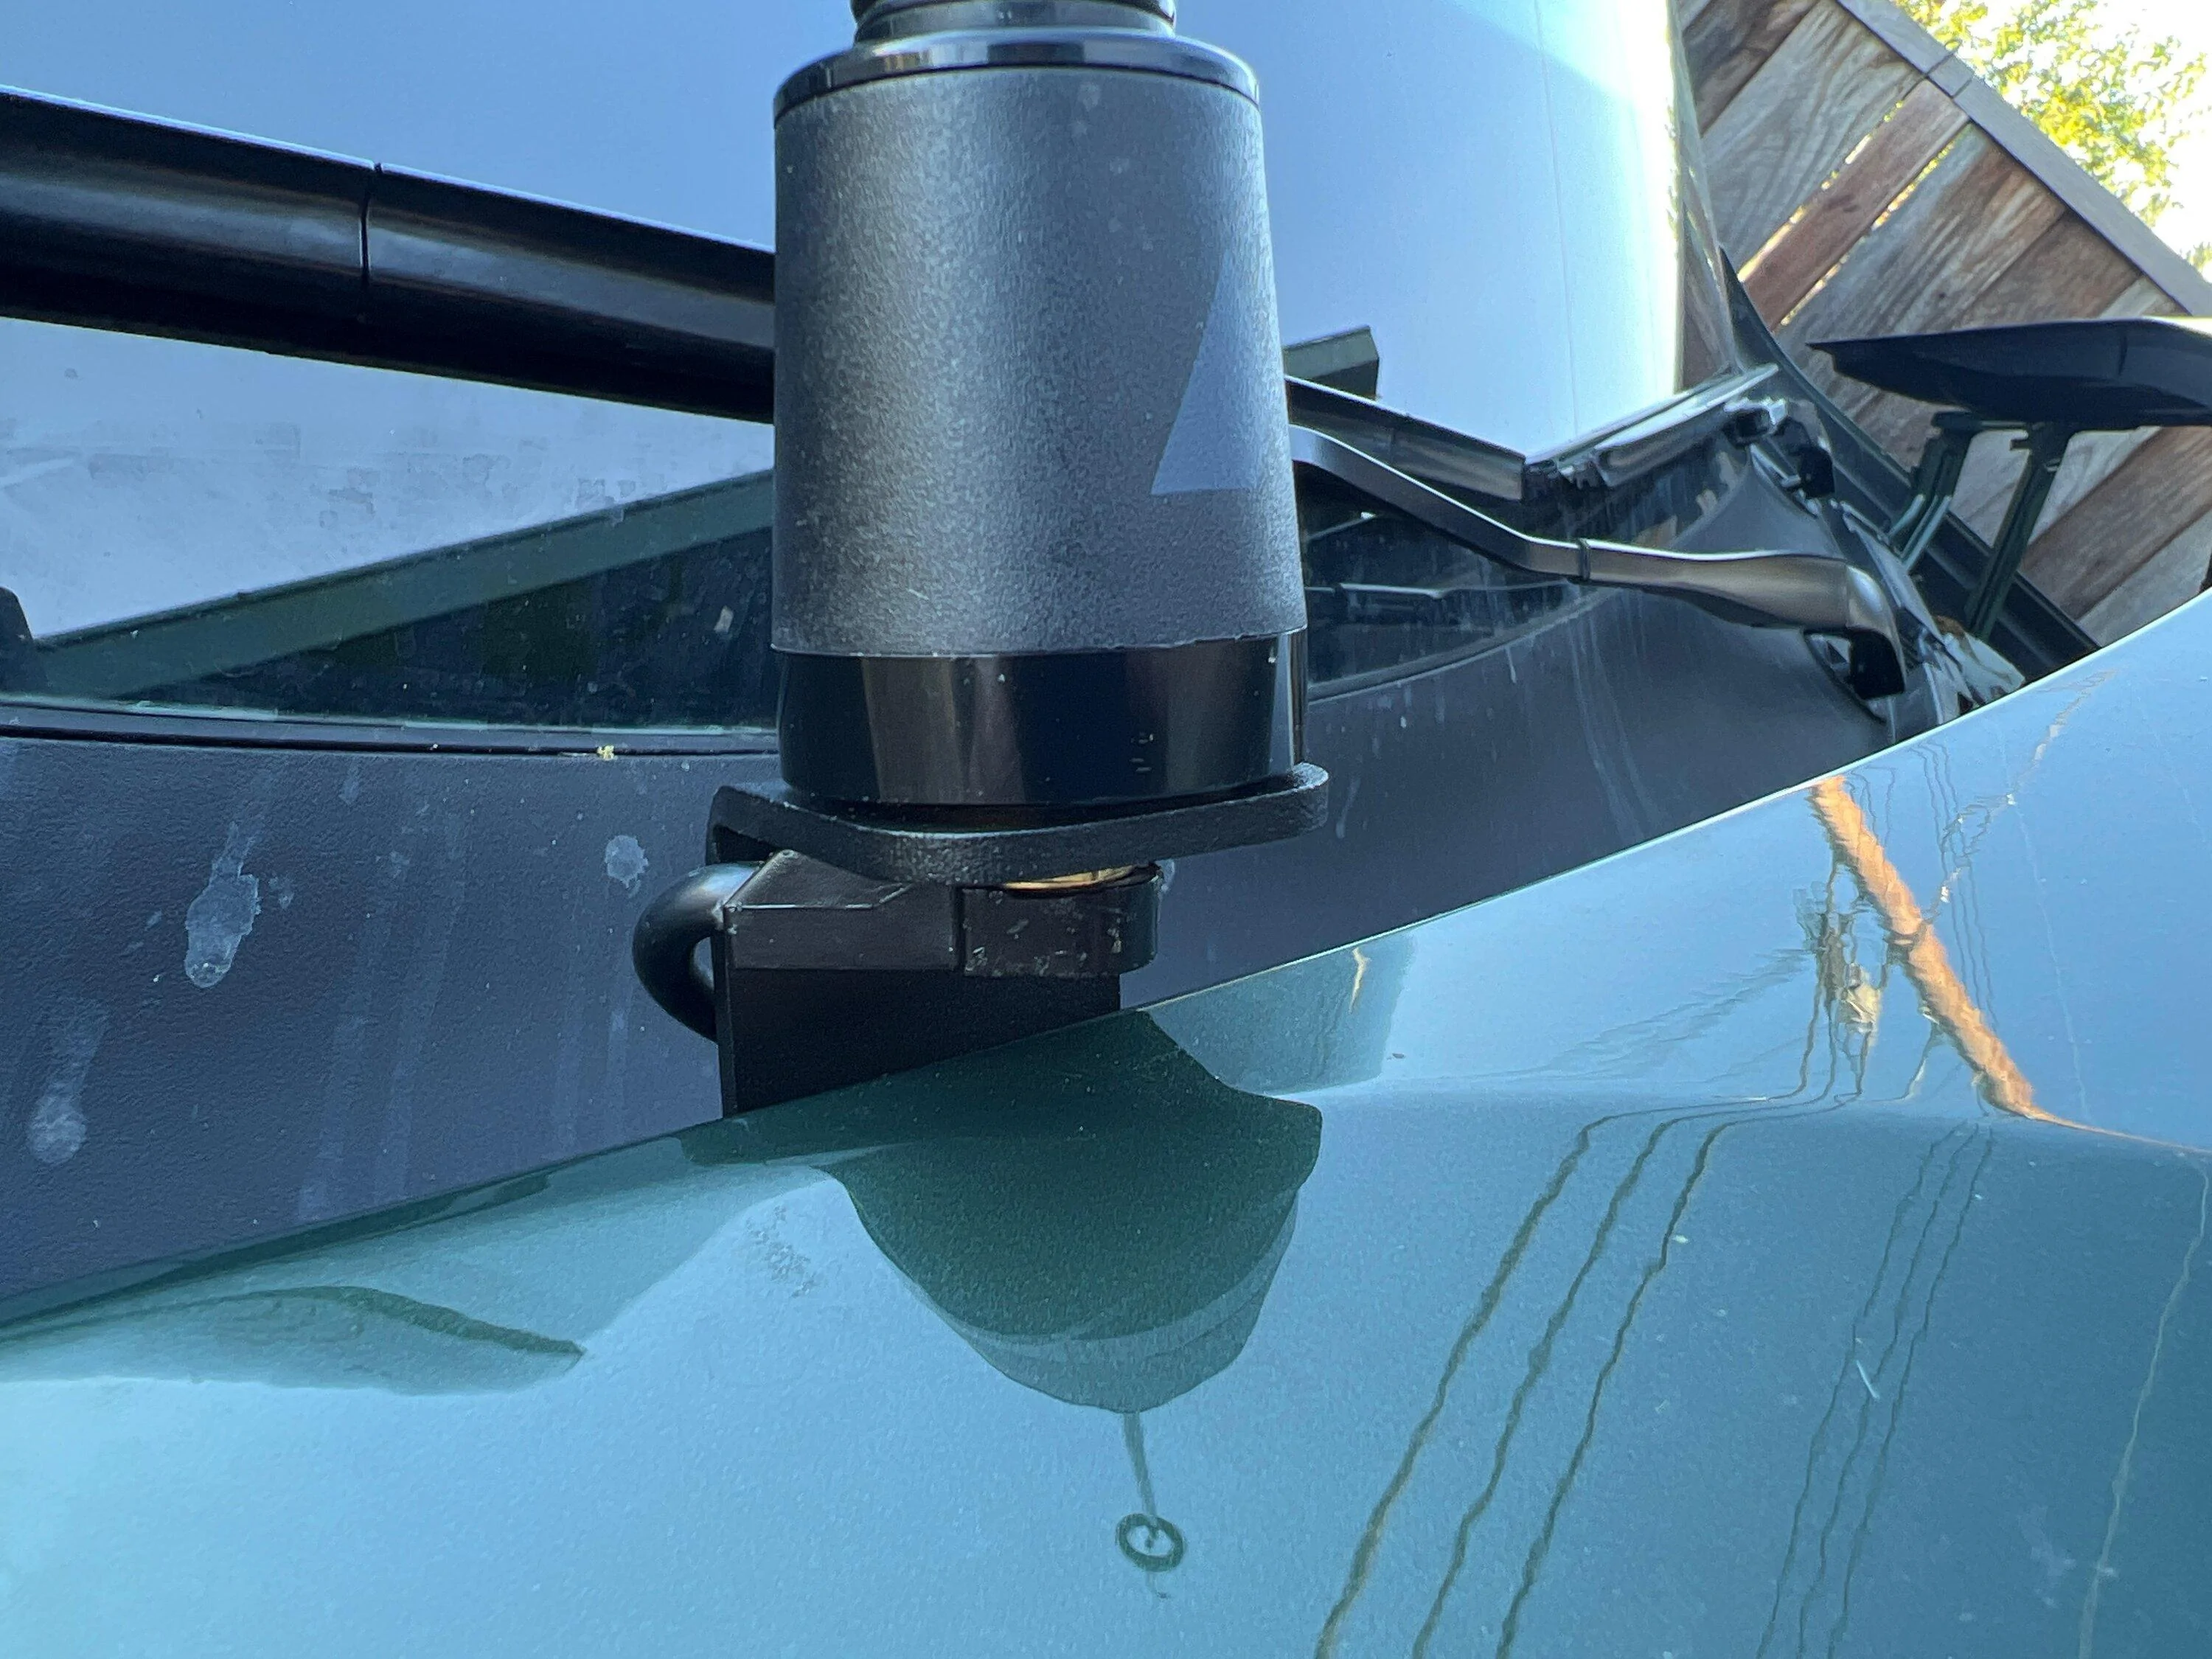
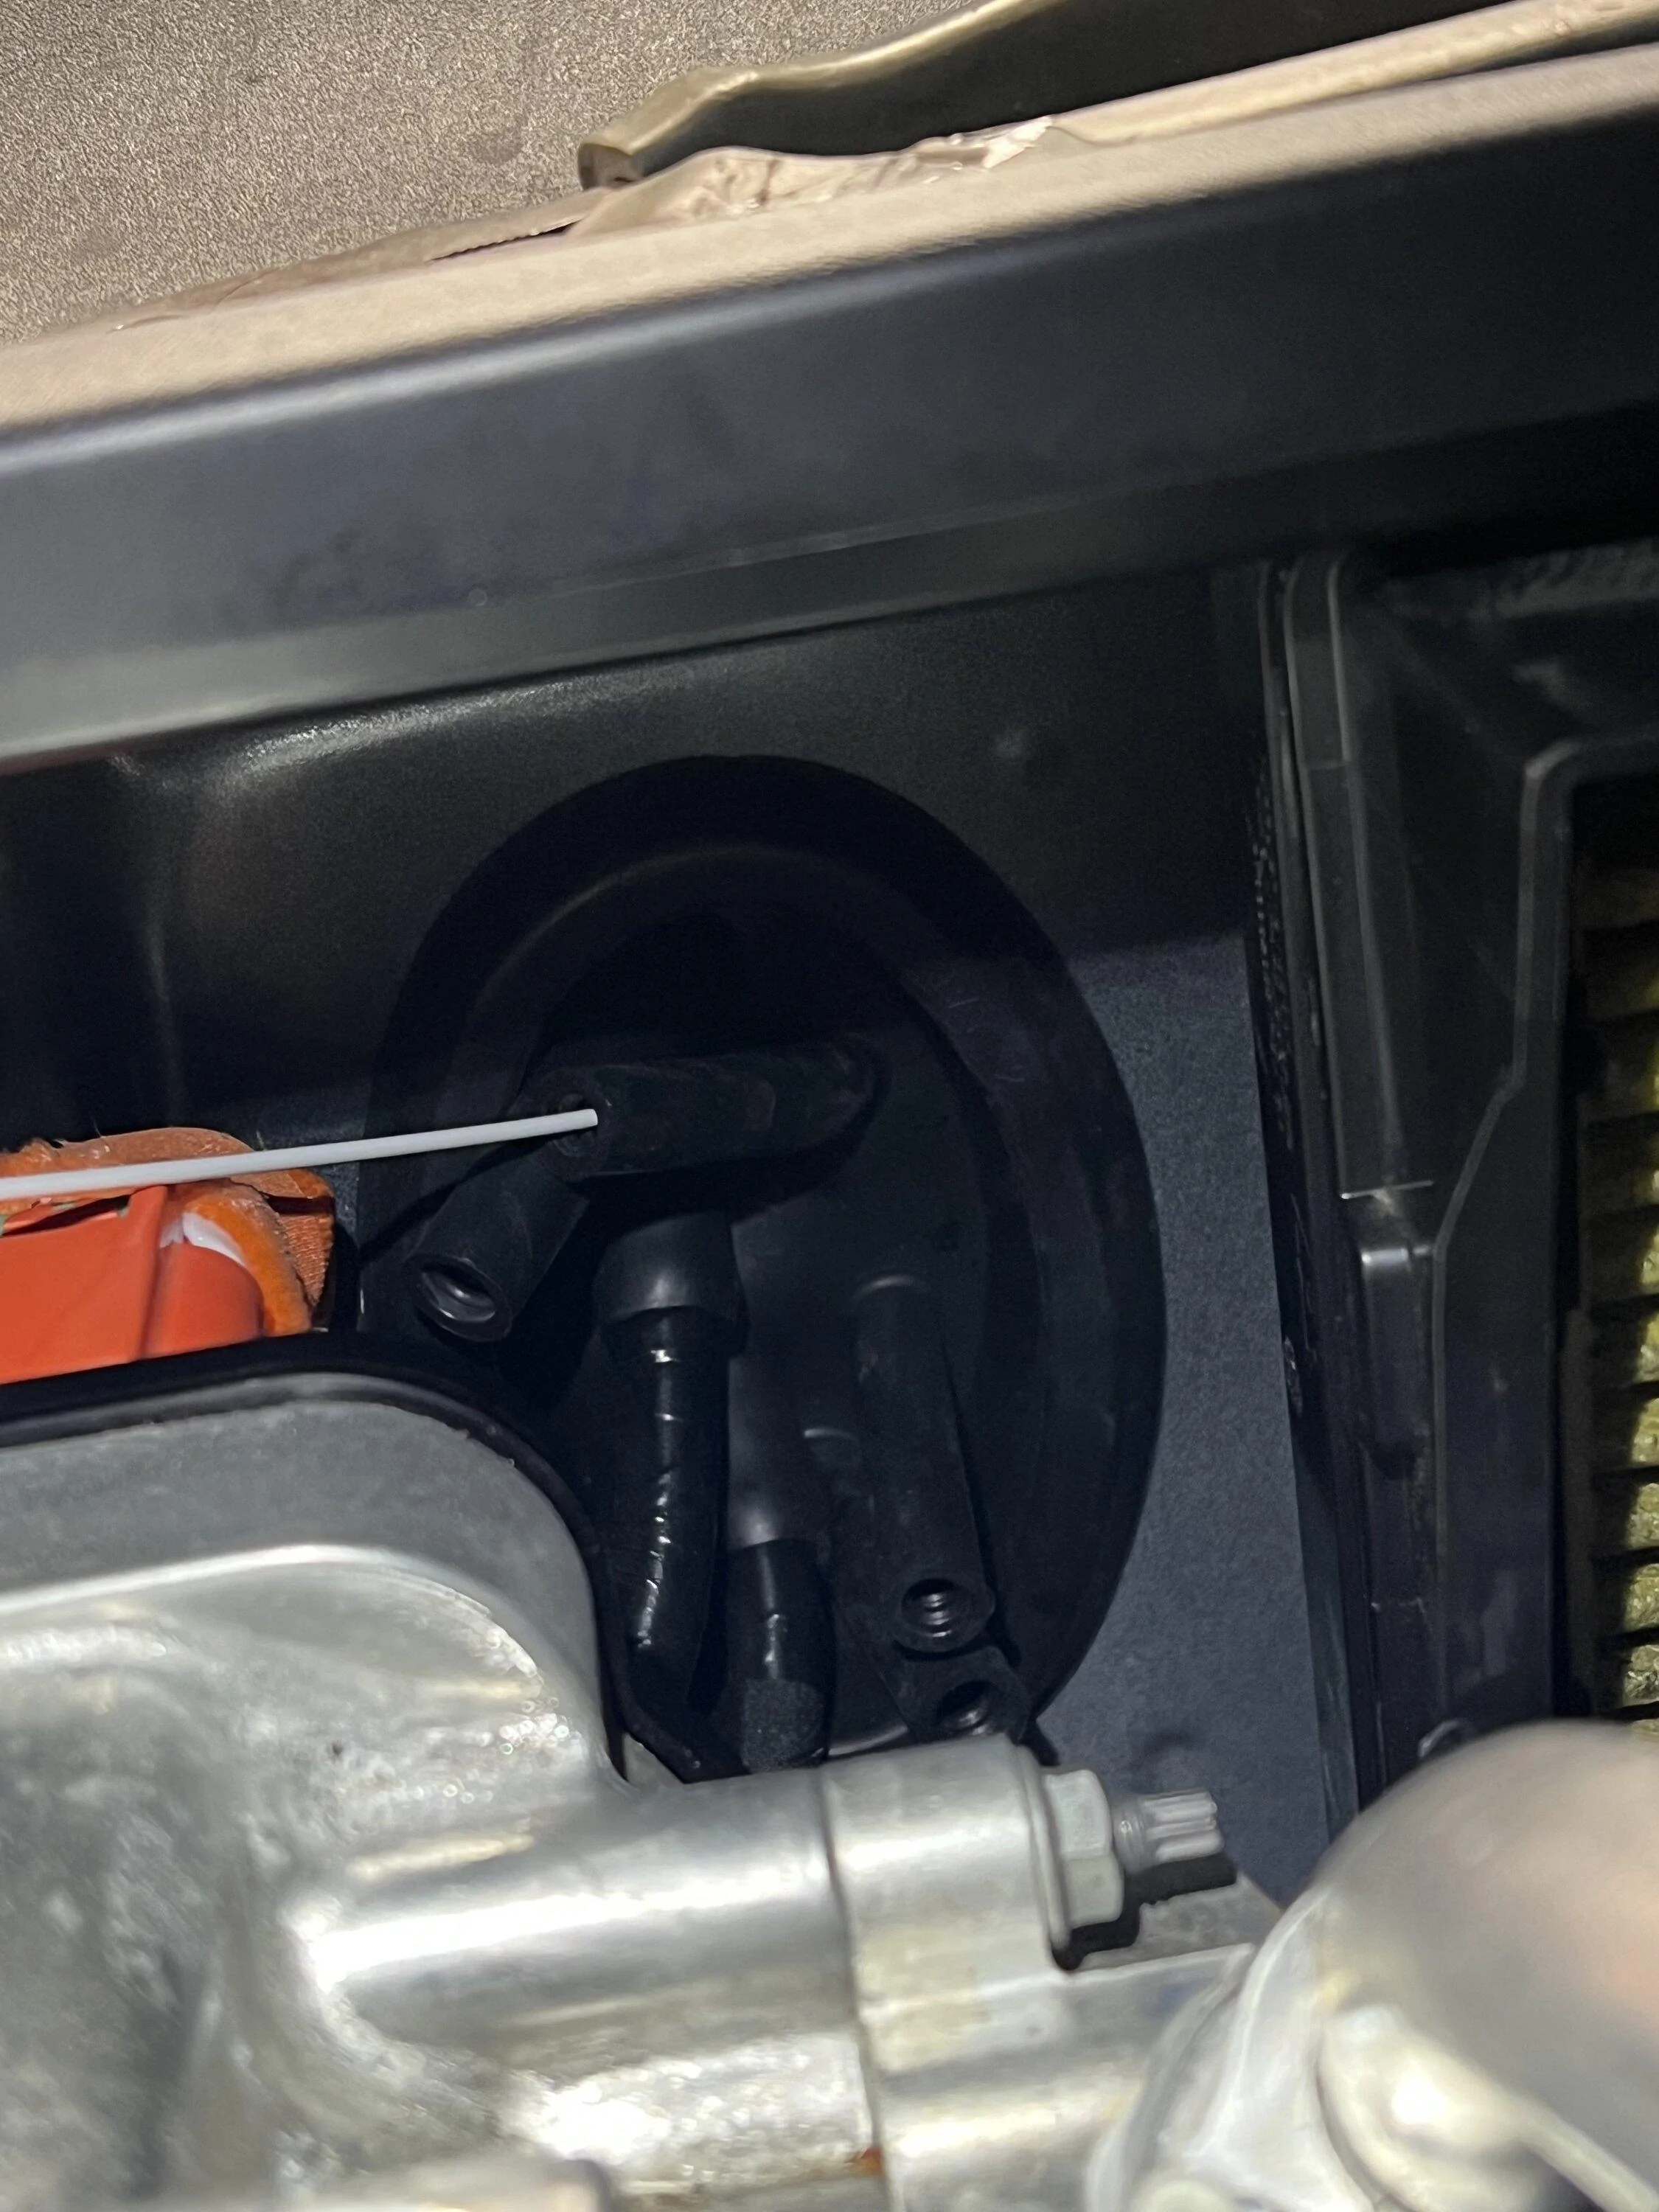
2. Midland MXTA26 GMRS antenna
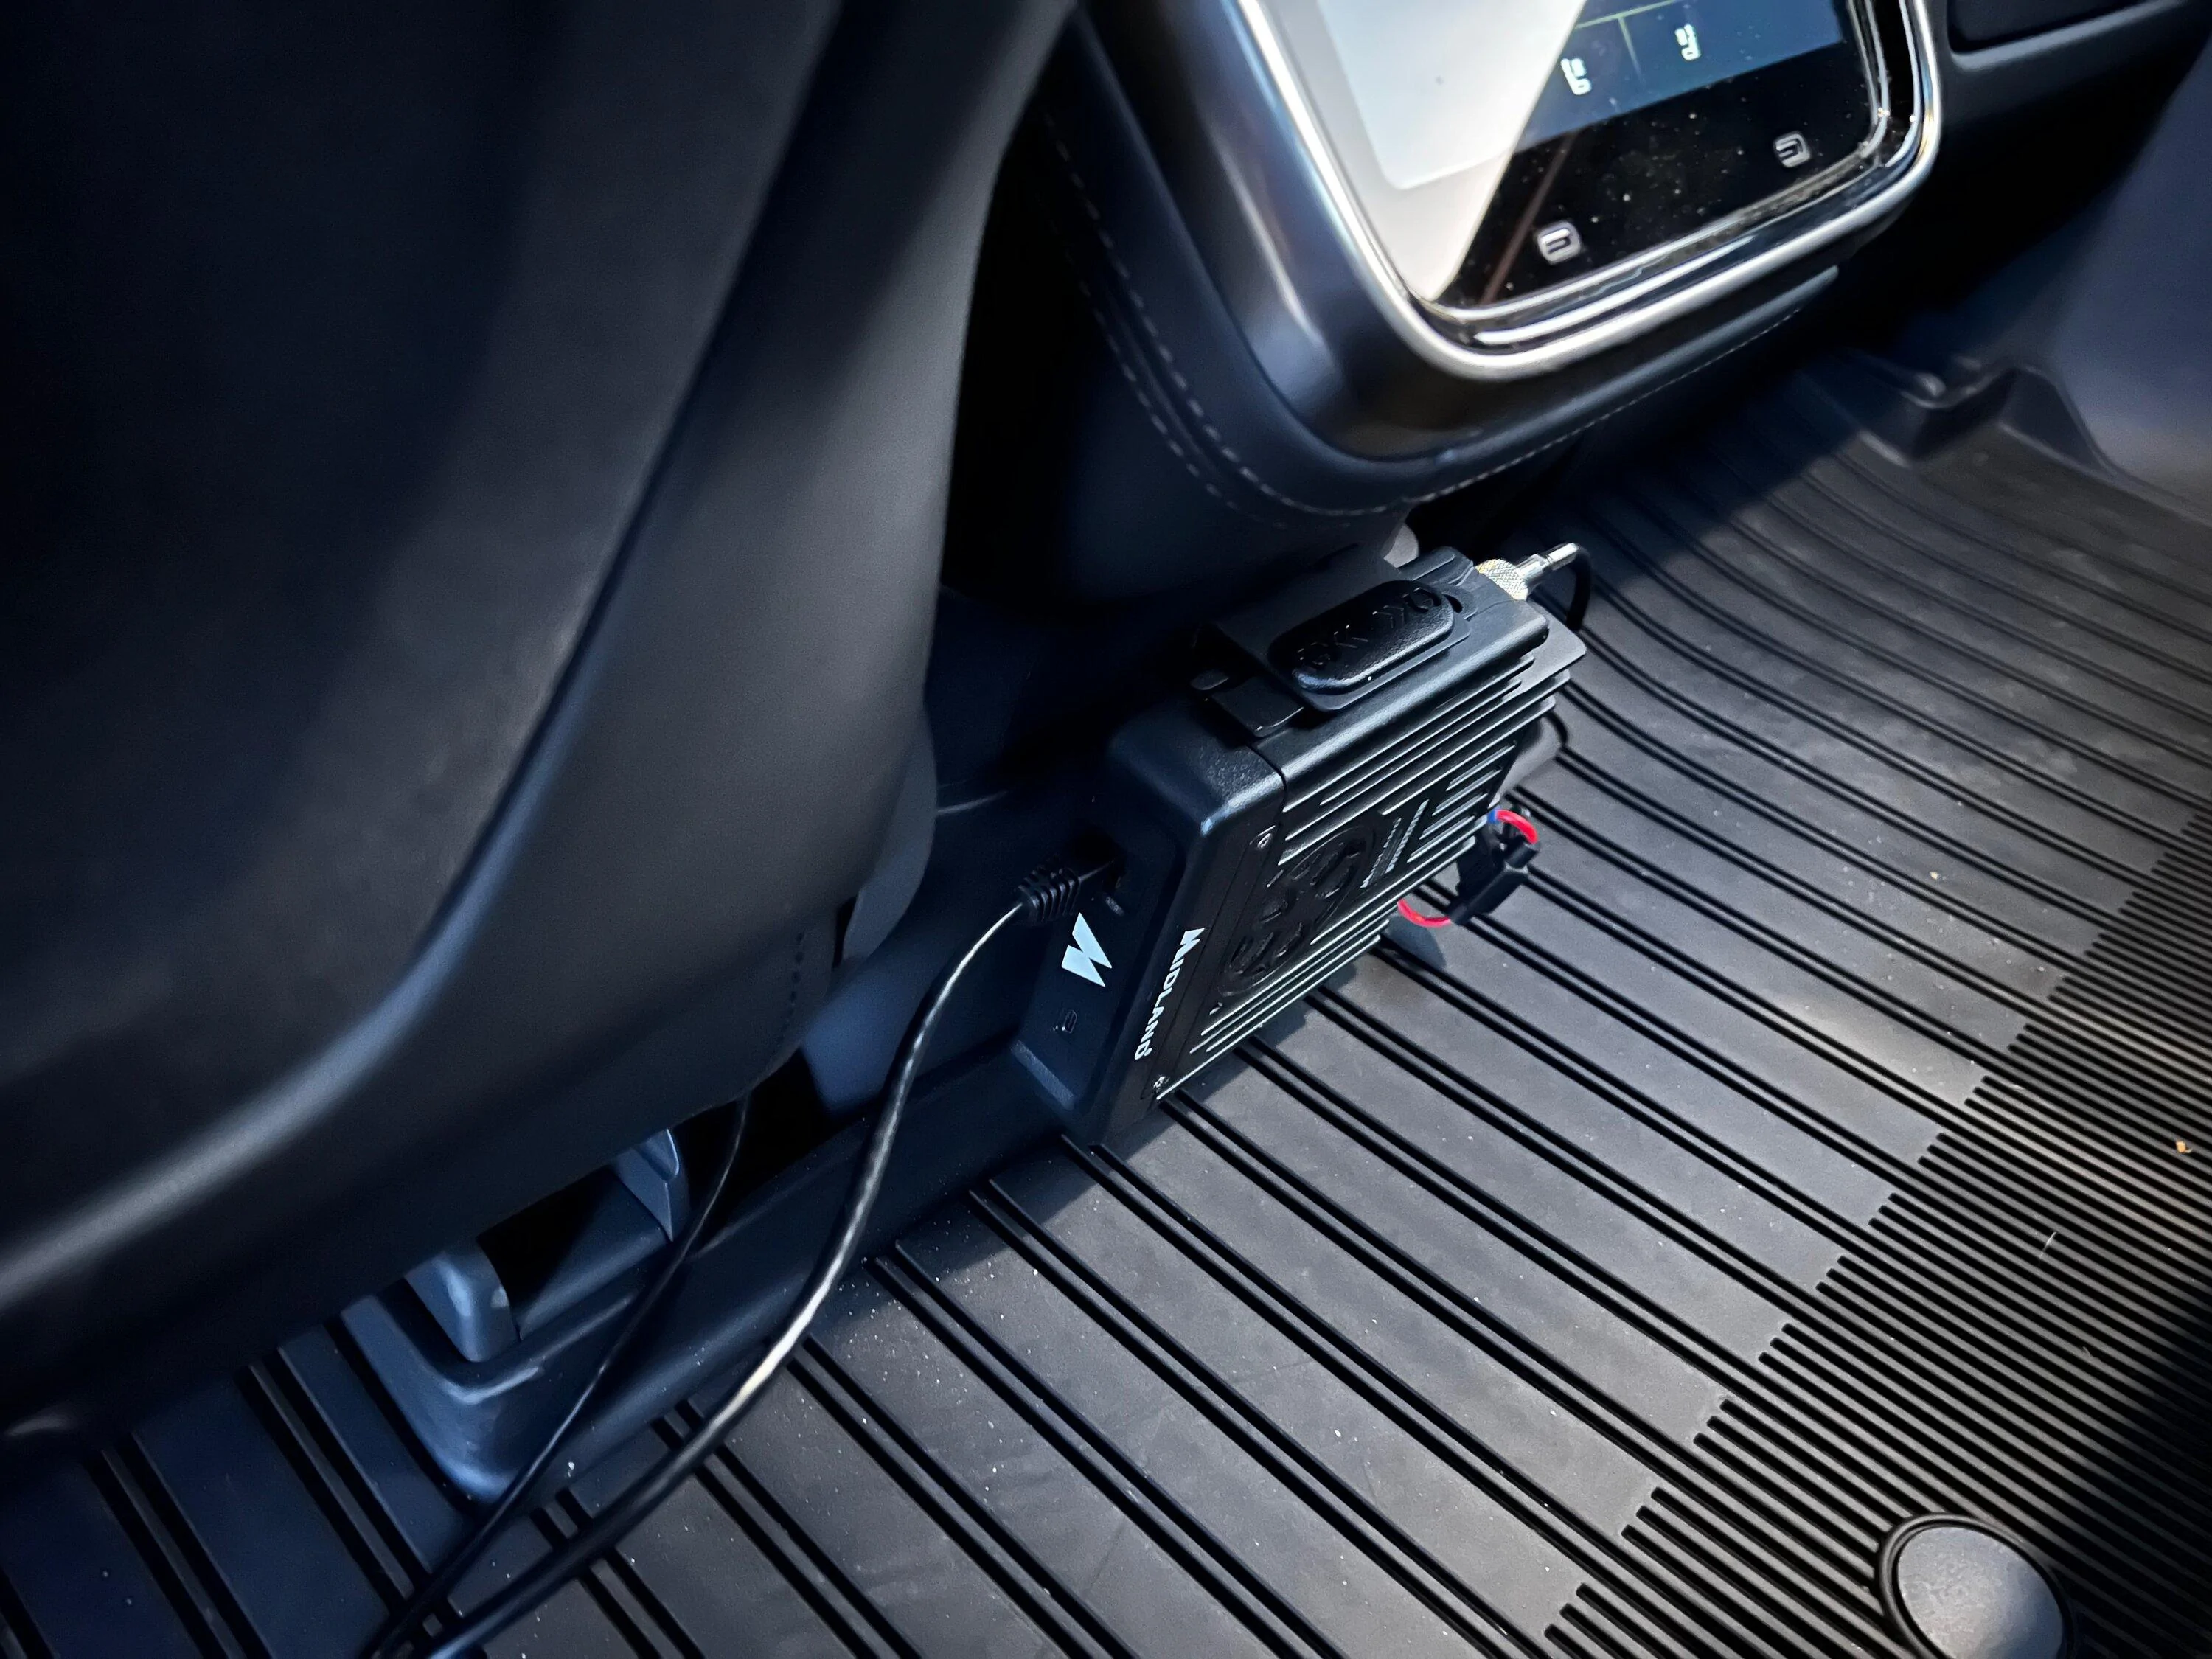
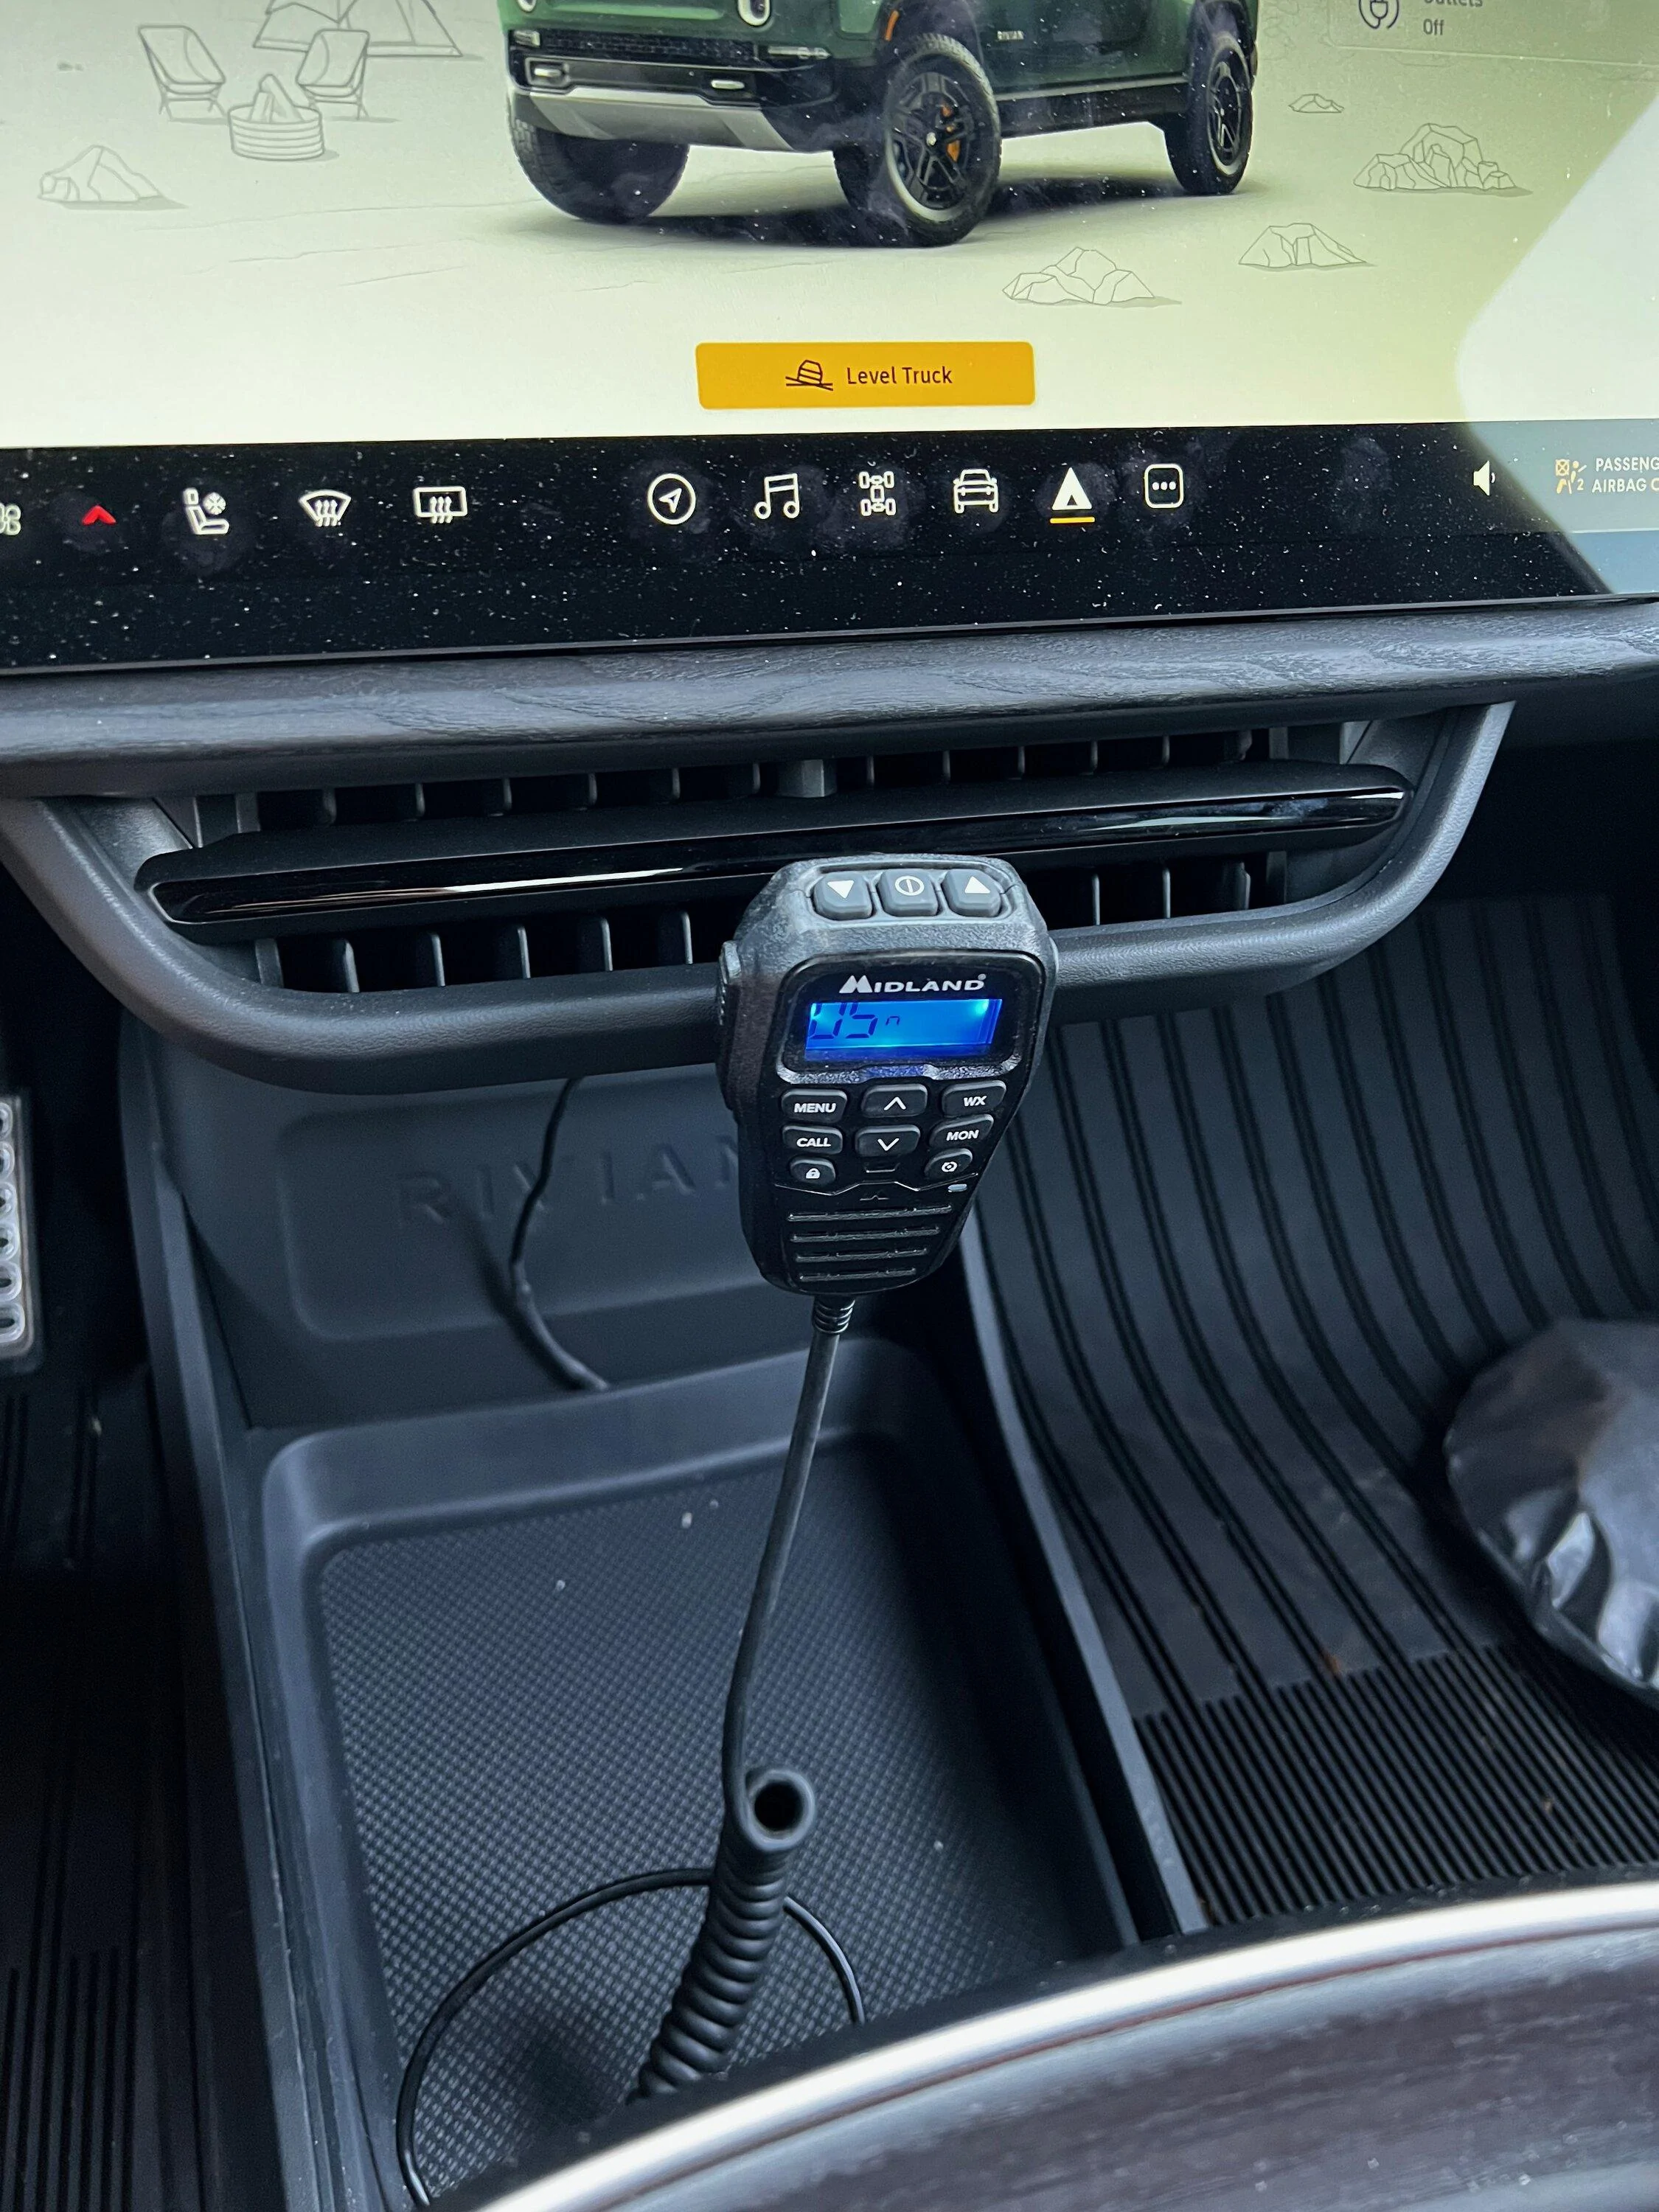
3. Midland MXT575 GMRS radio (in cab)
4. Abstract Ocean roof glass sunshade
Camping:
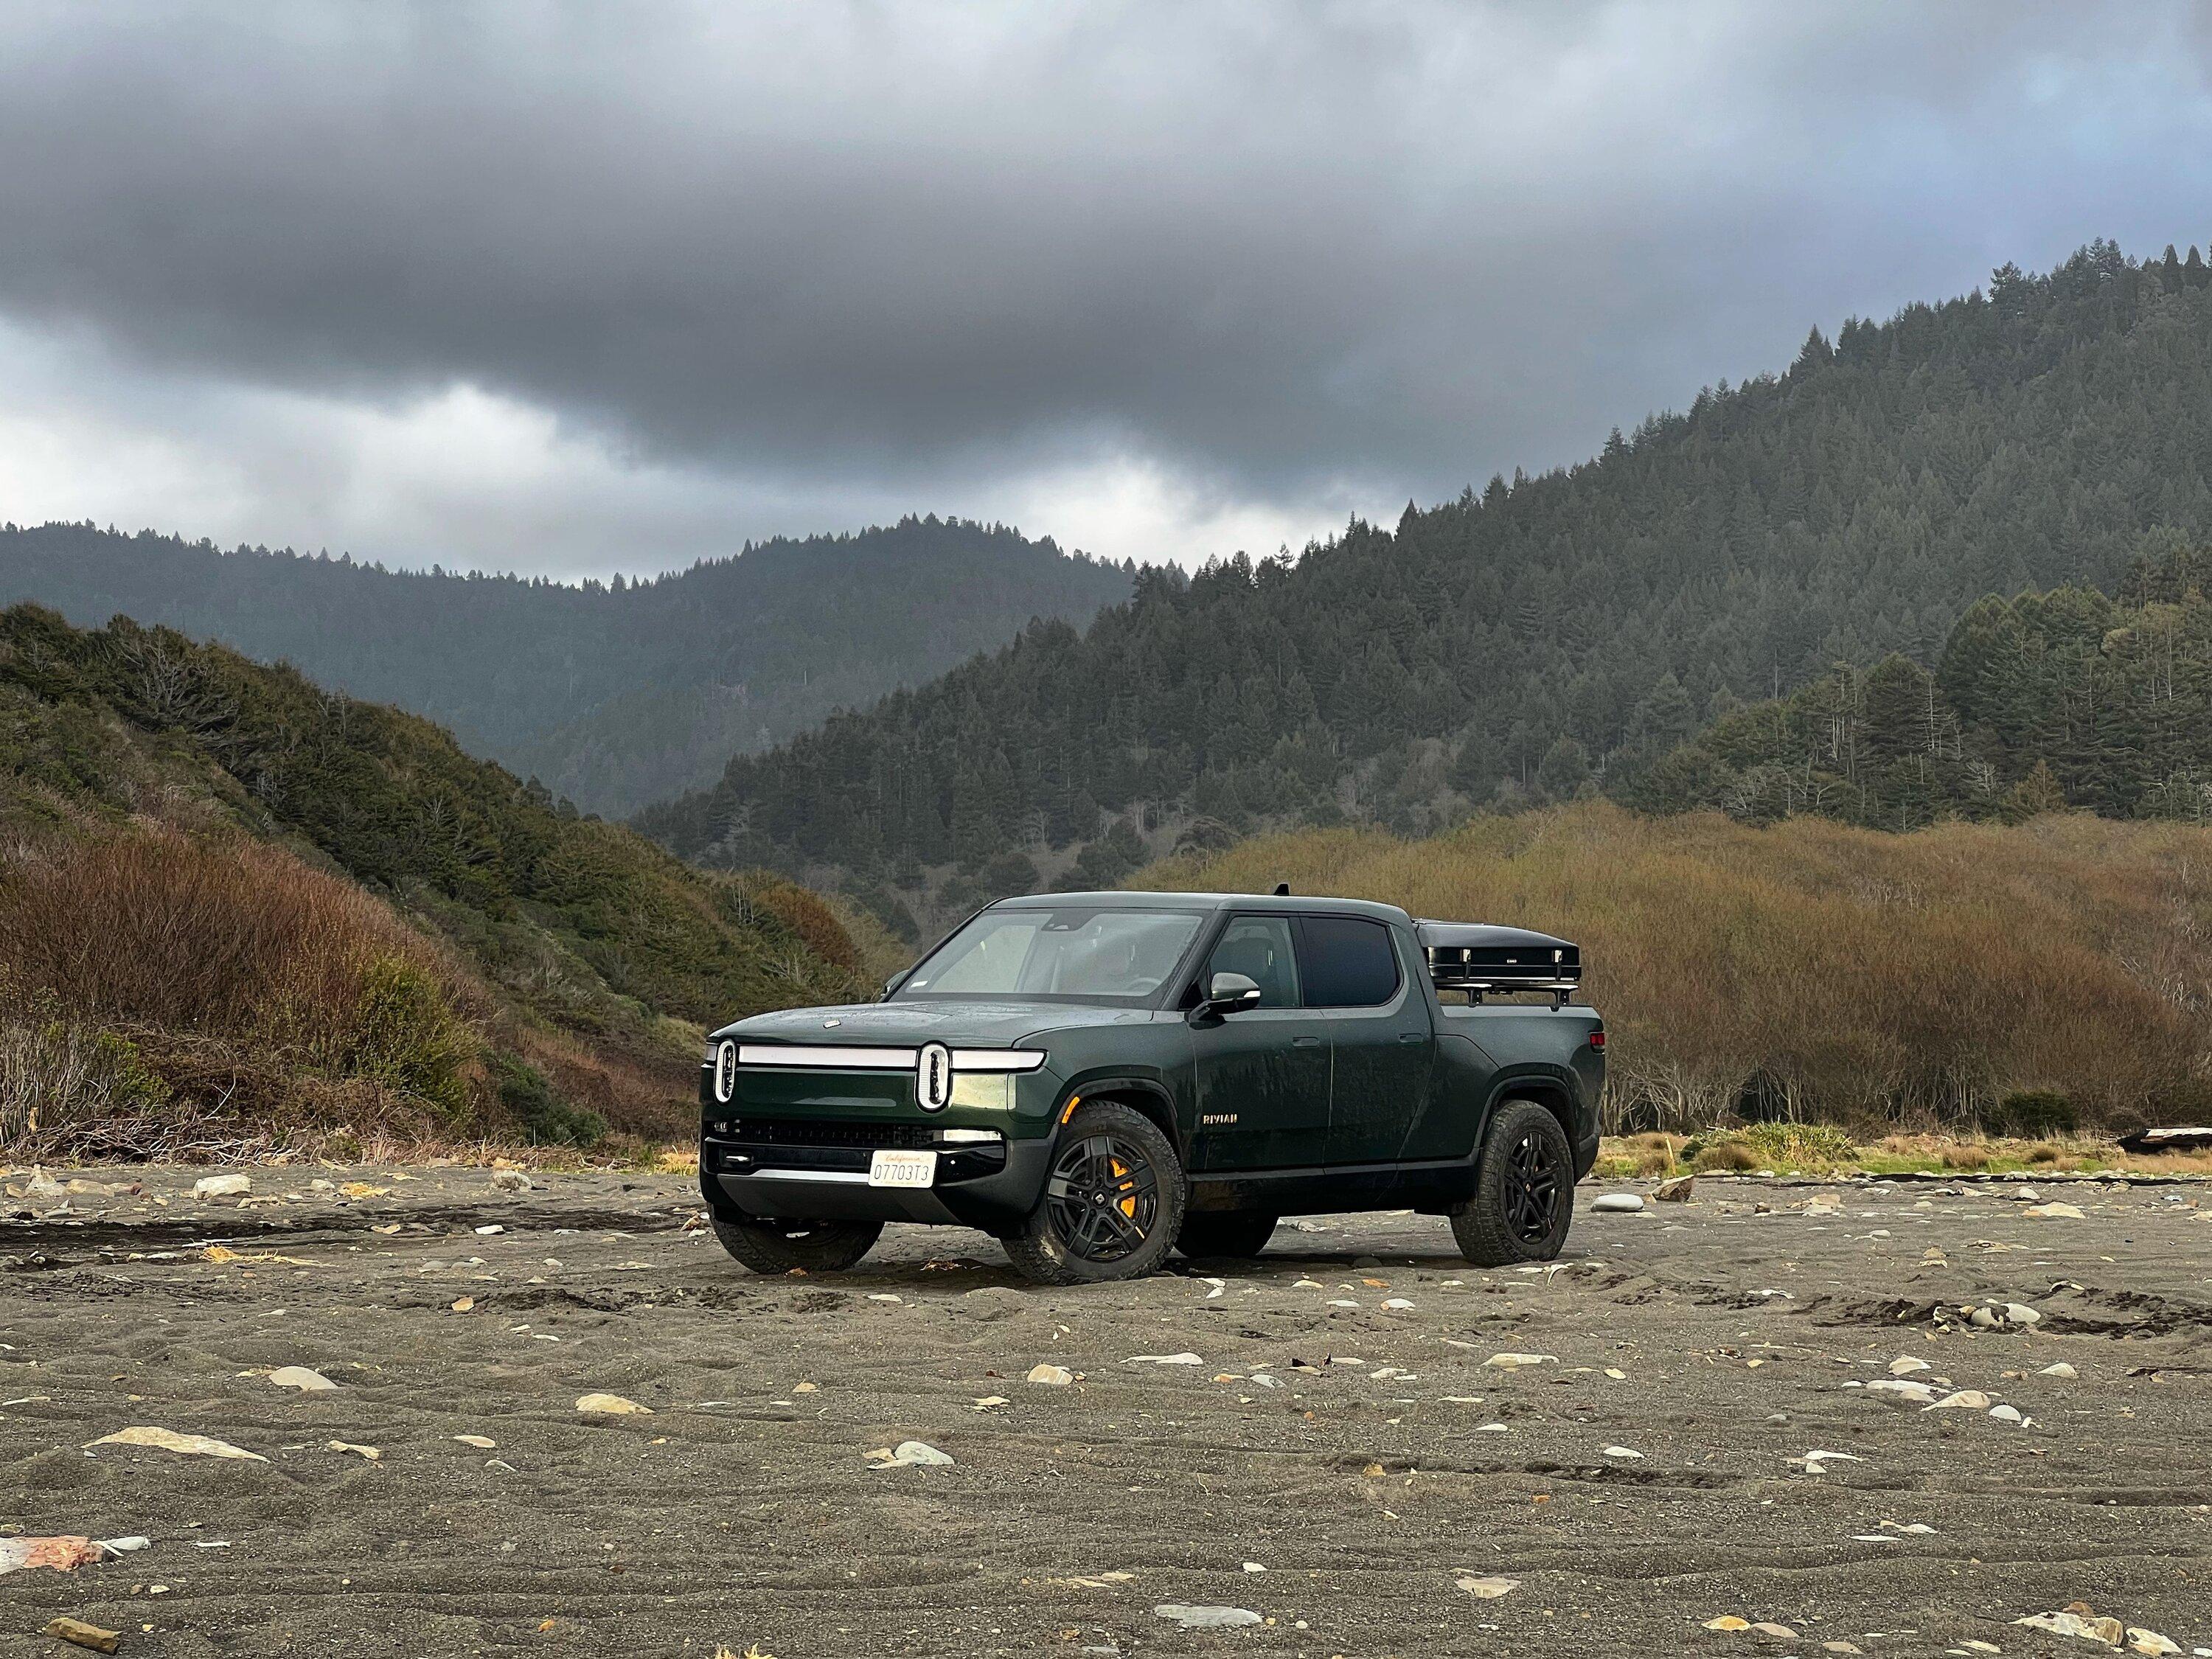
1. iKamper mini (version 2)
2. 3x aliexpress 50w solar panels
3. Ecoflow delta2
4. Cheapo amazon fridge that just won't die
Non-vehicular:
1. custom keyfob


Things that didn't come with the truck but are now on the truck:
Aesthetic/Exterior:
1. Lamin-x amber film on fog lights
2. Brain exploder emblem vinyl blackout kit
3. Builtrite license plate holder (I snapped off a plastic one crossing a river:
Electrical:
1. s00nish ditch light bracket
2. Midland MXTA26 GMRS antenna
3. Midland MXT575 GMRS radio (in cab)
4. Abstract Ocean roof glass sunshade
Camping:
1. iKamper mini (version 2)
2. 3x aliexpress 50w solar panels
3. Ecoflow delta2
4. Cheapo amazon fridge that just won't die
Non-vehicular:
1. custom keyfob

Sponsored
Last edited: