starbux
Well-Known Member
- First Name
- Dom
- Joined
- Sep 7, 2024
- Threads
- 14
- Messages
- 83
- Reaction score
- 358
- Location
- Gig Harbor, WA
- Vehicles
- R1T
- Thread starter
- #1

(TL : DR) ( Camped. Got Stuck. Got damaged. Replaced tail light. Had PDR done. Fixed under 1k. )
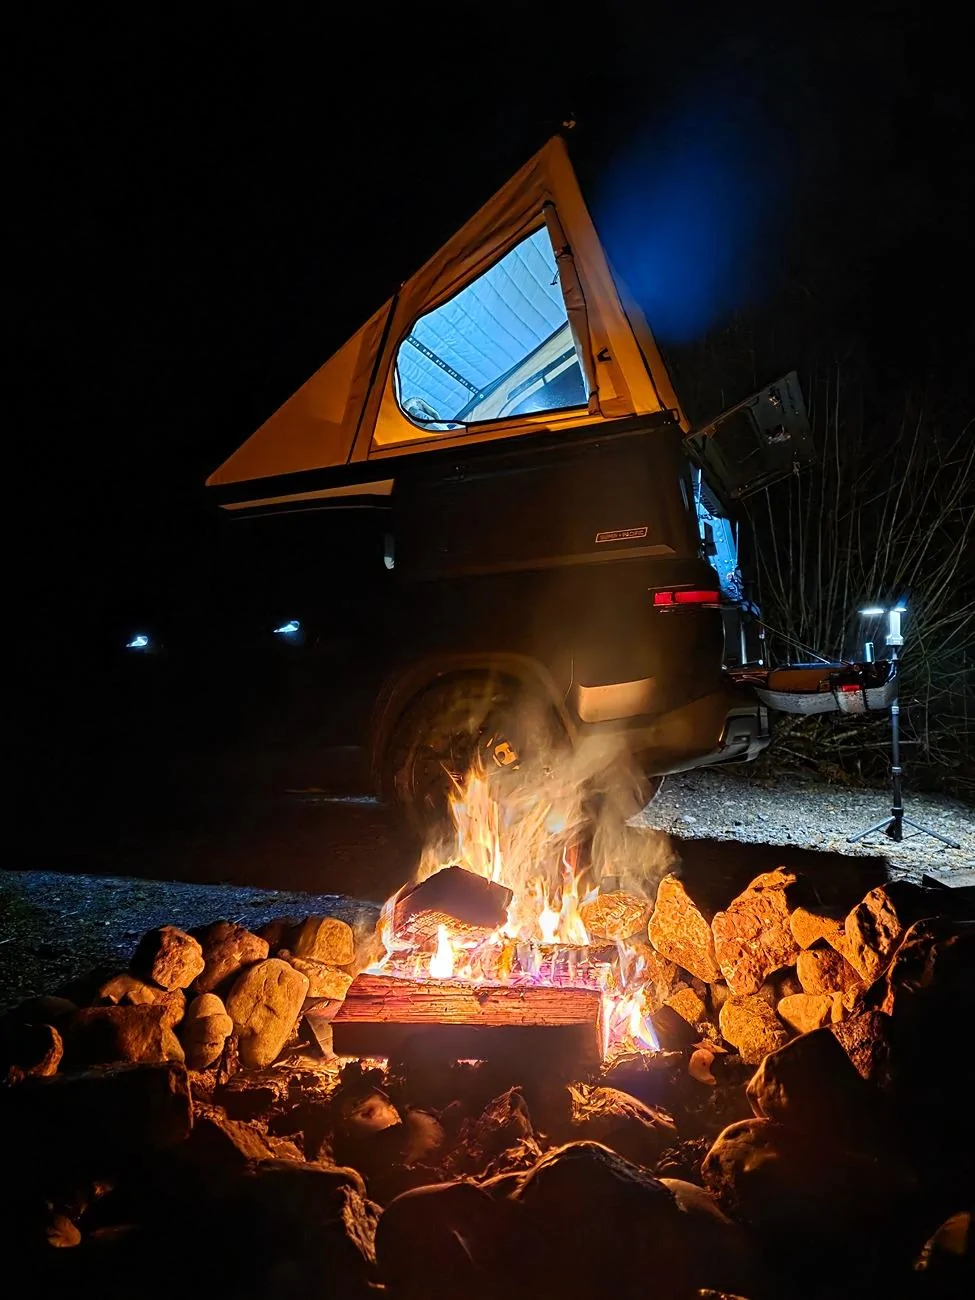
Just wrapped up a shakedown run with my Super Pacific X1 at a local camping spot. Everything started off amazing. Made some lamb chops, enjoyed the fire, and just as I was getting ready to close up for the night, the snow started falling. Perfect timing.
I decided to move camp up a hill for a better view of Mt. Rainier, hoping to wake up to a snow-covered landscape. That’s when things got interesting.
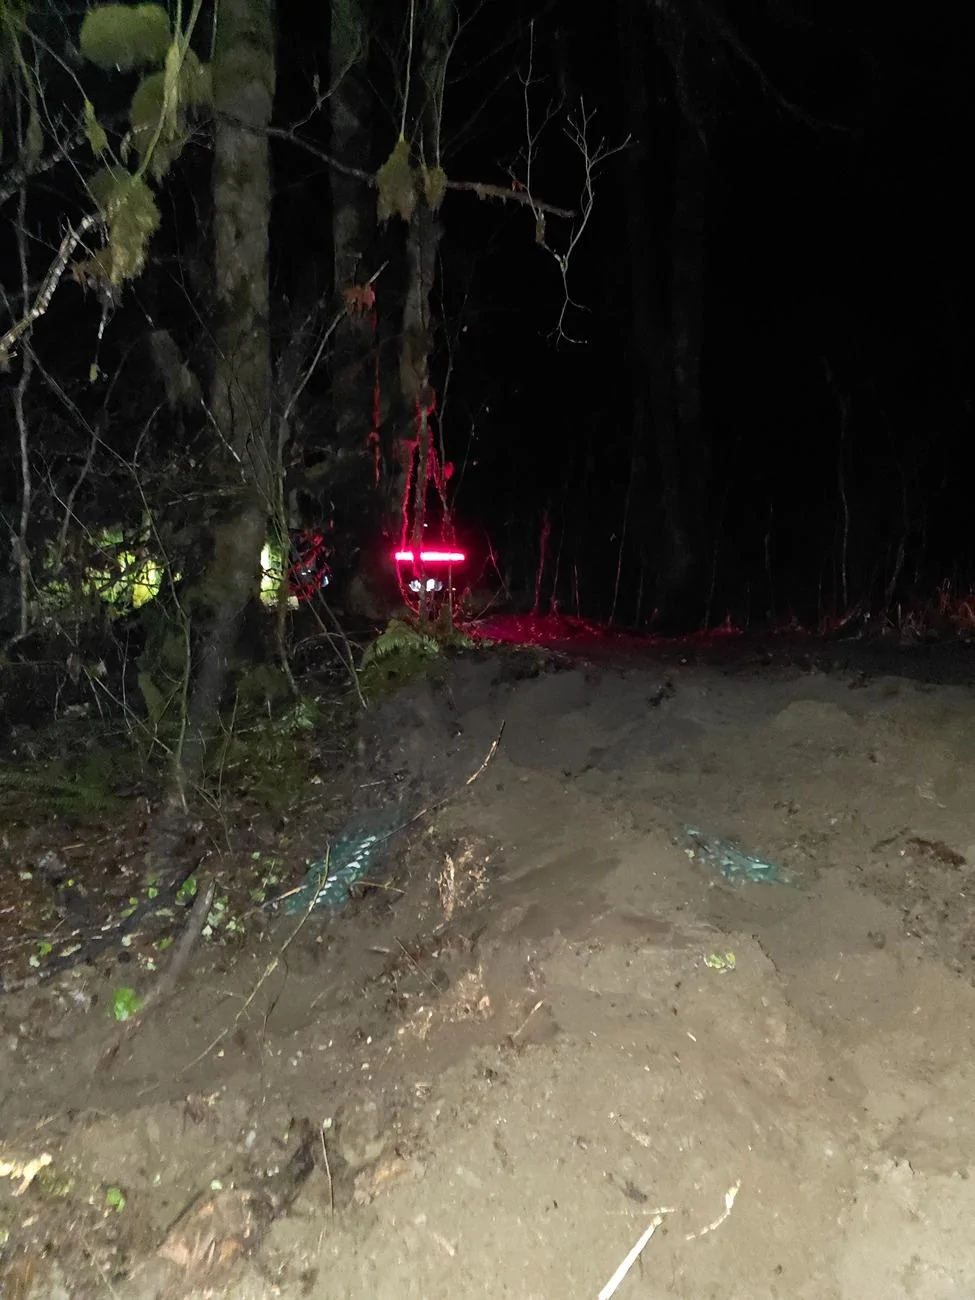
The Mishap
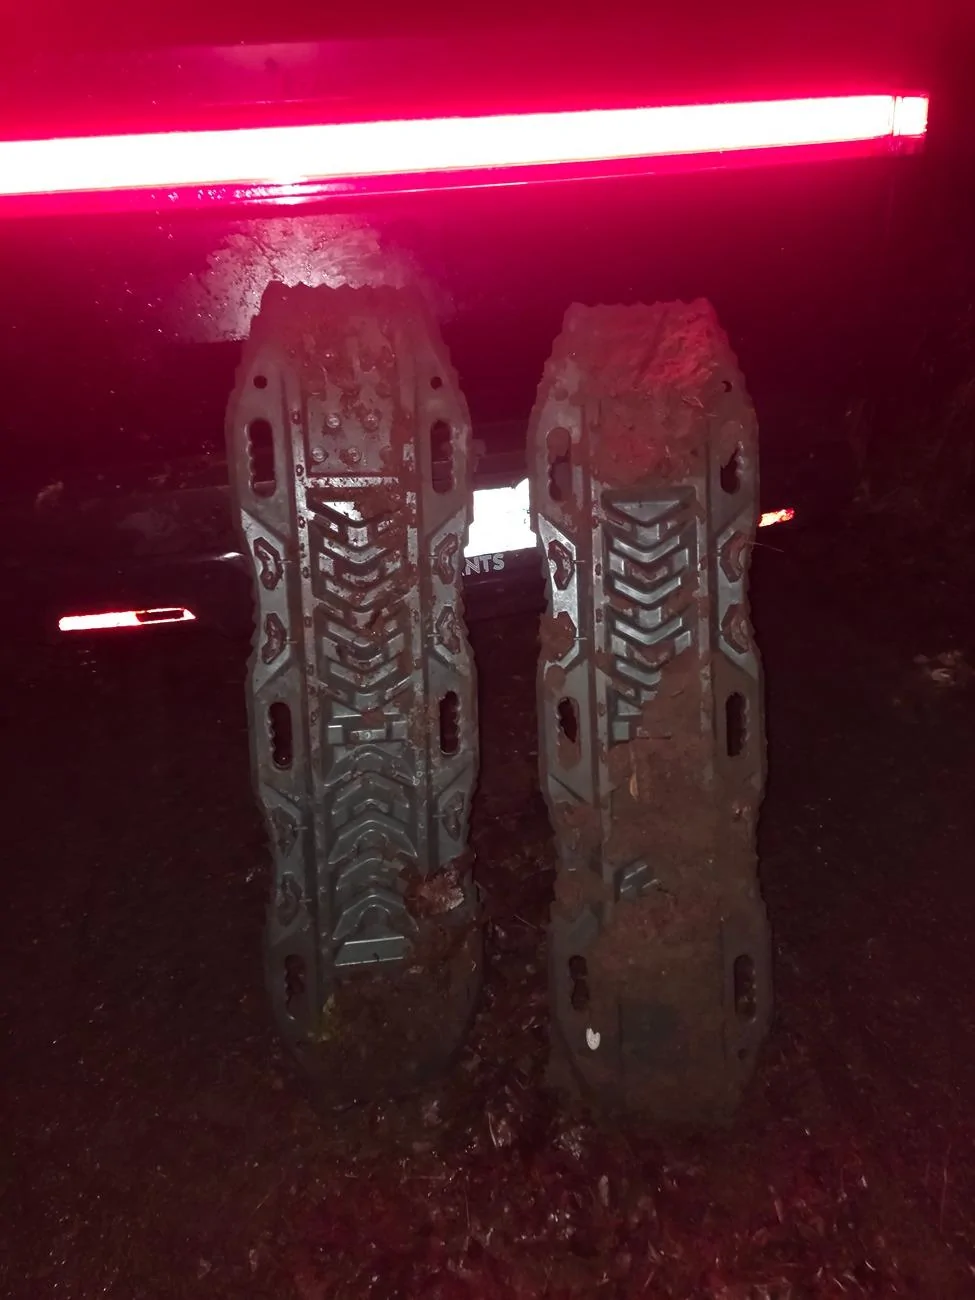
On the way out, the trail was slick and muddy. An off-camber section caused the rear end of my R1T to slide into a ditch. At first, it seemed manageable. I tried rocking the truck out, but the front tires just couldn’t grab enough traction. The back left tire had slipped off an old log, probably there to reinforce the trail, and lost all grip.
I threw down the traction boards, but still no luck. That’s when I realized the log was easily 12 inches thick. It took a lot of maneuvering, basically a 30-point turn in the dark, to reposition and finally gain enough traction to pull free.

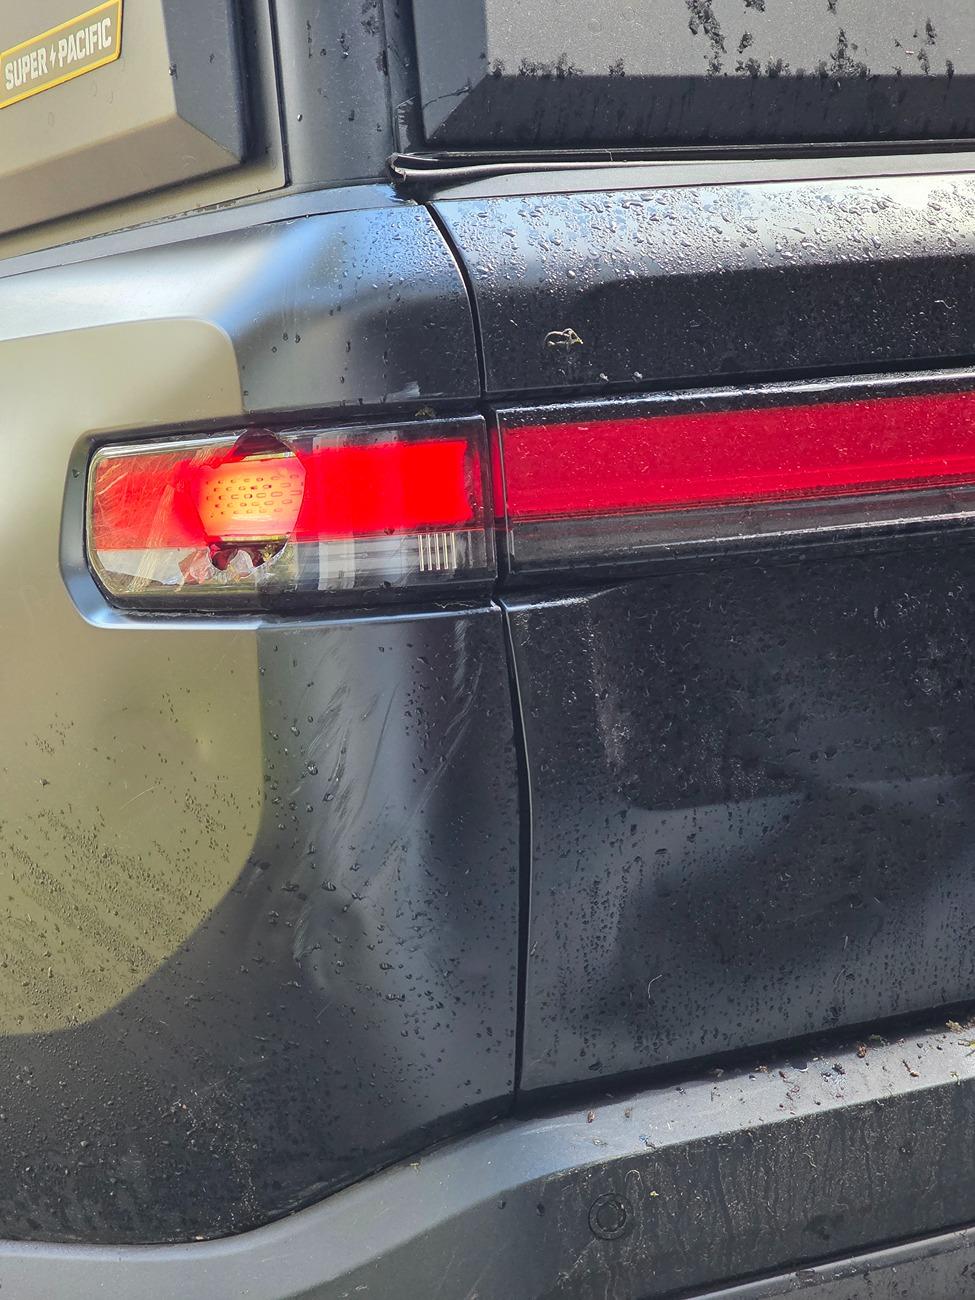
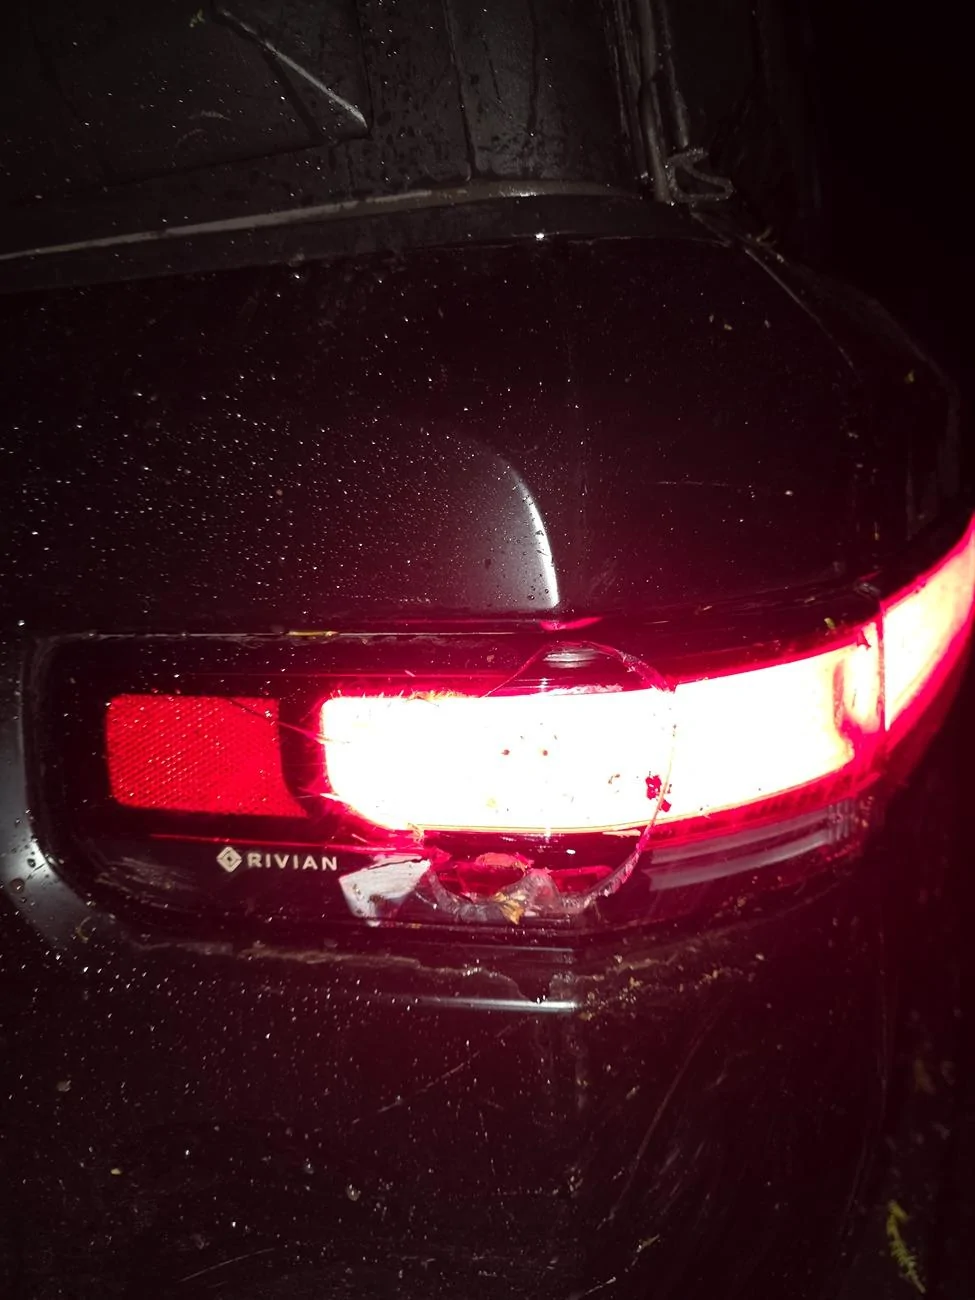
At some point during the chaos, a large stick must’ve popped up and damaged the tail light and tailgate. There weren’t any big trees behind me, so it must’ve happened during all the repositioning.

By the time I got free, I was soaked, muddy, and exhausted. What started as a peaceful night under the stars nearly turned into a recovery nightmare. It was a huge reminder that self-recovery skills are essential when solo camping, especially without cell service. A front winch is now at the top of my wish list.
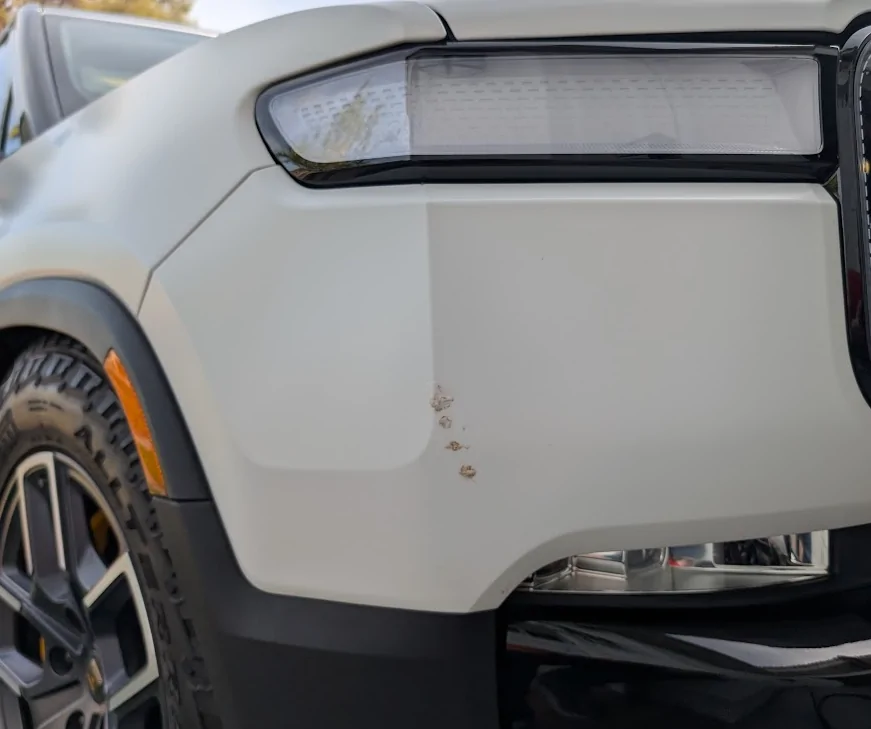
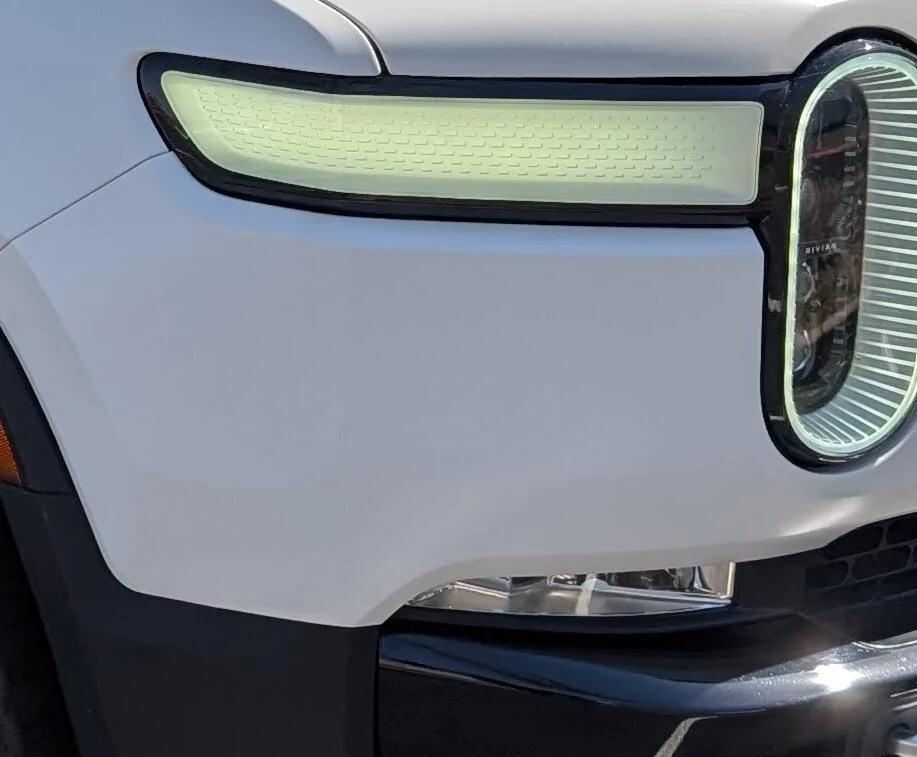
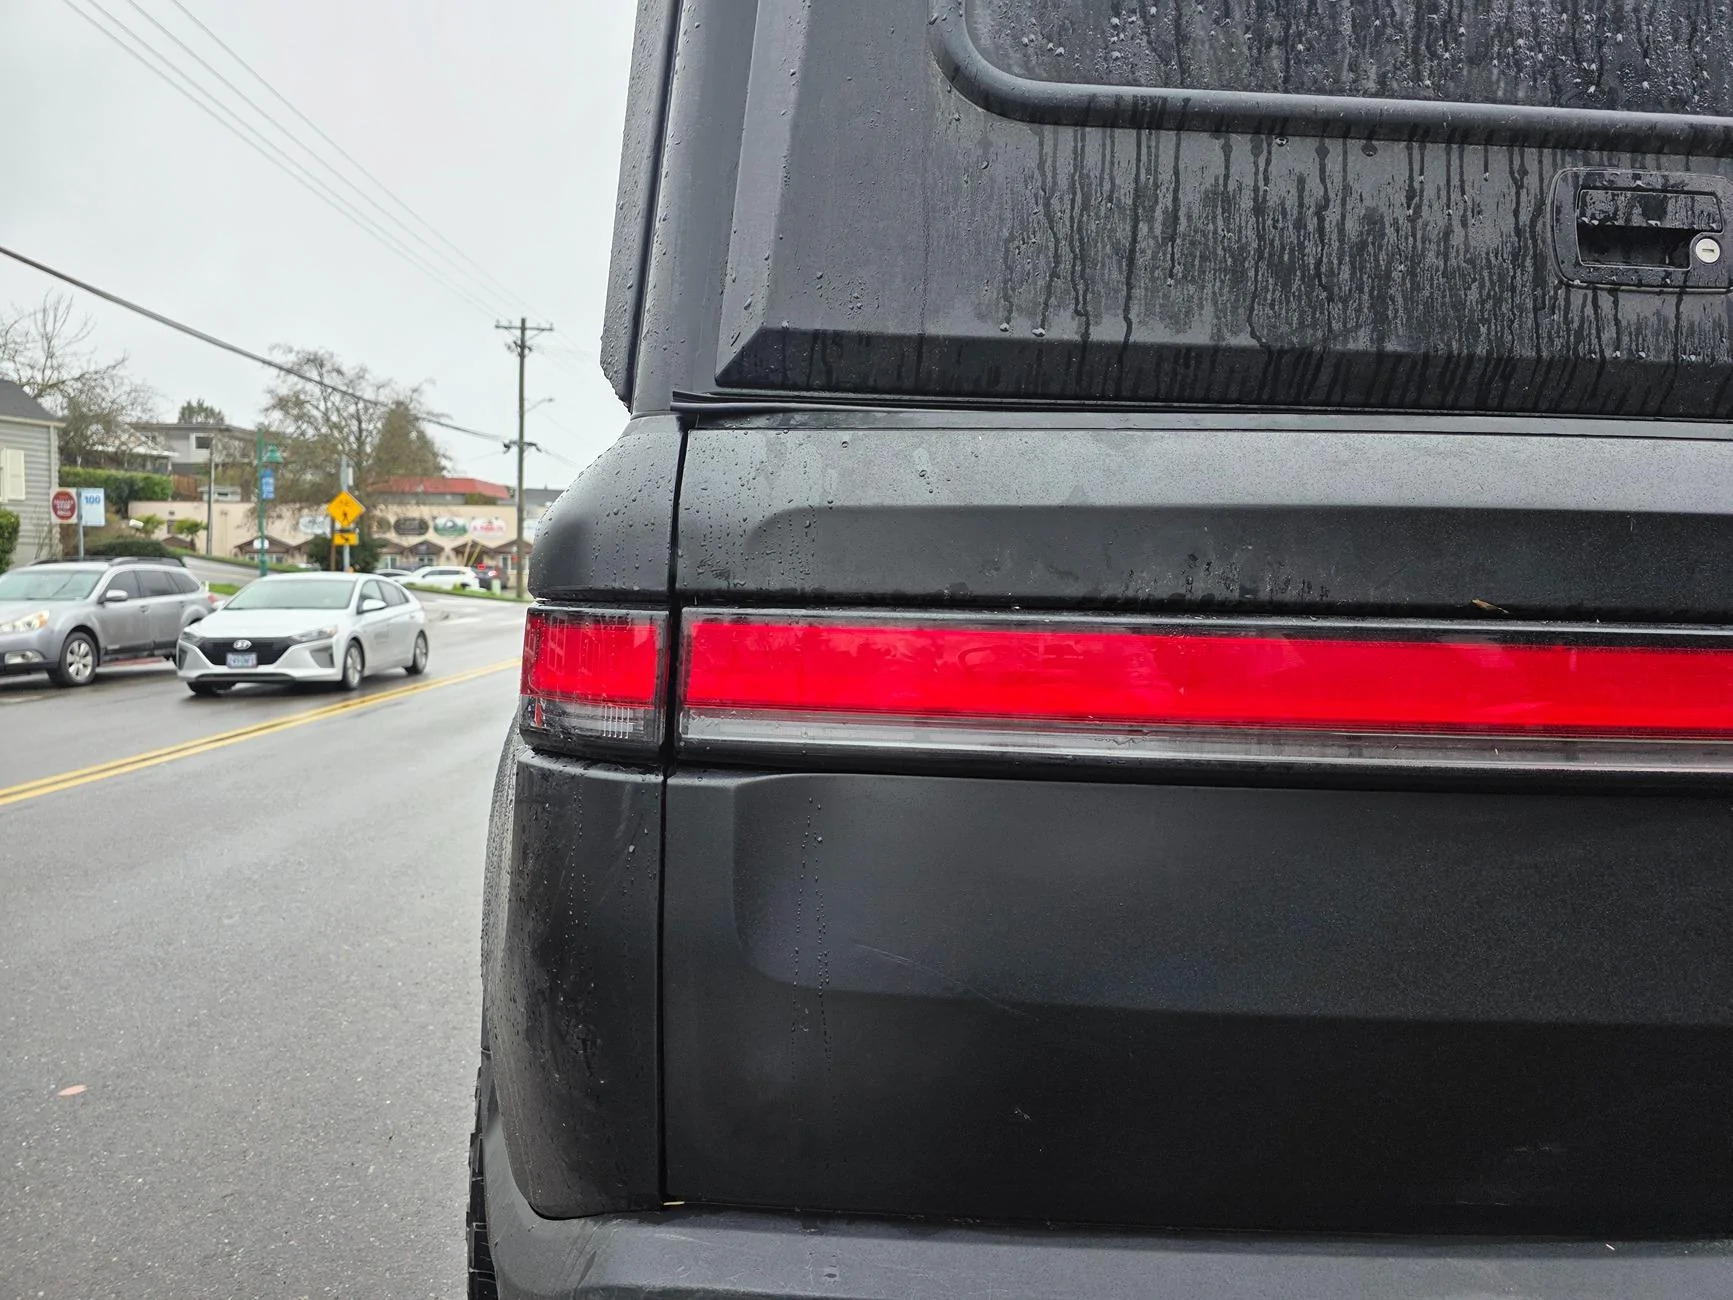
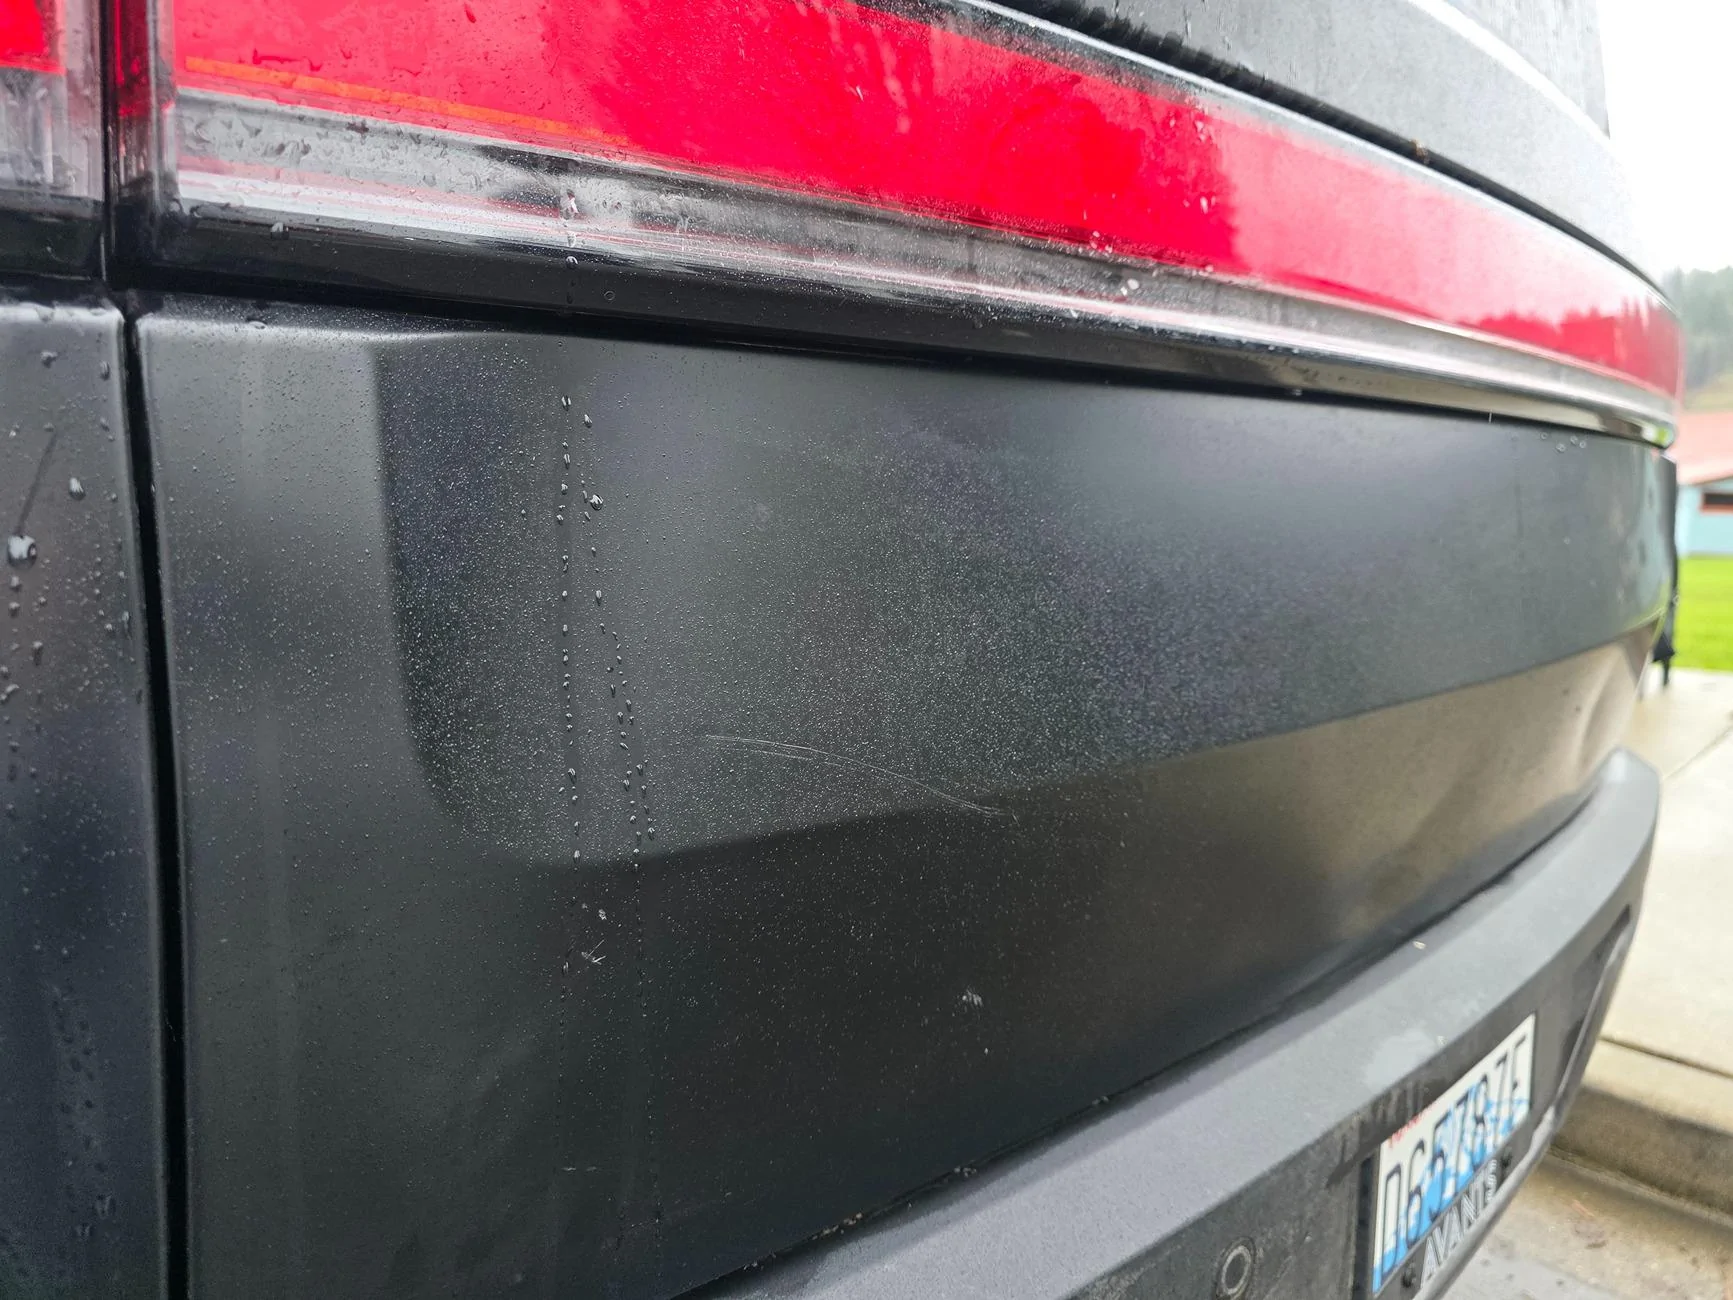
The Damage
The damage included a broken side tail light, a dented tailgate, and some minor body dents. The dents didn’t worry me much—I use my truck as intended, and more will come. But the tail light needed attention. Replacing it meant removing the bed cap, which also meant pulling the Super Pacific and possibly replacing the gasket. (It ended up not needing to be removed. Just some 10mm bolts and I had access to the light)
DIY or Body Shop?
I called Rivian Customer Service and was told I’d need a body shop. Instead, I drove to the Seattle Service Center, and by some miracle, they had a Gen 2 tail light in stock. If it had been a headlight, I would’ve had to wait weeks.
Tail Light Replacement
I handled the tail light install myself. It was super straightforward. I removed a few 10mm bolts, unclipped the connectors, swapped the unit, and reassembled everything. I tested it and the brake lights worked perfectly.
Addressing the Dents
Before my real estate media work, I spent time at a detailing shop, and I’ve seen the power of Paintless Dent Removal. I took the tailgate to Kimball’s Detailing in Gig Harbor, and for $200, they brought the big dent back to 90 percent. It’s not flawless, but really solid for the cost. A couple of sharp dents couldn’t be fixed without bodywork, but the worst of it is gone.
The Final Cost
The total cost was $700 for the tail light (including tax) and $200 for PDR. So $900 total. Compared to horror stories about insurance claims and $30,000 body shop quotes, I’d say this was a win.
Takeaways
If you’re dealing with minor damage and wondering whether to DIY or go to the shop, feel free to ask questions. I’m happy to share more details about the install or the PDR process. My R1T is built for adventure. Scratches and dents are just part of the story. Stay safe out there and don’t forget your traction boards.
The camp set up and self recovery.
The damage repair

Sponsored
 I remember as a kid my dad setup our pop-up in the wrong spot in Cottonwood out in Big Bend. Insisted on moving it, w/o putting it down of course. Broke the back window of the wagoneer. Nothing like an 8-hour drive back breathing fumes … may be why I bought a EV!