I got mine installed.. Removed tub and followed above instructions.
Question: The outlets are powered on when I connected to harness. The outlets seem to be on despite reading in posts that they are controlled by software in settings like others. Mine are on whenever I open frunk. Will this cause an issue with the 12v batteries? Are the rest of you seeing 'power always on' in your installs? Thanks.
Would anyone in SoCal be interested in a 12v retrofit “group by” installed by a professional mechanic?
Our mechanic is really good and I kind of miss not going to him since we’ve been full EV for two years. Plus he loves Rivians. I’m thinking these types of mods might be a good fit, but he’d probably only be interested if there was some sort of scale to it. Thoughts?
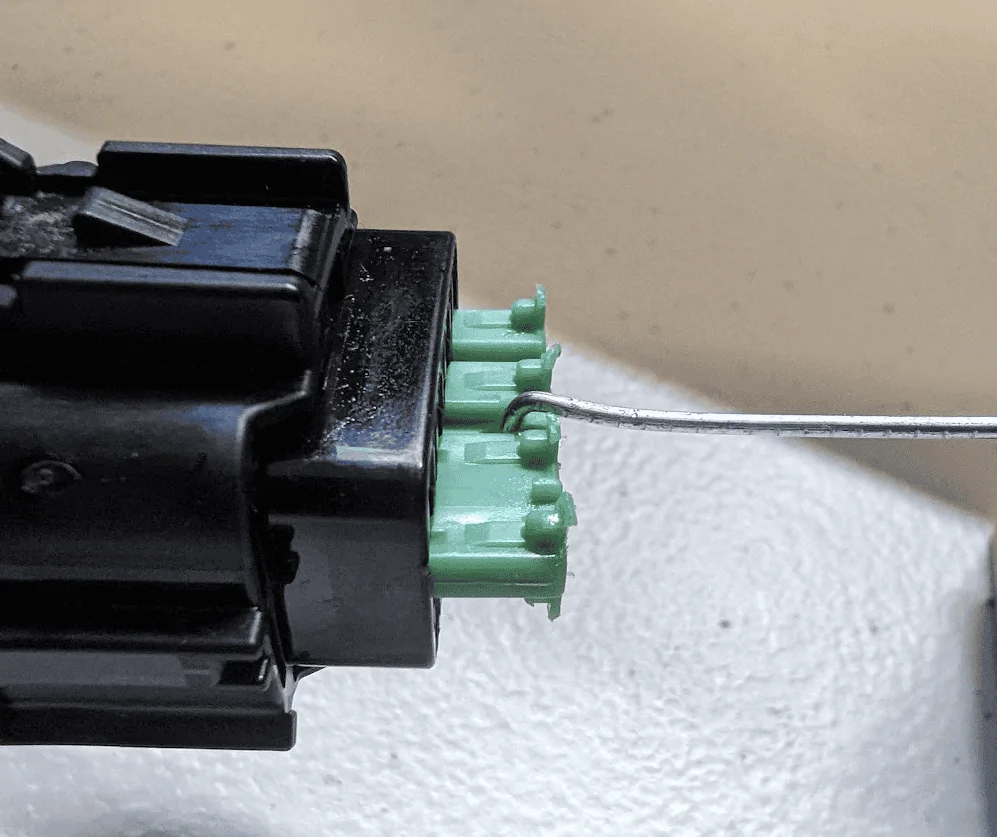
I would be quasi interested - I did the instal but I could never get spades to connect correctly so I finally said f' it and cut off the ends and physically connected both sides and then used a ton of electrical tape to secure - I might order a whole new connecter setup and try and repair it as it pretty janky (but it does work!)
@shift4 and @Sonartech - How is this holding up? Any issues over the past year? Anything you would have done differently? I see @shift4 kept the inline fuse, but @Sonartech did not. Has that been an issue? I figured it would be fine either way. Just looking for a little more info before I do this myself.
@shift4 and @Sonartech - How is this holding up? Any issues over the past year? Anything you would have done differently? I see @shift4 kept the inline fuse, but @Sonartech did not. Has that been an issue? I figured it would be fine either way. Just looking for a little more info before I do this myself.
I got mine installed.. Removed tub and followed above instructions.
Question: The outlets are powered on when I connected to harness. The outlets seem to be on despite reading in posts that they are controlled by software in settings like others. Mine are on whenever I open frunk. Will this cause an issue with the 12v batteries? Are the rest of you seeing 'power always on' in your installs? Thanks.