camaroz1985
Well-Known Member
- Joined
- Oct 5, 2021
- Threads
- 15
- Messages
- 985
- Reaction score
- 1,038
- Location
- Carlisle, PA
- Vehicles
- R1T, ID.4
- Occupation
- Engineer
- Thread starter
- #1
I know others have posted some details on this, but I wanted to give a little more detail now that I have bought the parts and tools and completed the copy. Really these pictures are more than you need, the tool walks you through everything.
Disclaimer: I am not a trained mechanic or tire repair/install specialist. I am a DIY mechanic. If you are not comfortable with doing this process yourself, let a shop take care of it. (But really even if you do it wrong you aren't really putting yourself or others in danger, you would just have to pay to have someone else do it anyway).
First, the parts used:
Tool: Xtra Seal Smart Sensor Pro+, 17-144
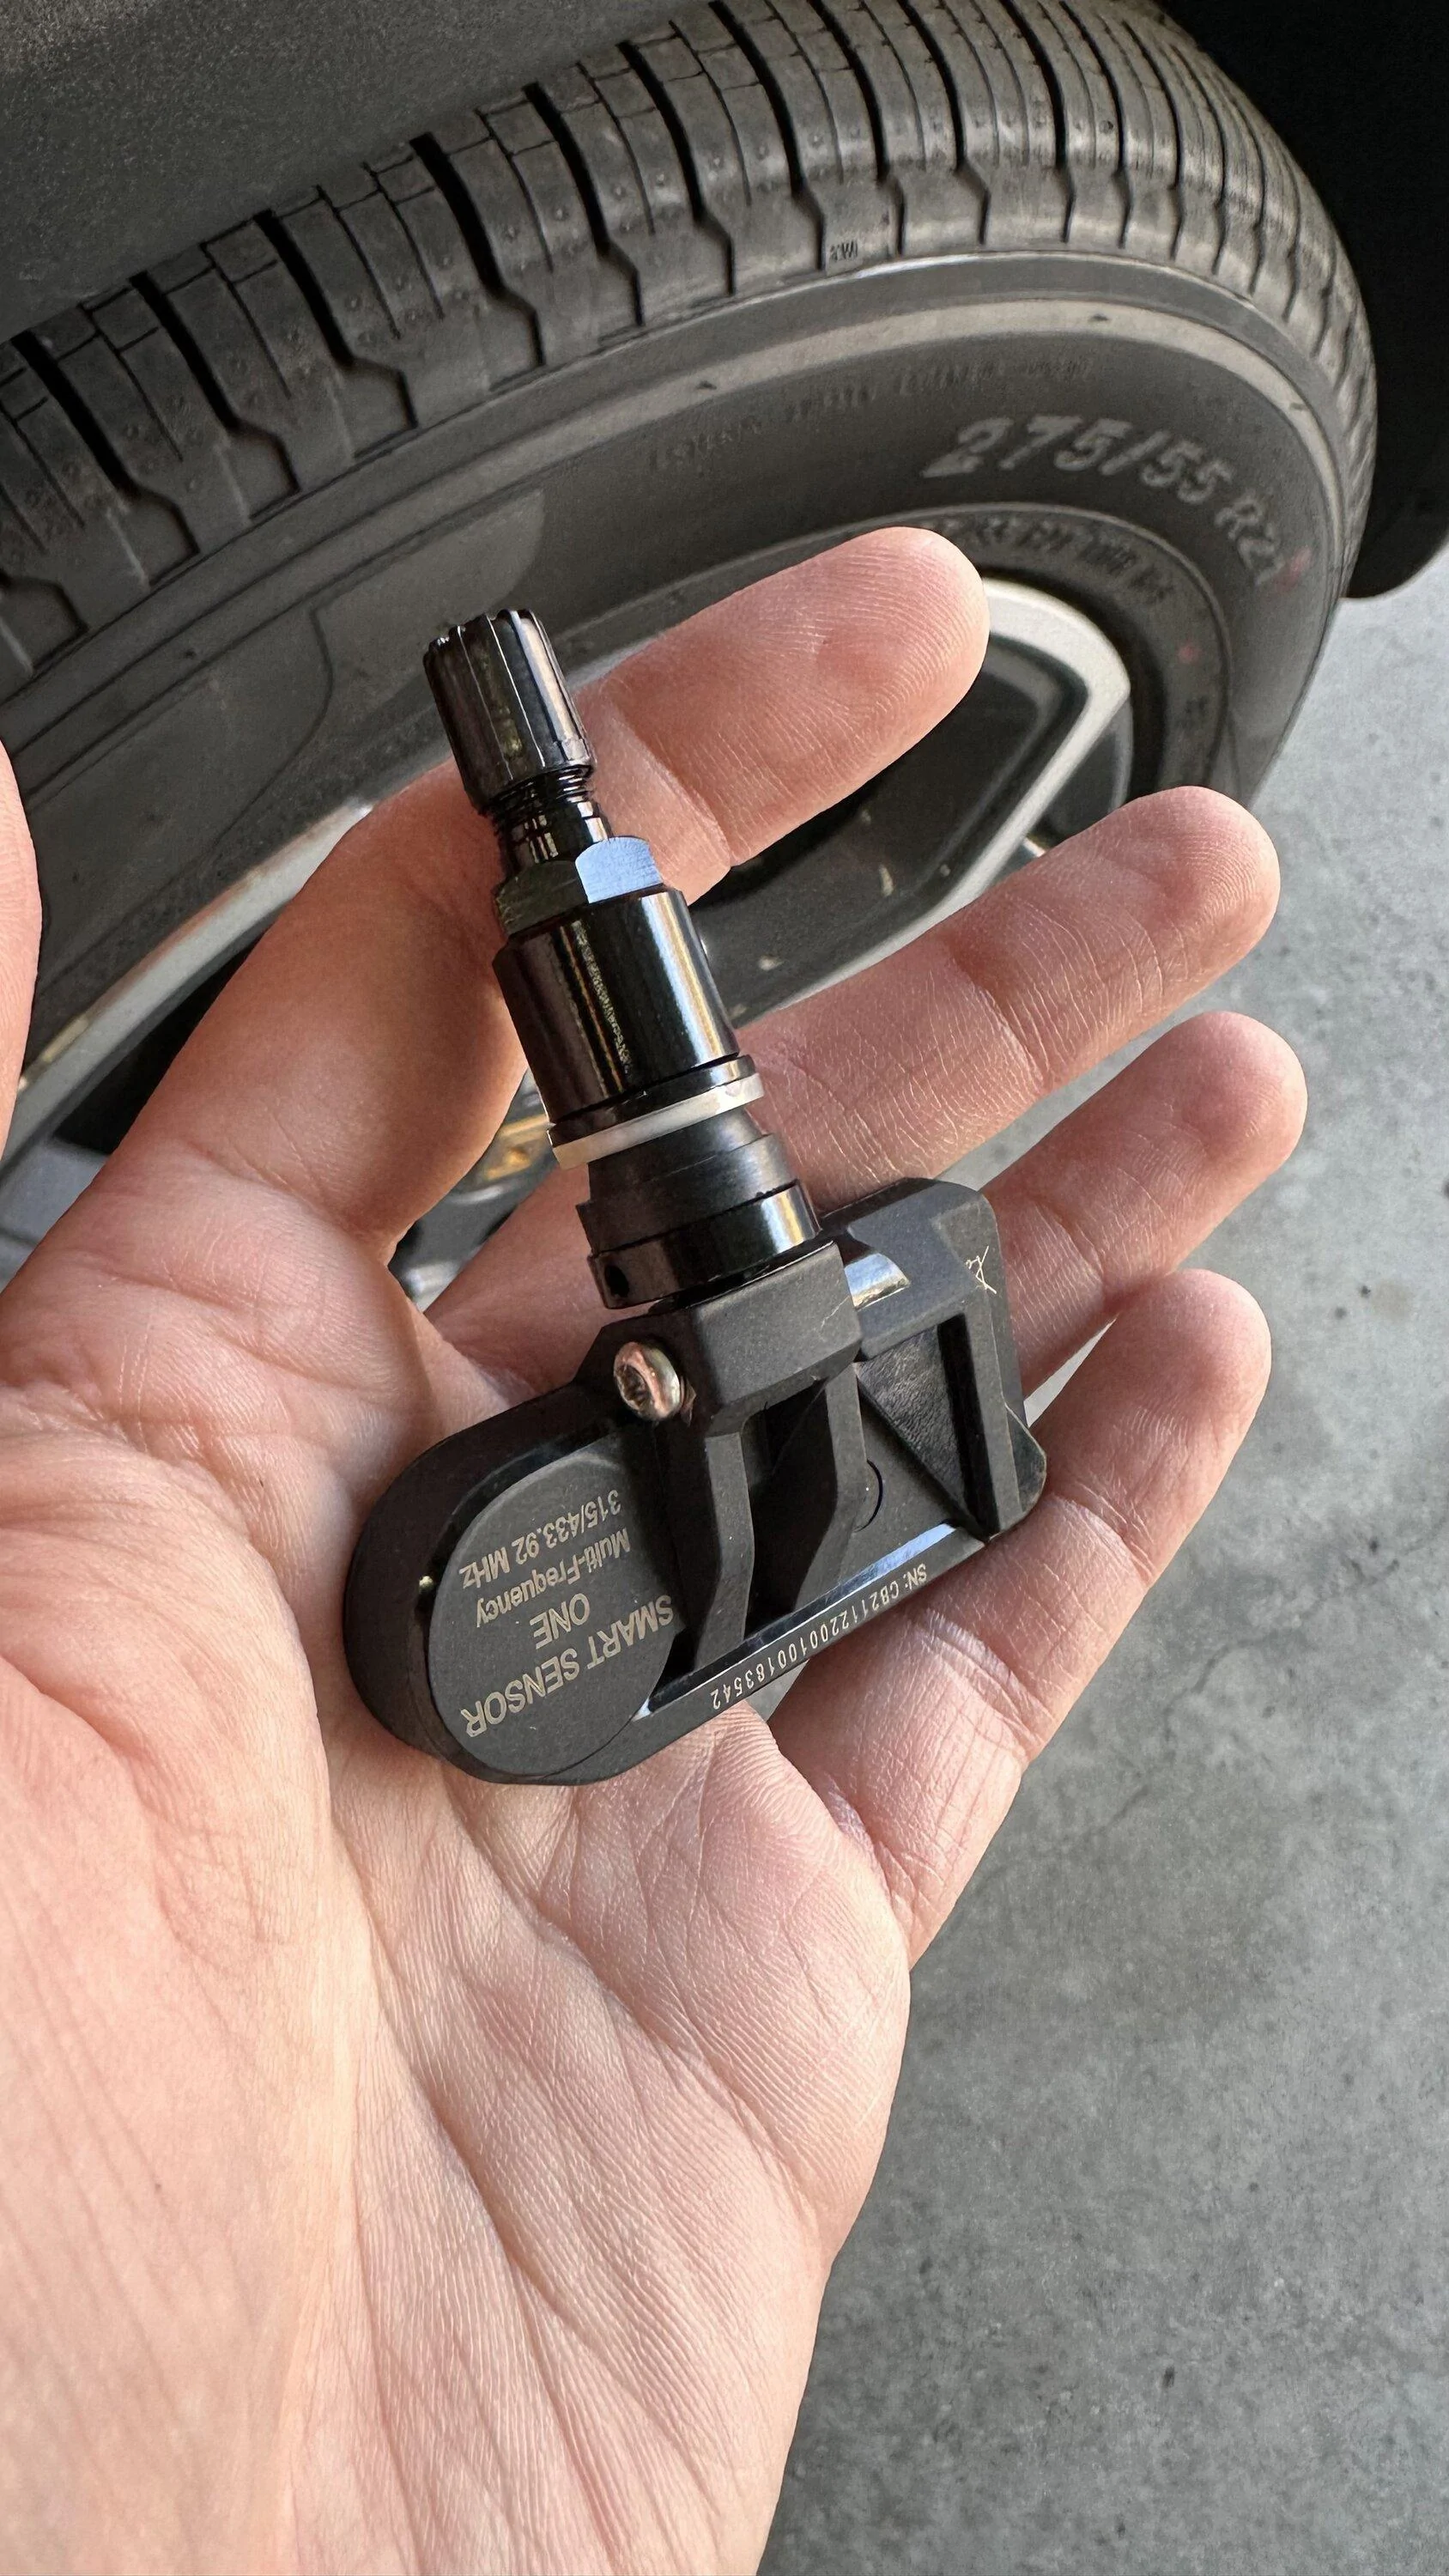
Sensor: Xtra Seal Smart Sensor One 17-43042
If you want the same silver metal stem as stock you can use this sensor. Otherwise I would say to use the cheaper rubber stem sensor, 17-43041, and buy the valve stem to match your wheels, gloss black 17-43047, matte black 17-43048, or chrome 17-43050. This is what I did with the gloss black stem to match my new wheels.

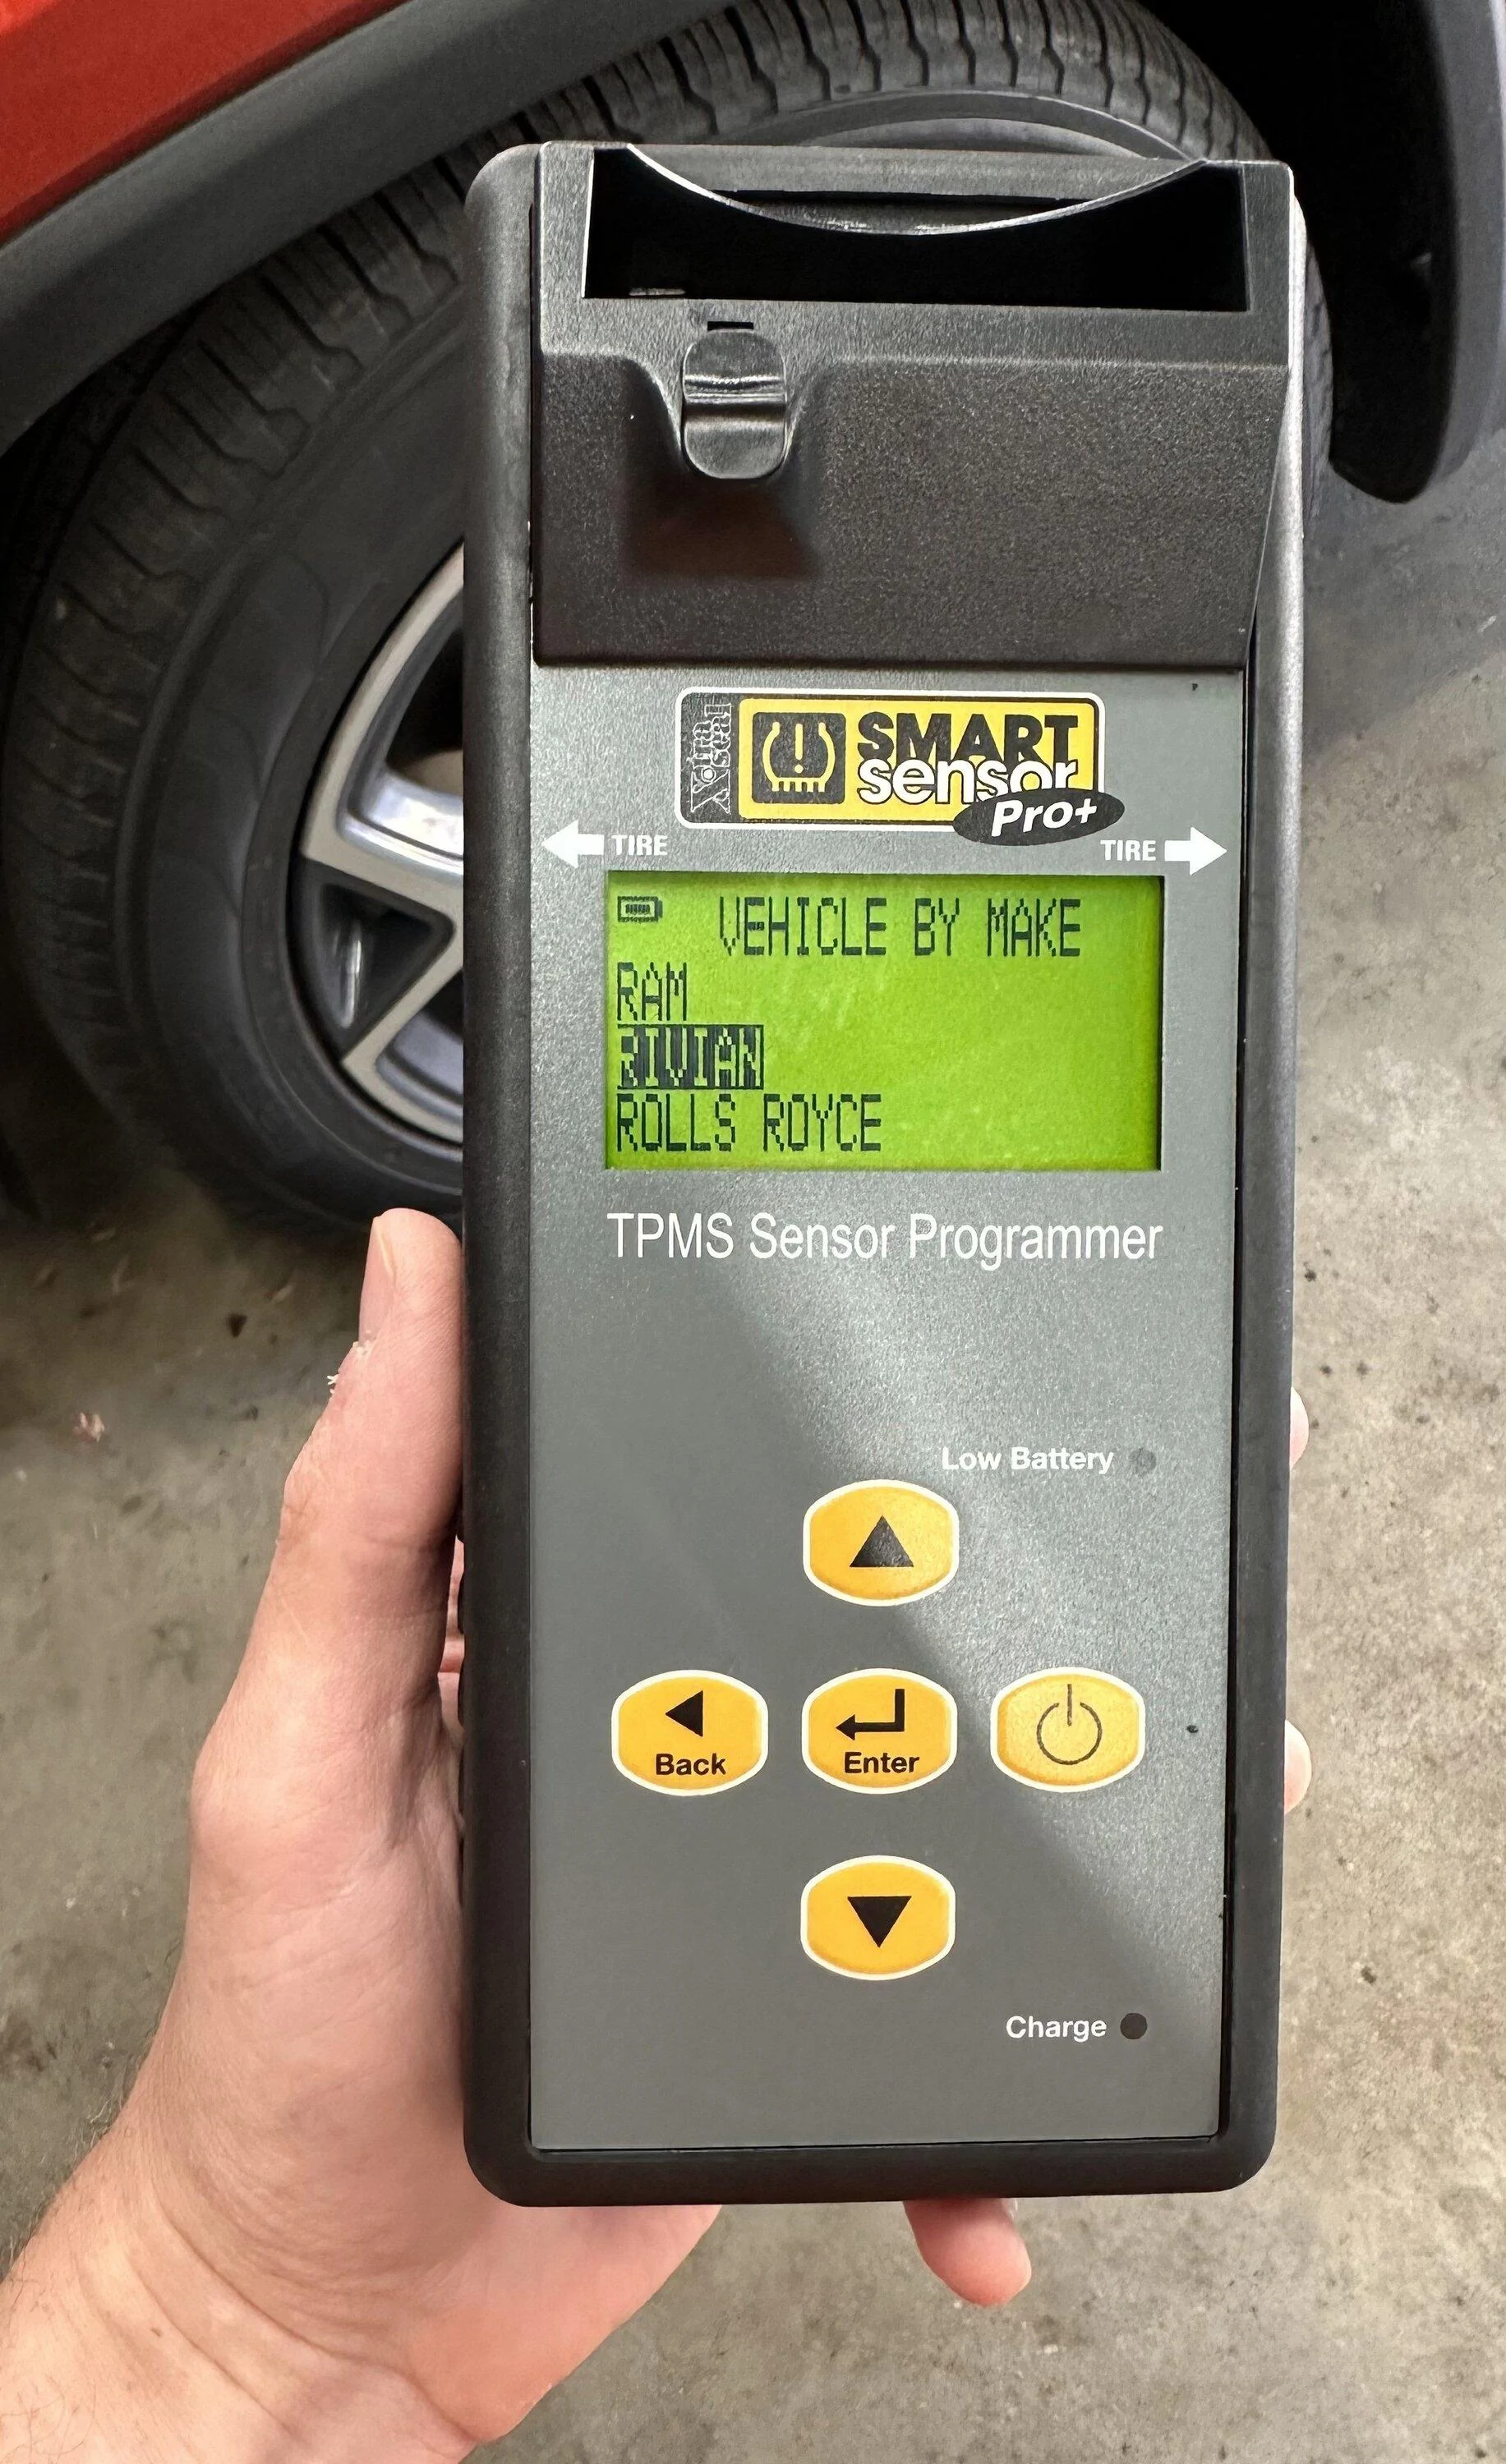
It is a very straight forward process after you update the tool, as the original software version does not have Rivian.
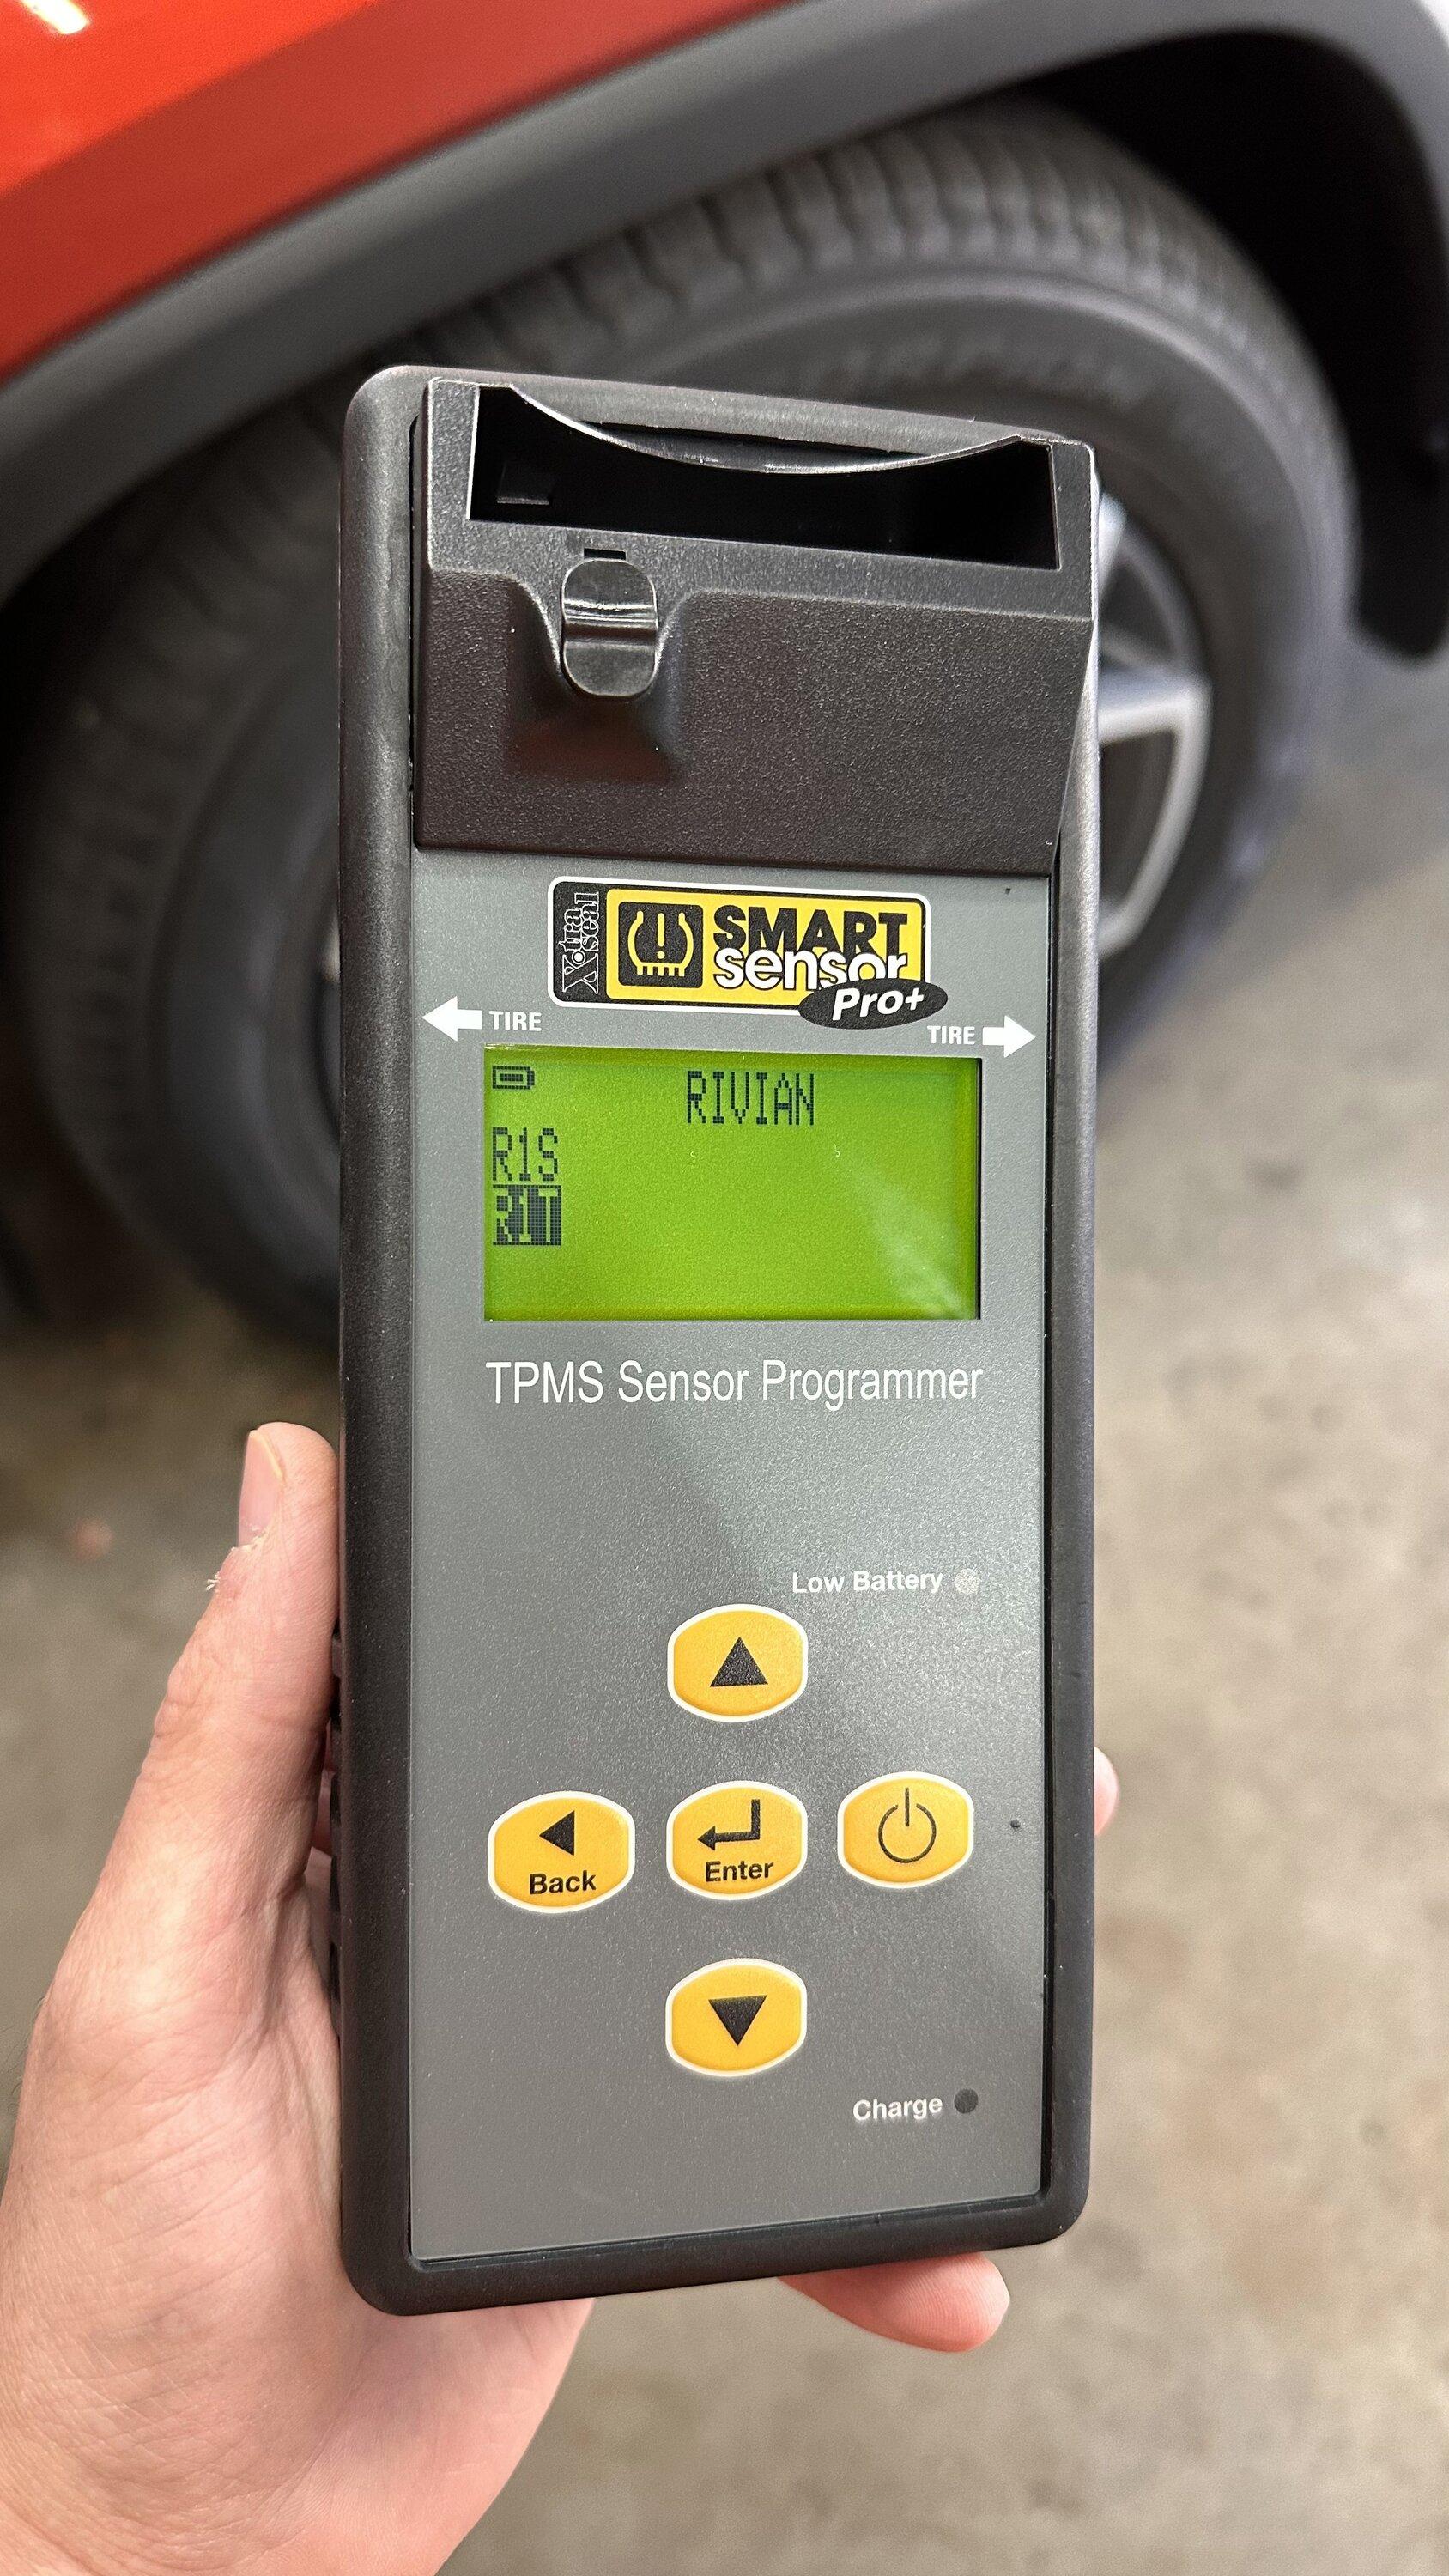
Once it is on you select the Make and Model, both R1T and R1S are listed. This also shows the frequency for the TPMS that is used (433 MHz).

Before I started, I scanned each sensor and took a picture of the ID and information in case I needed it in the future, and to use to cross check the new sensors to after programming.
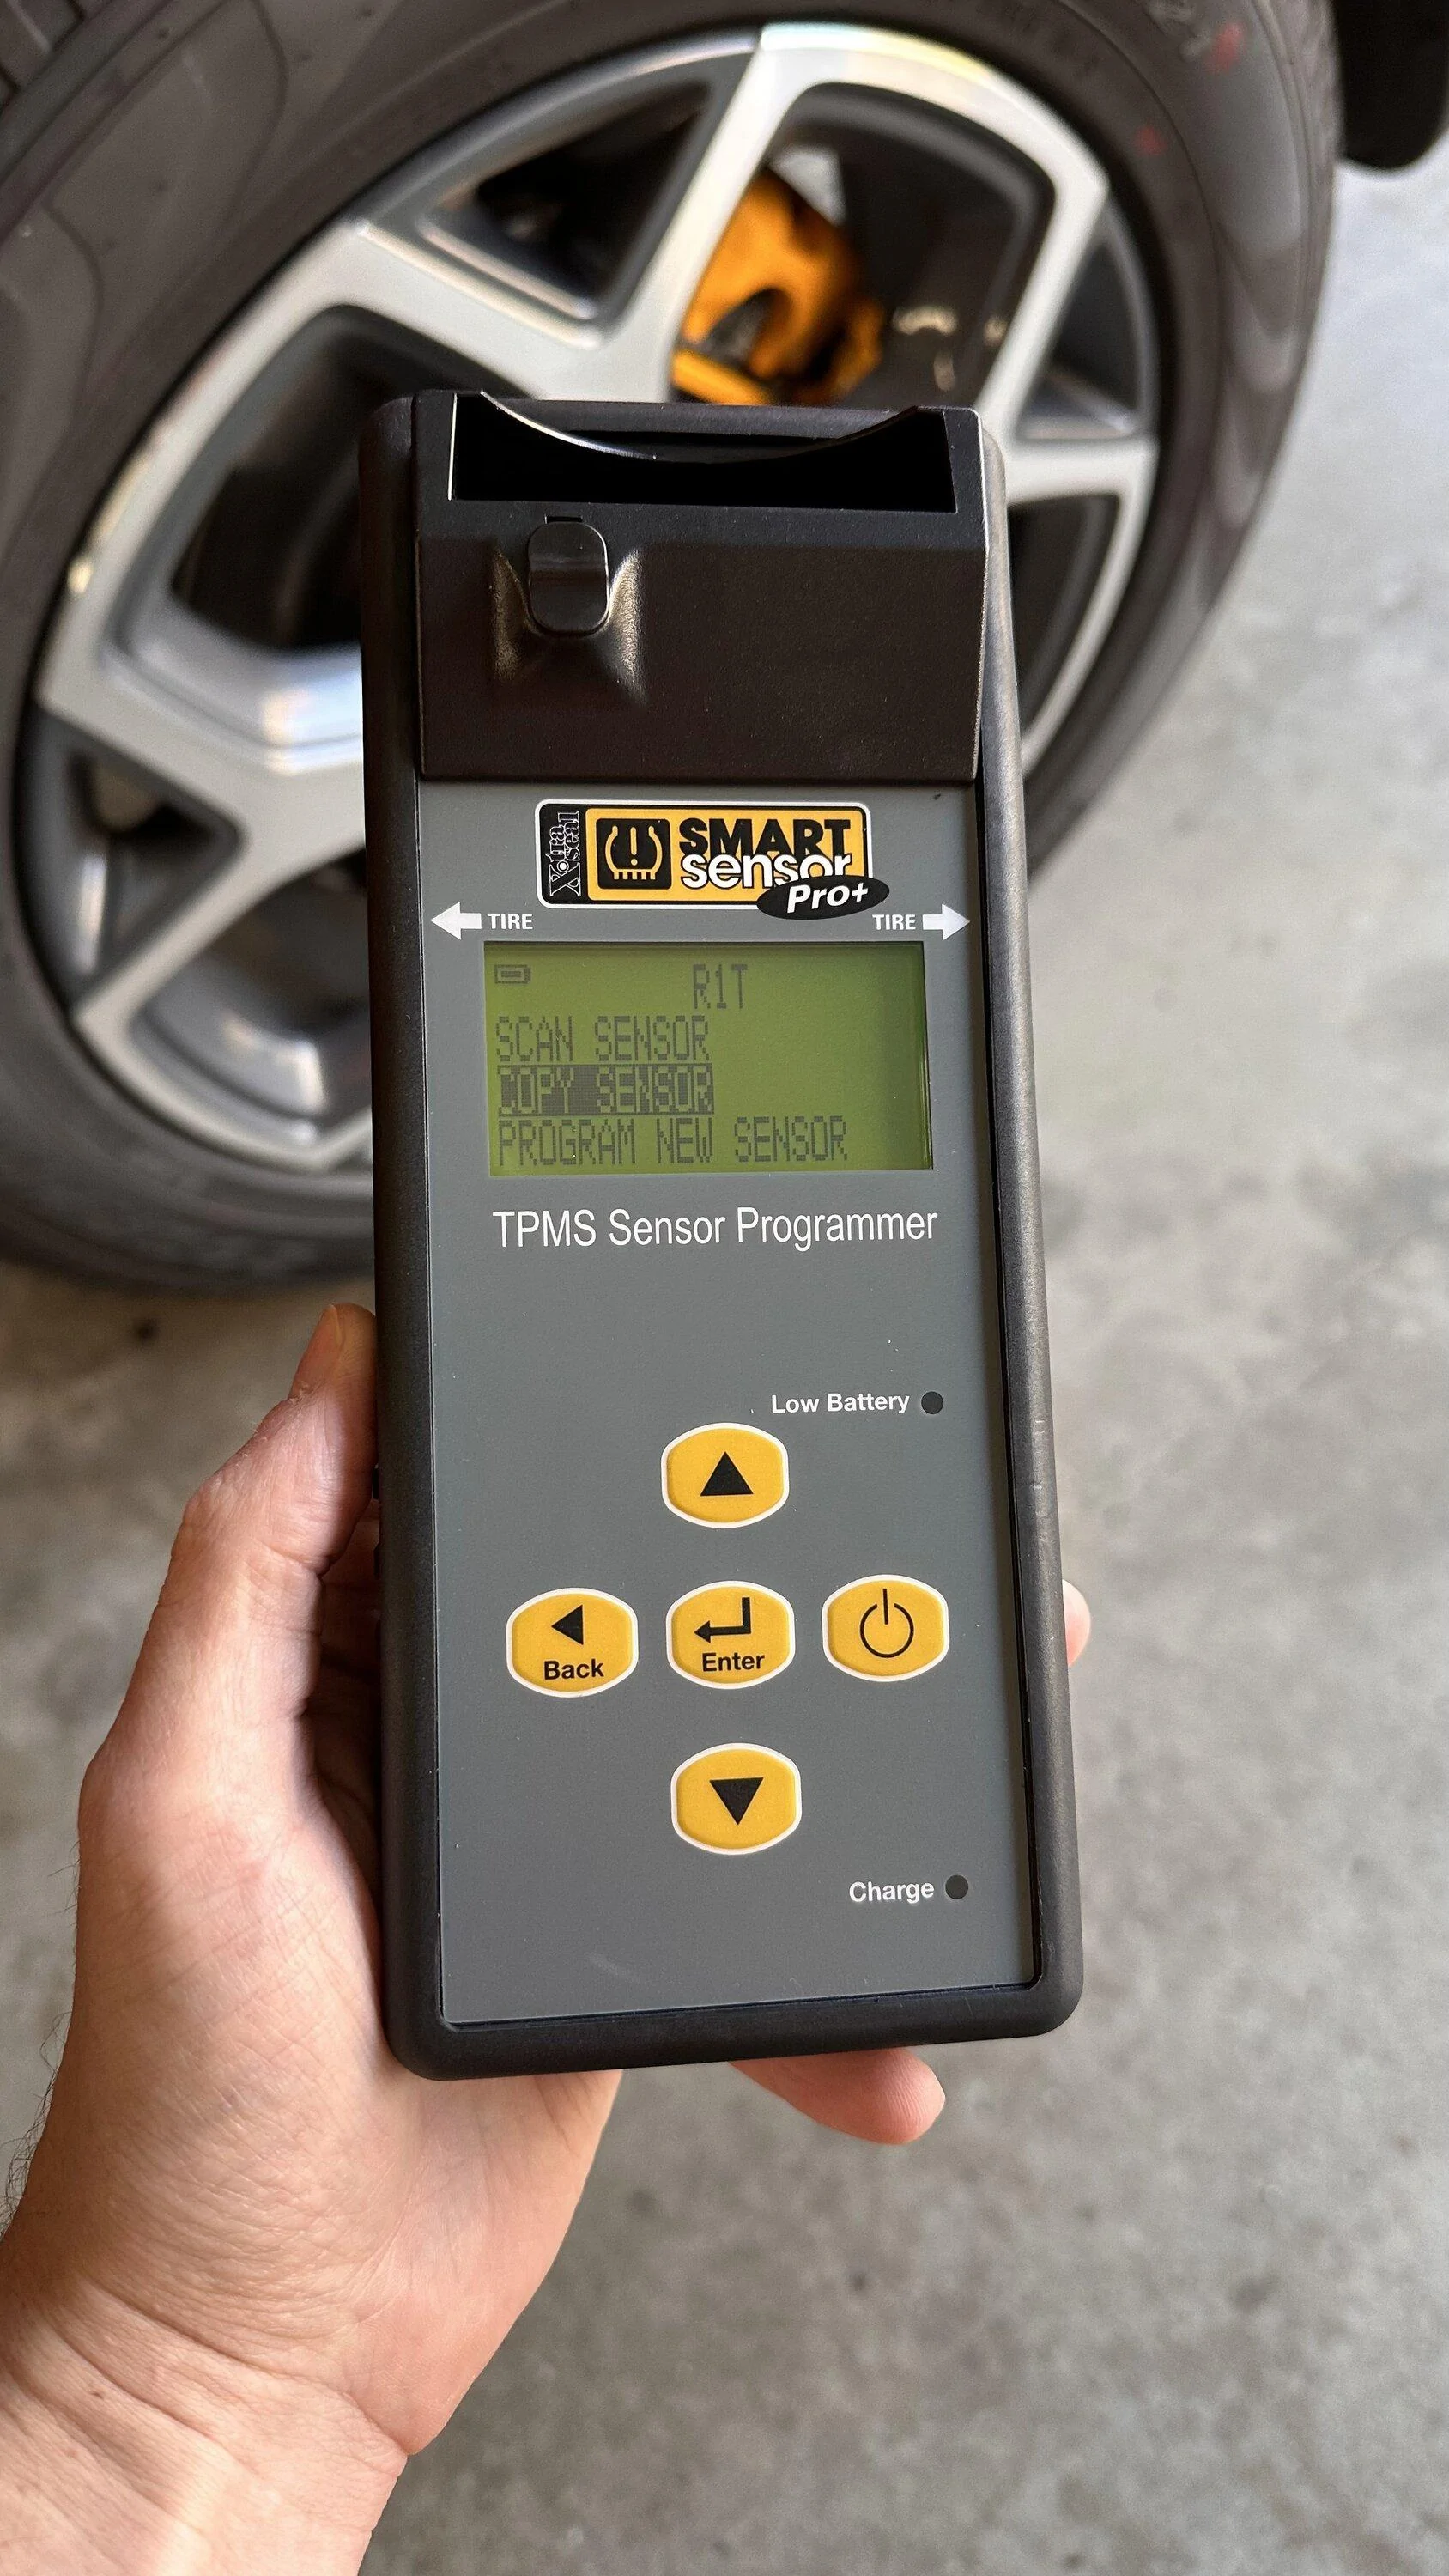
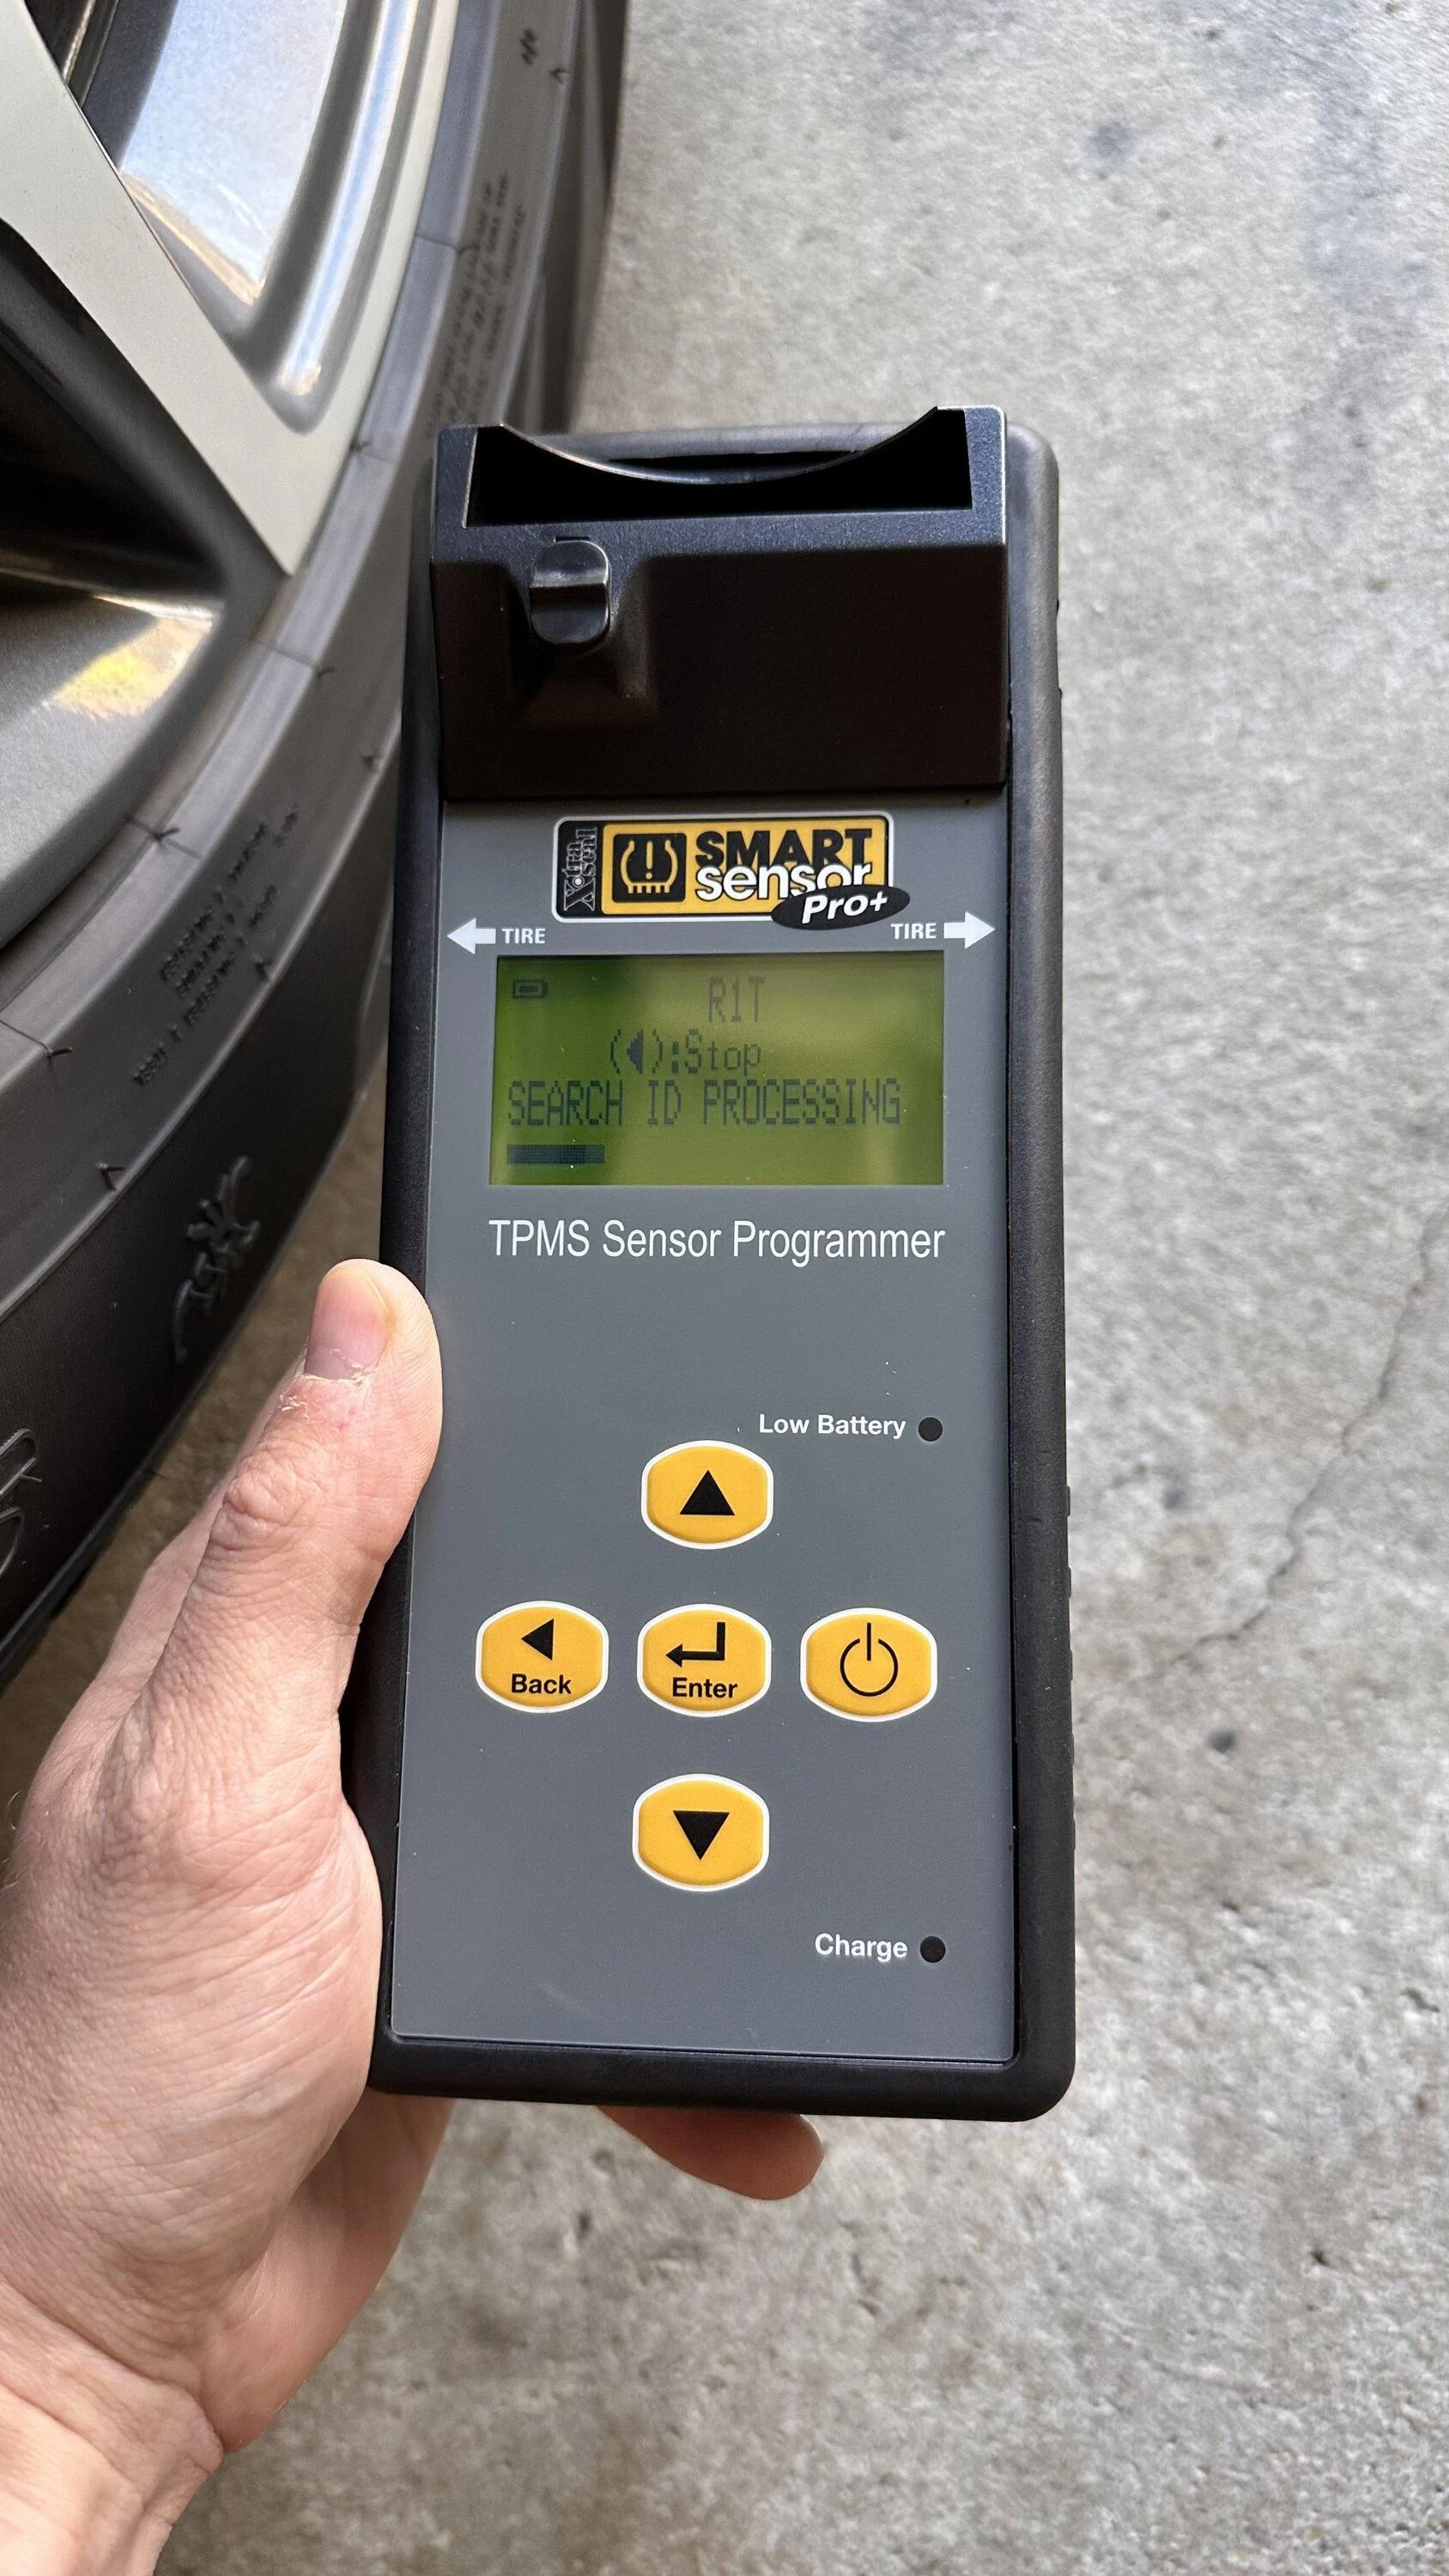
It is very simple you just select scan sensor, hold the tool against the sidewall by the valve stem, and wait.
I labeled each picture with the position on the truck for reference later. (This is the original position as I have yet to do any tire rotations. I figured if needed later, I could reprogram to match these positions if for some reason it doesn't update after a tire rotation, though I am told it does).

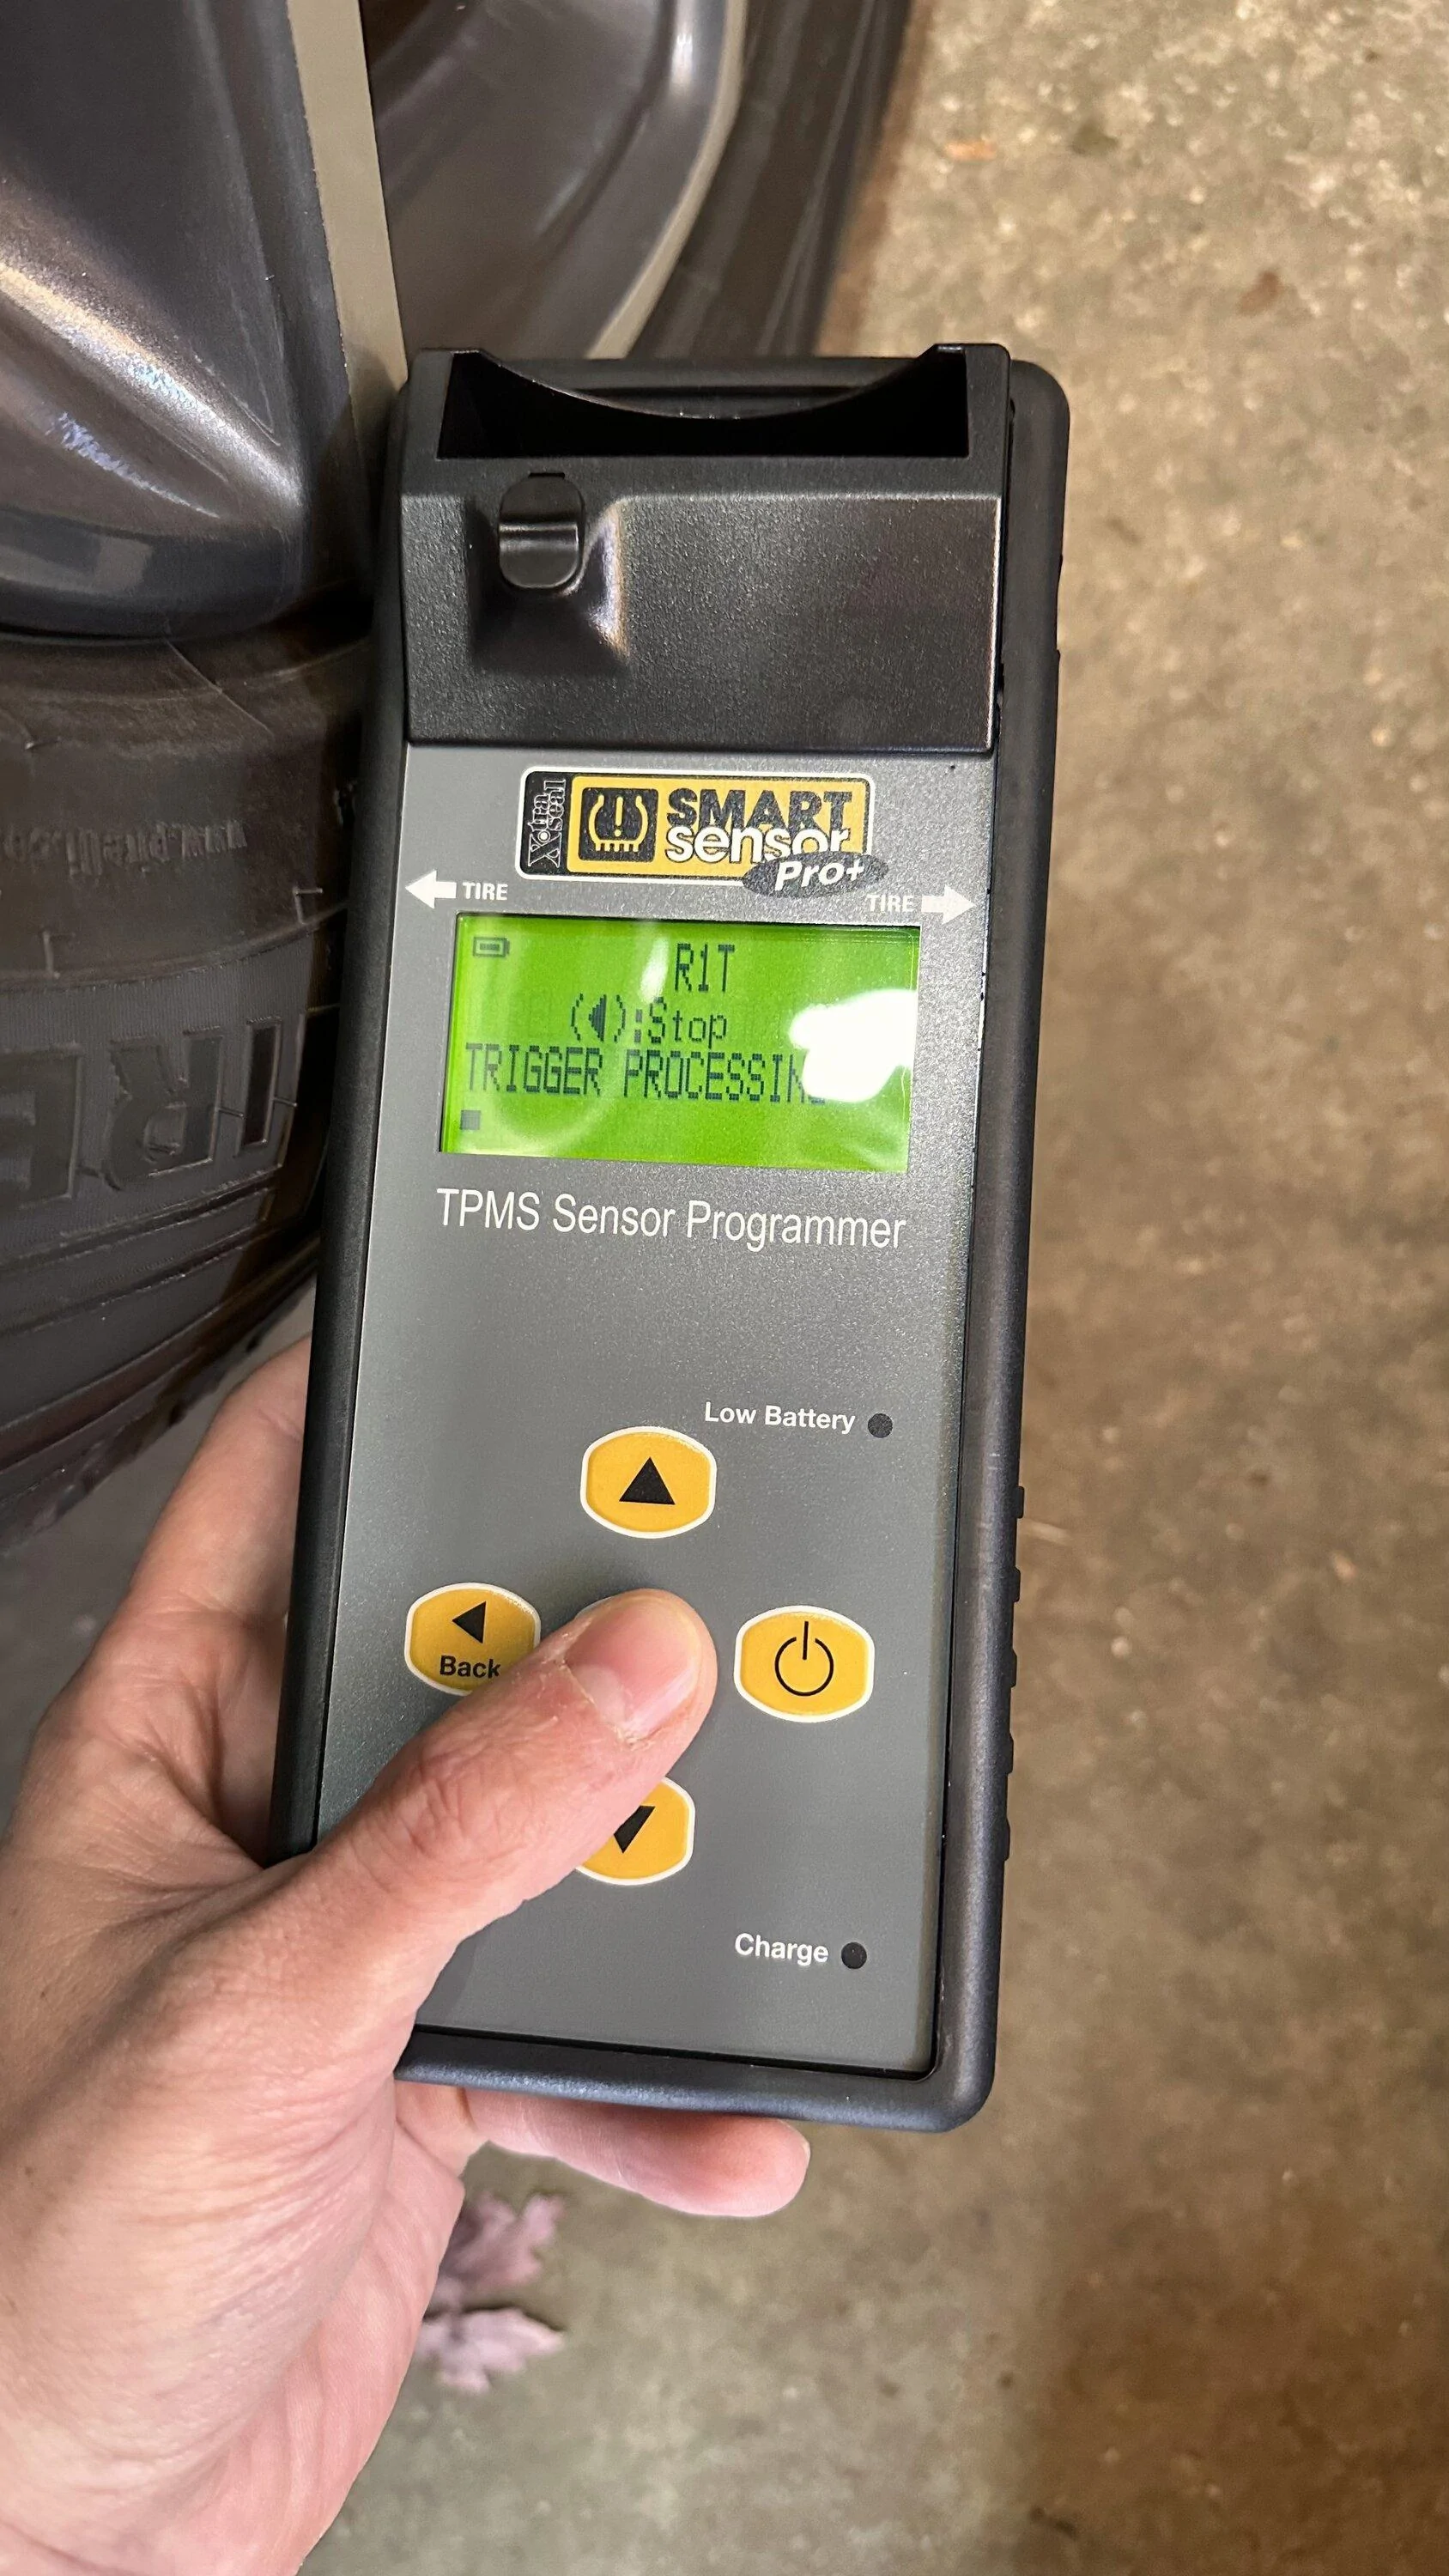
Back to the regularly scheduled program. Select Copy Sensor
You will see the screen below. Just like scanning, hold the tool against the sidewall by the valve stem.
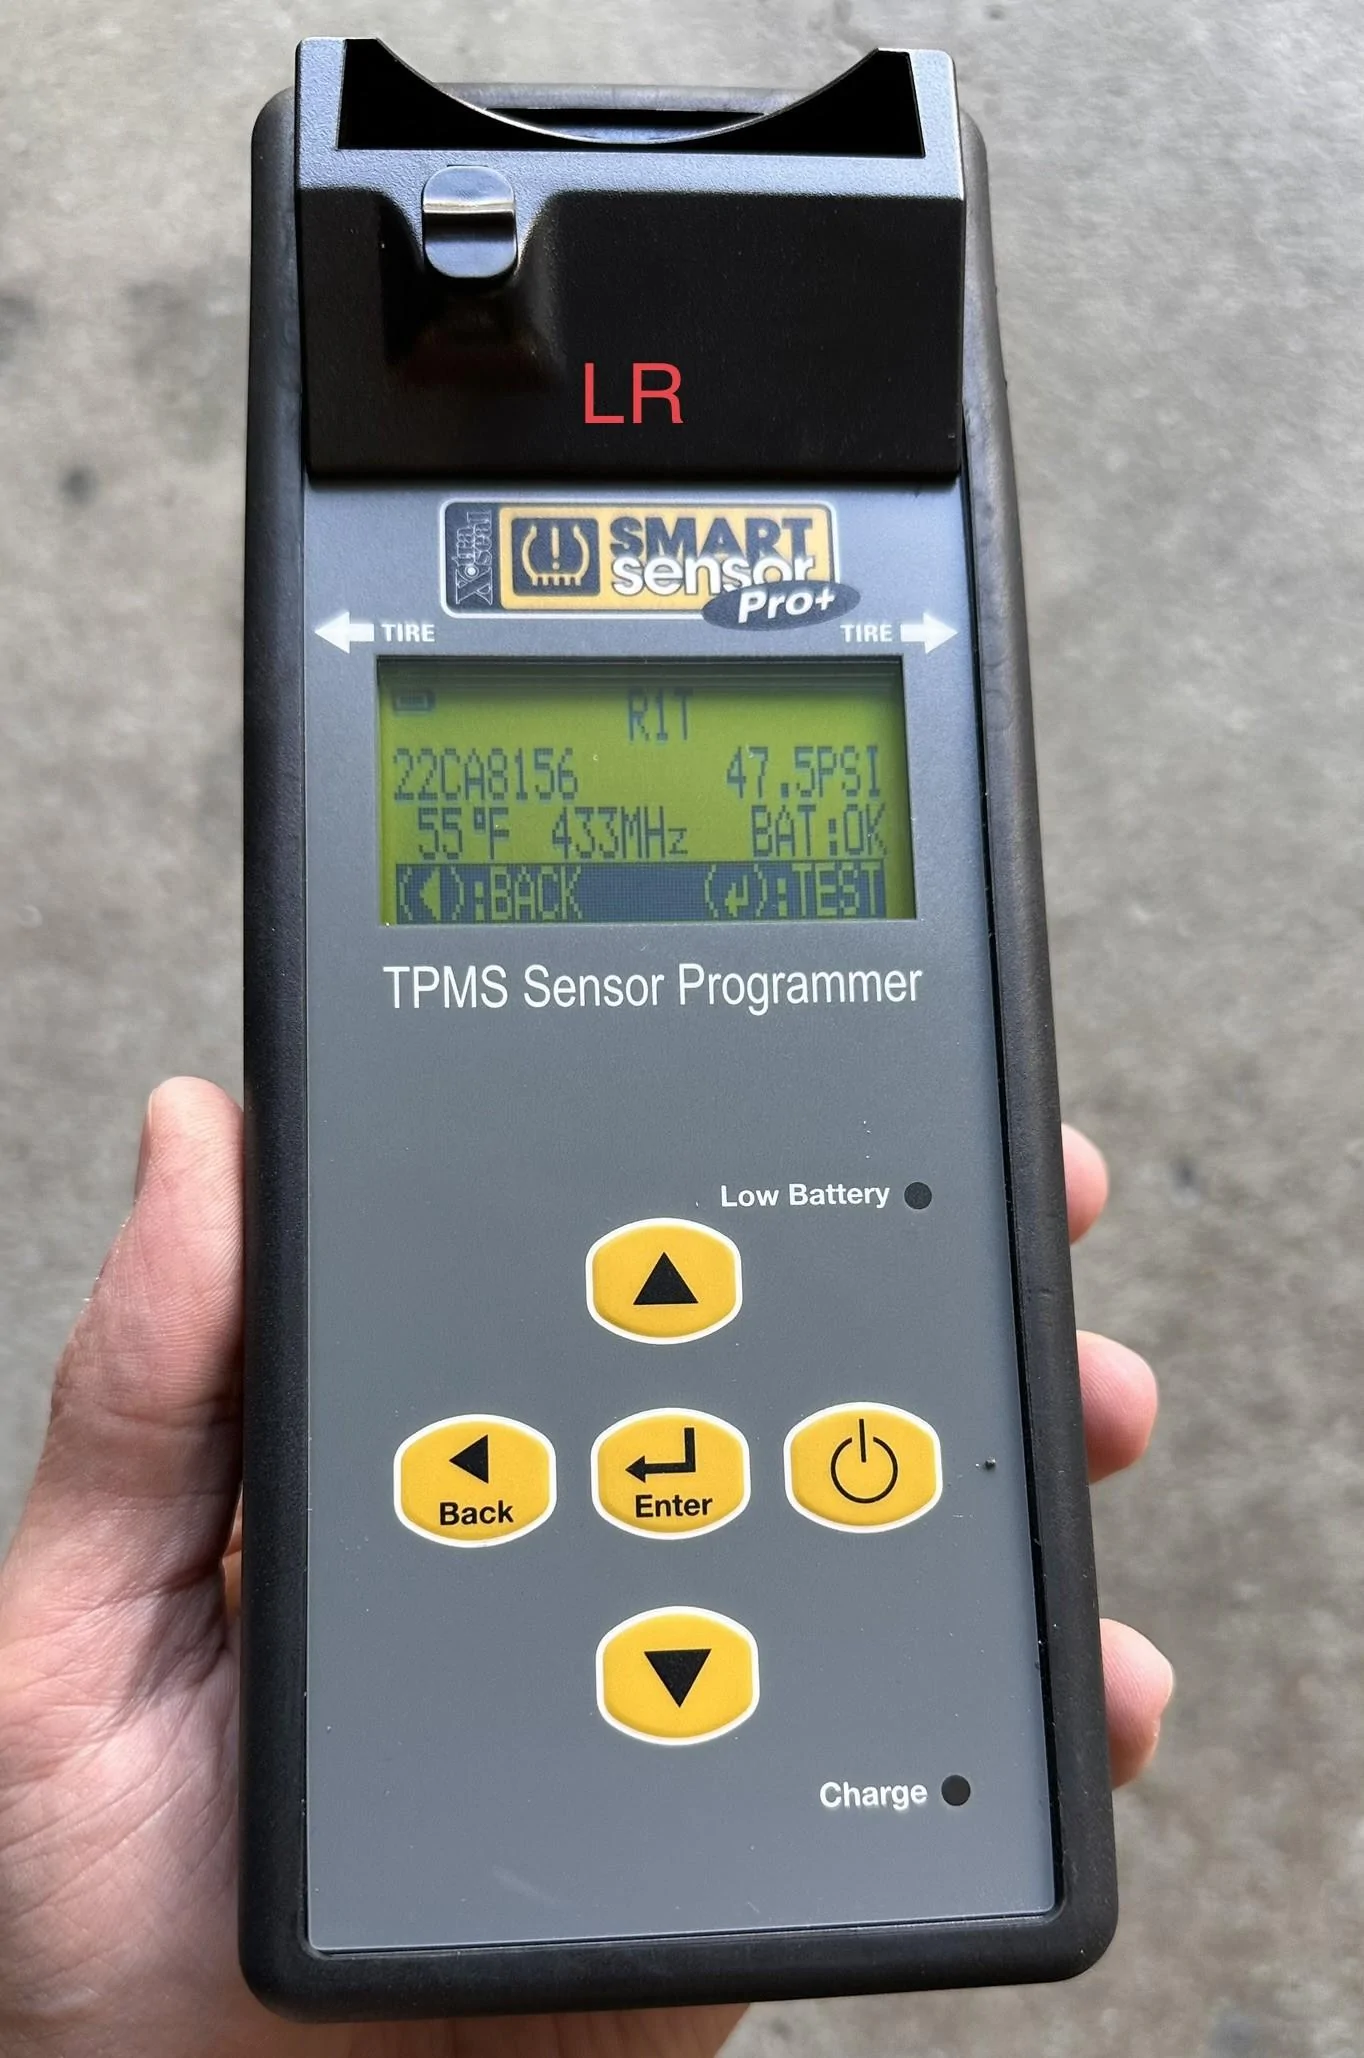
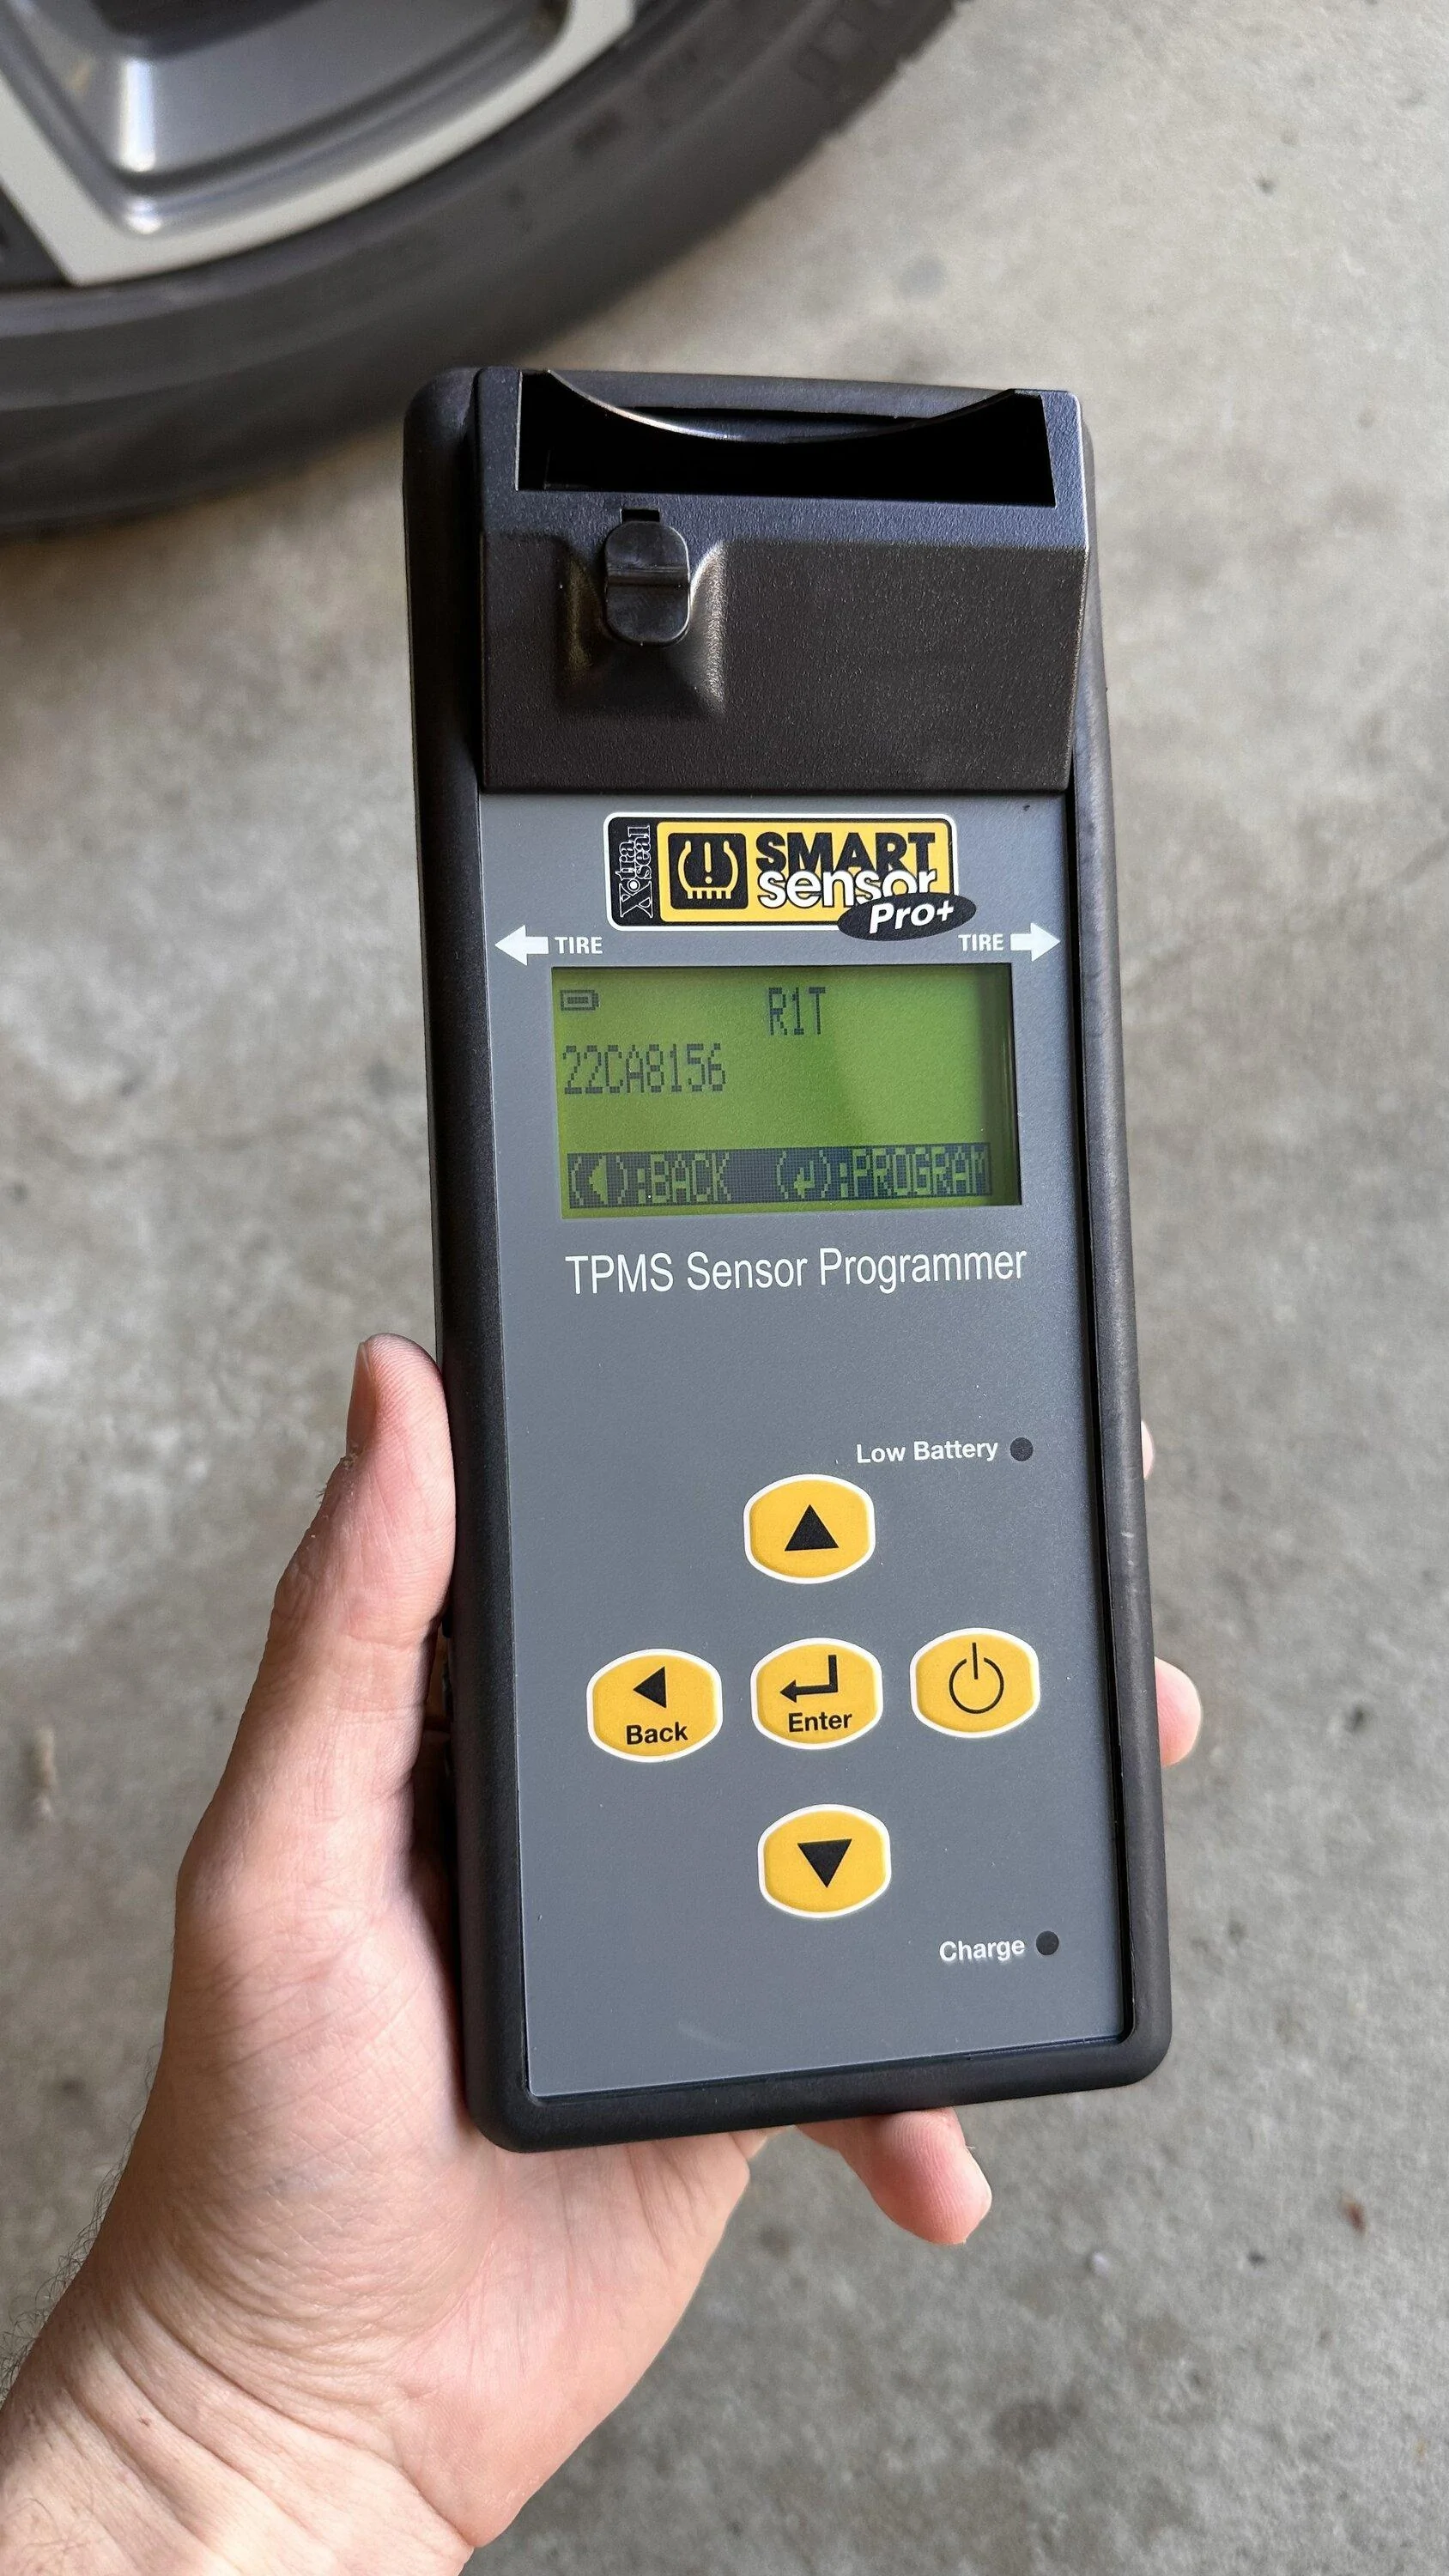
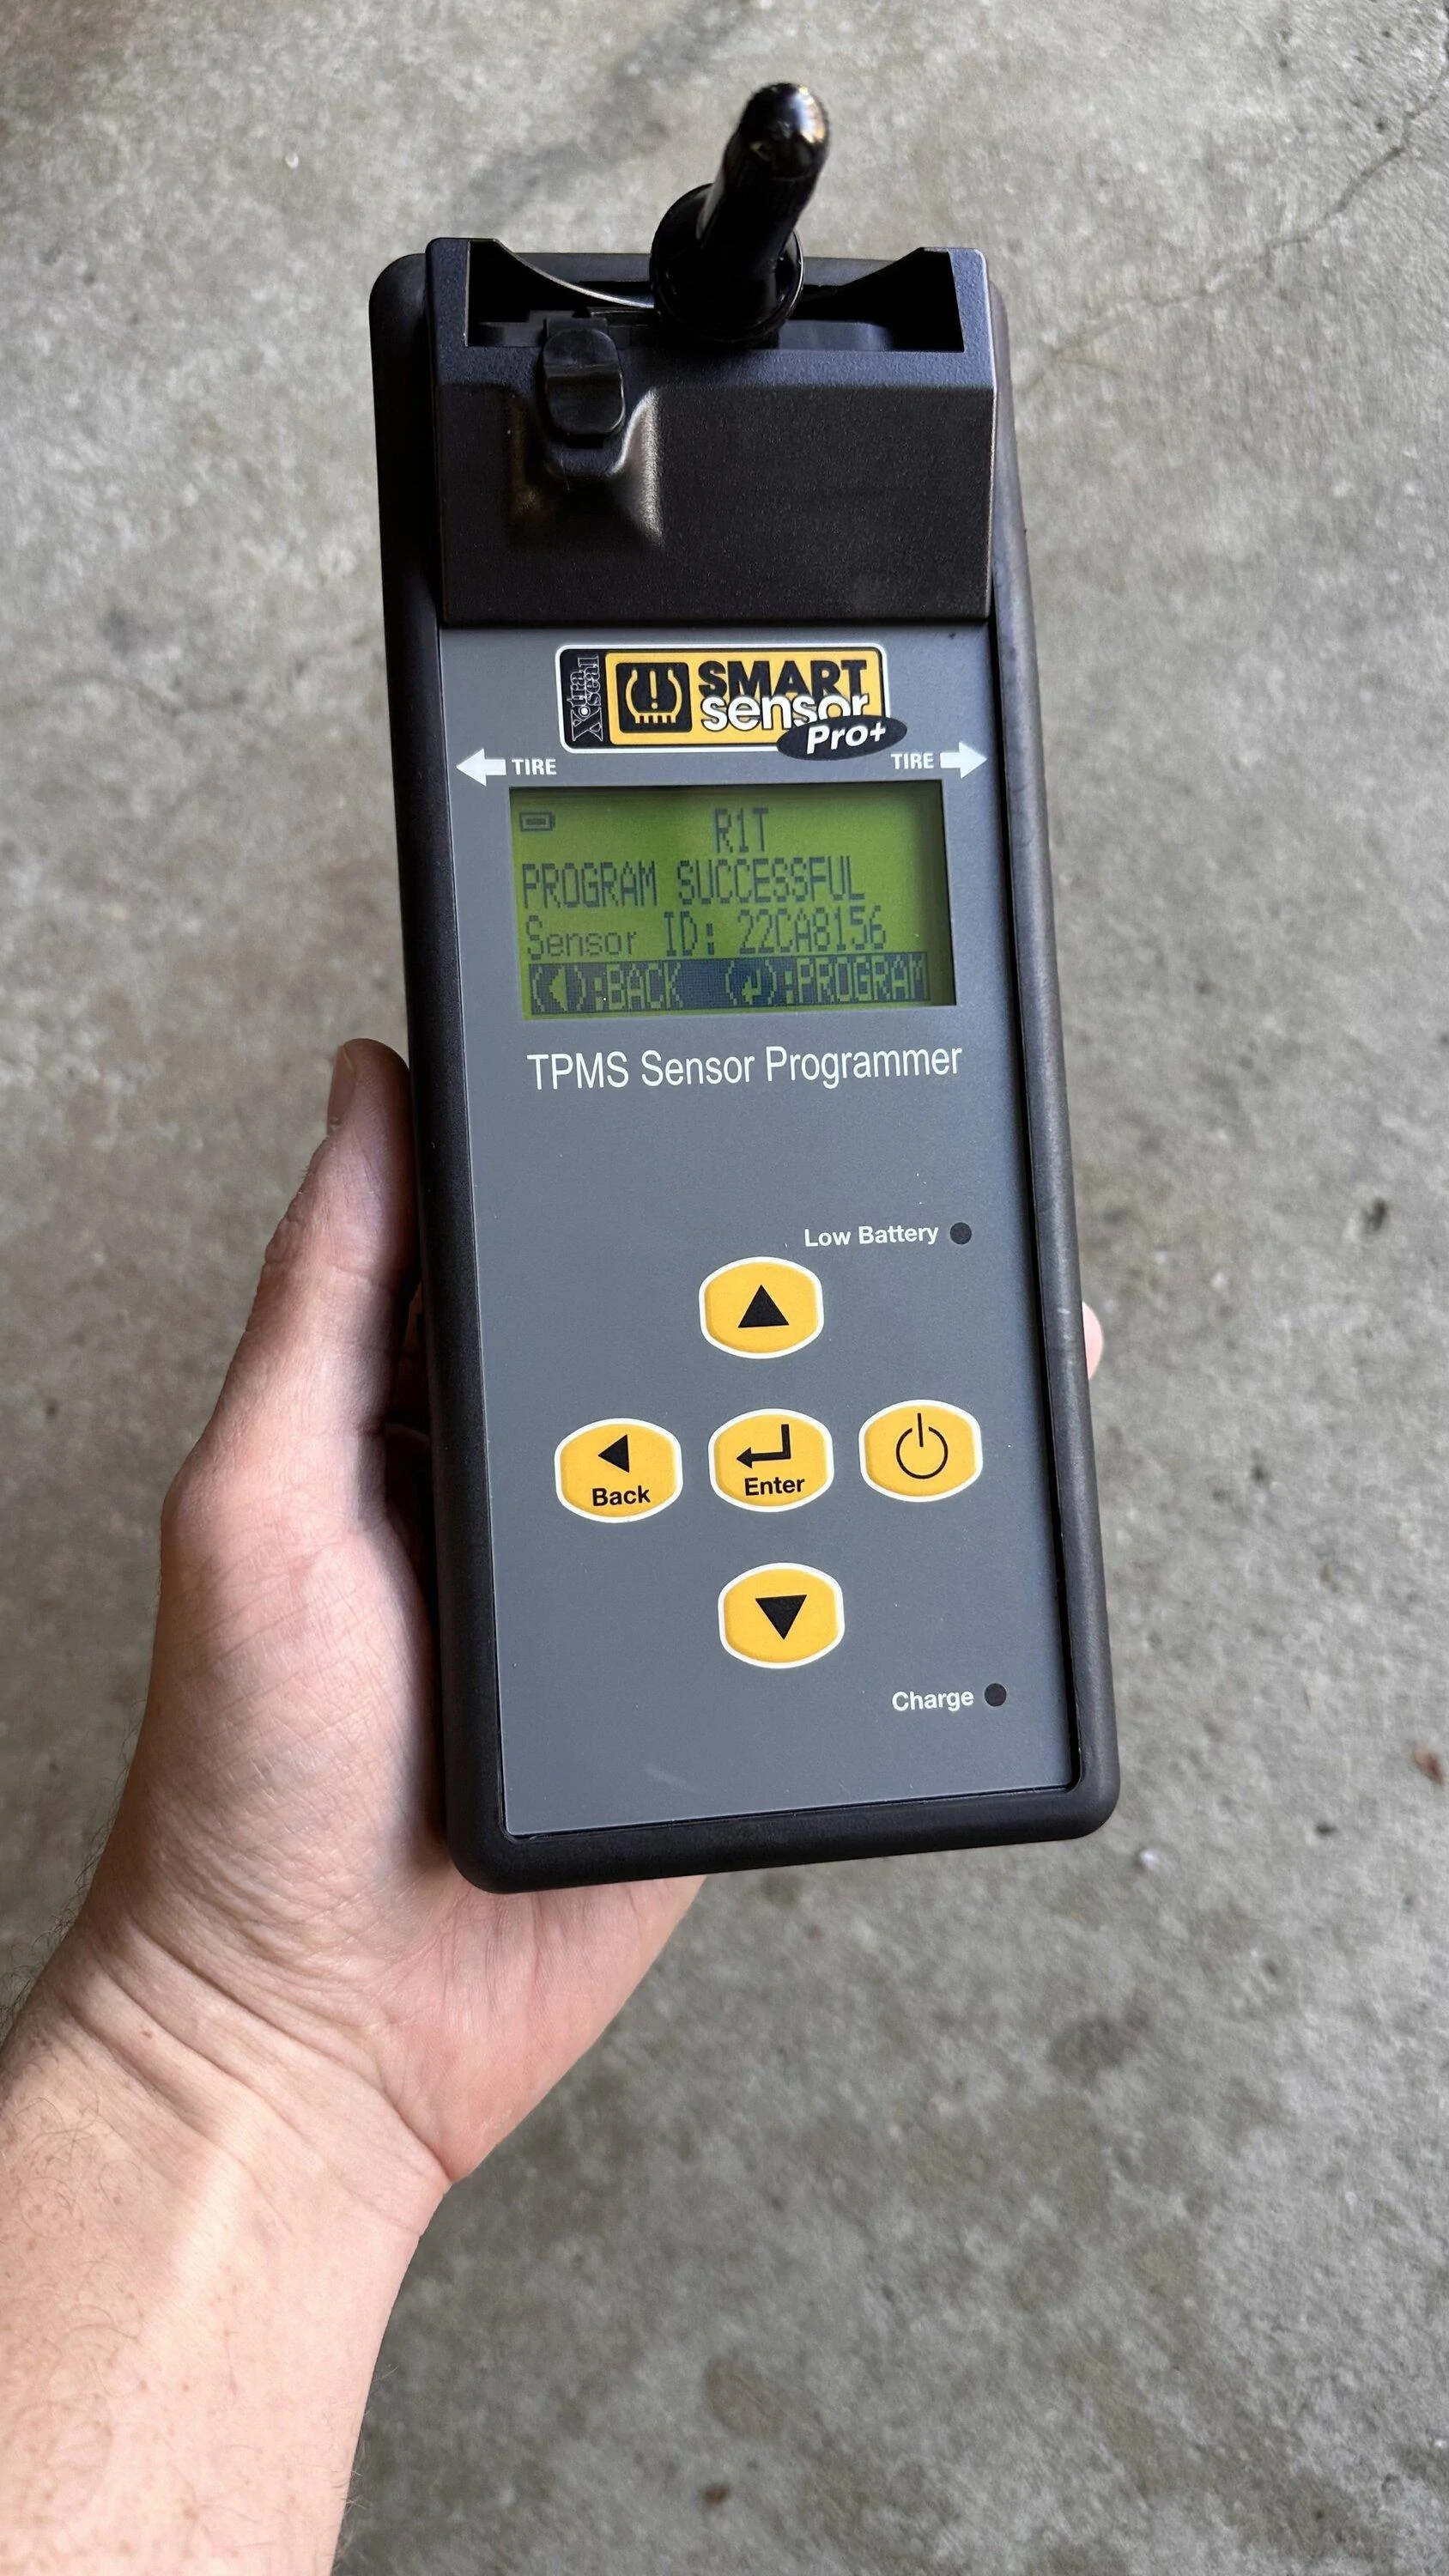
Once it is read you will see this screen.
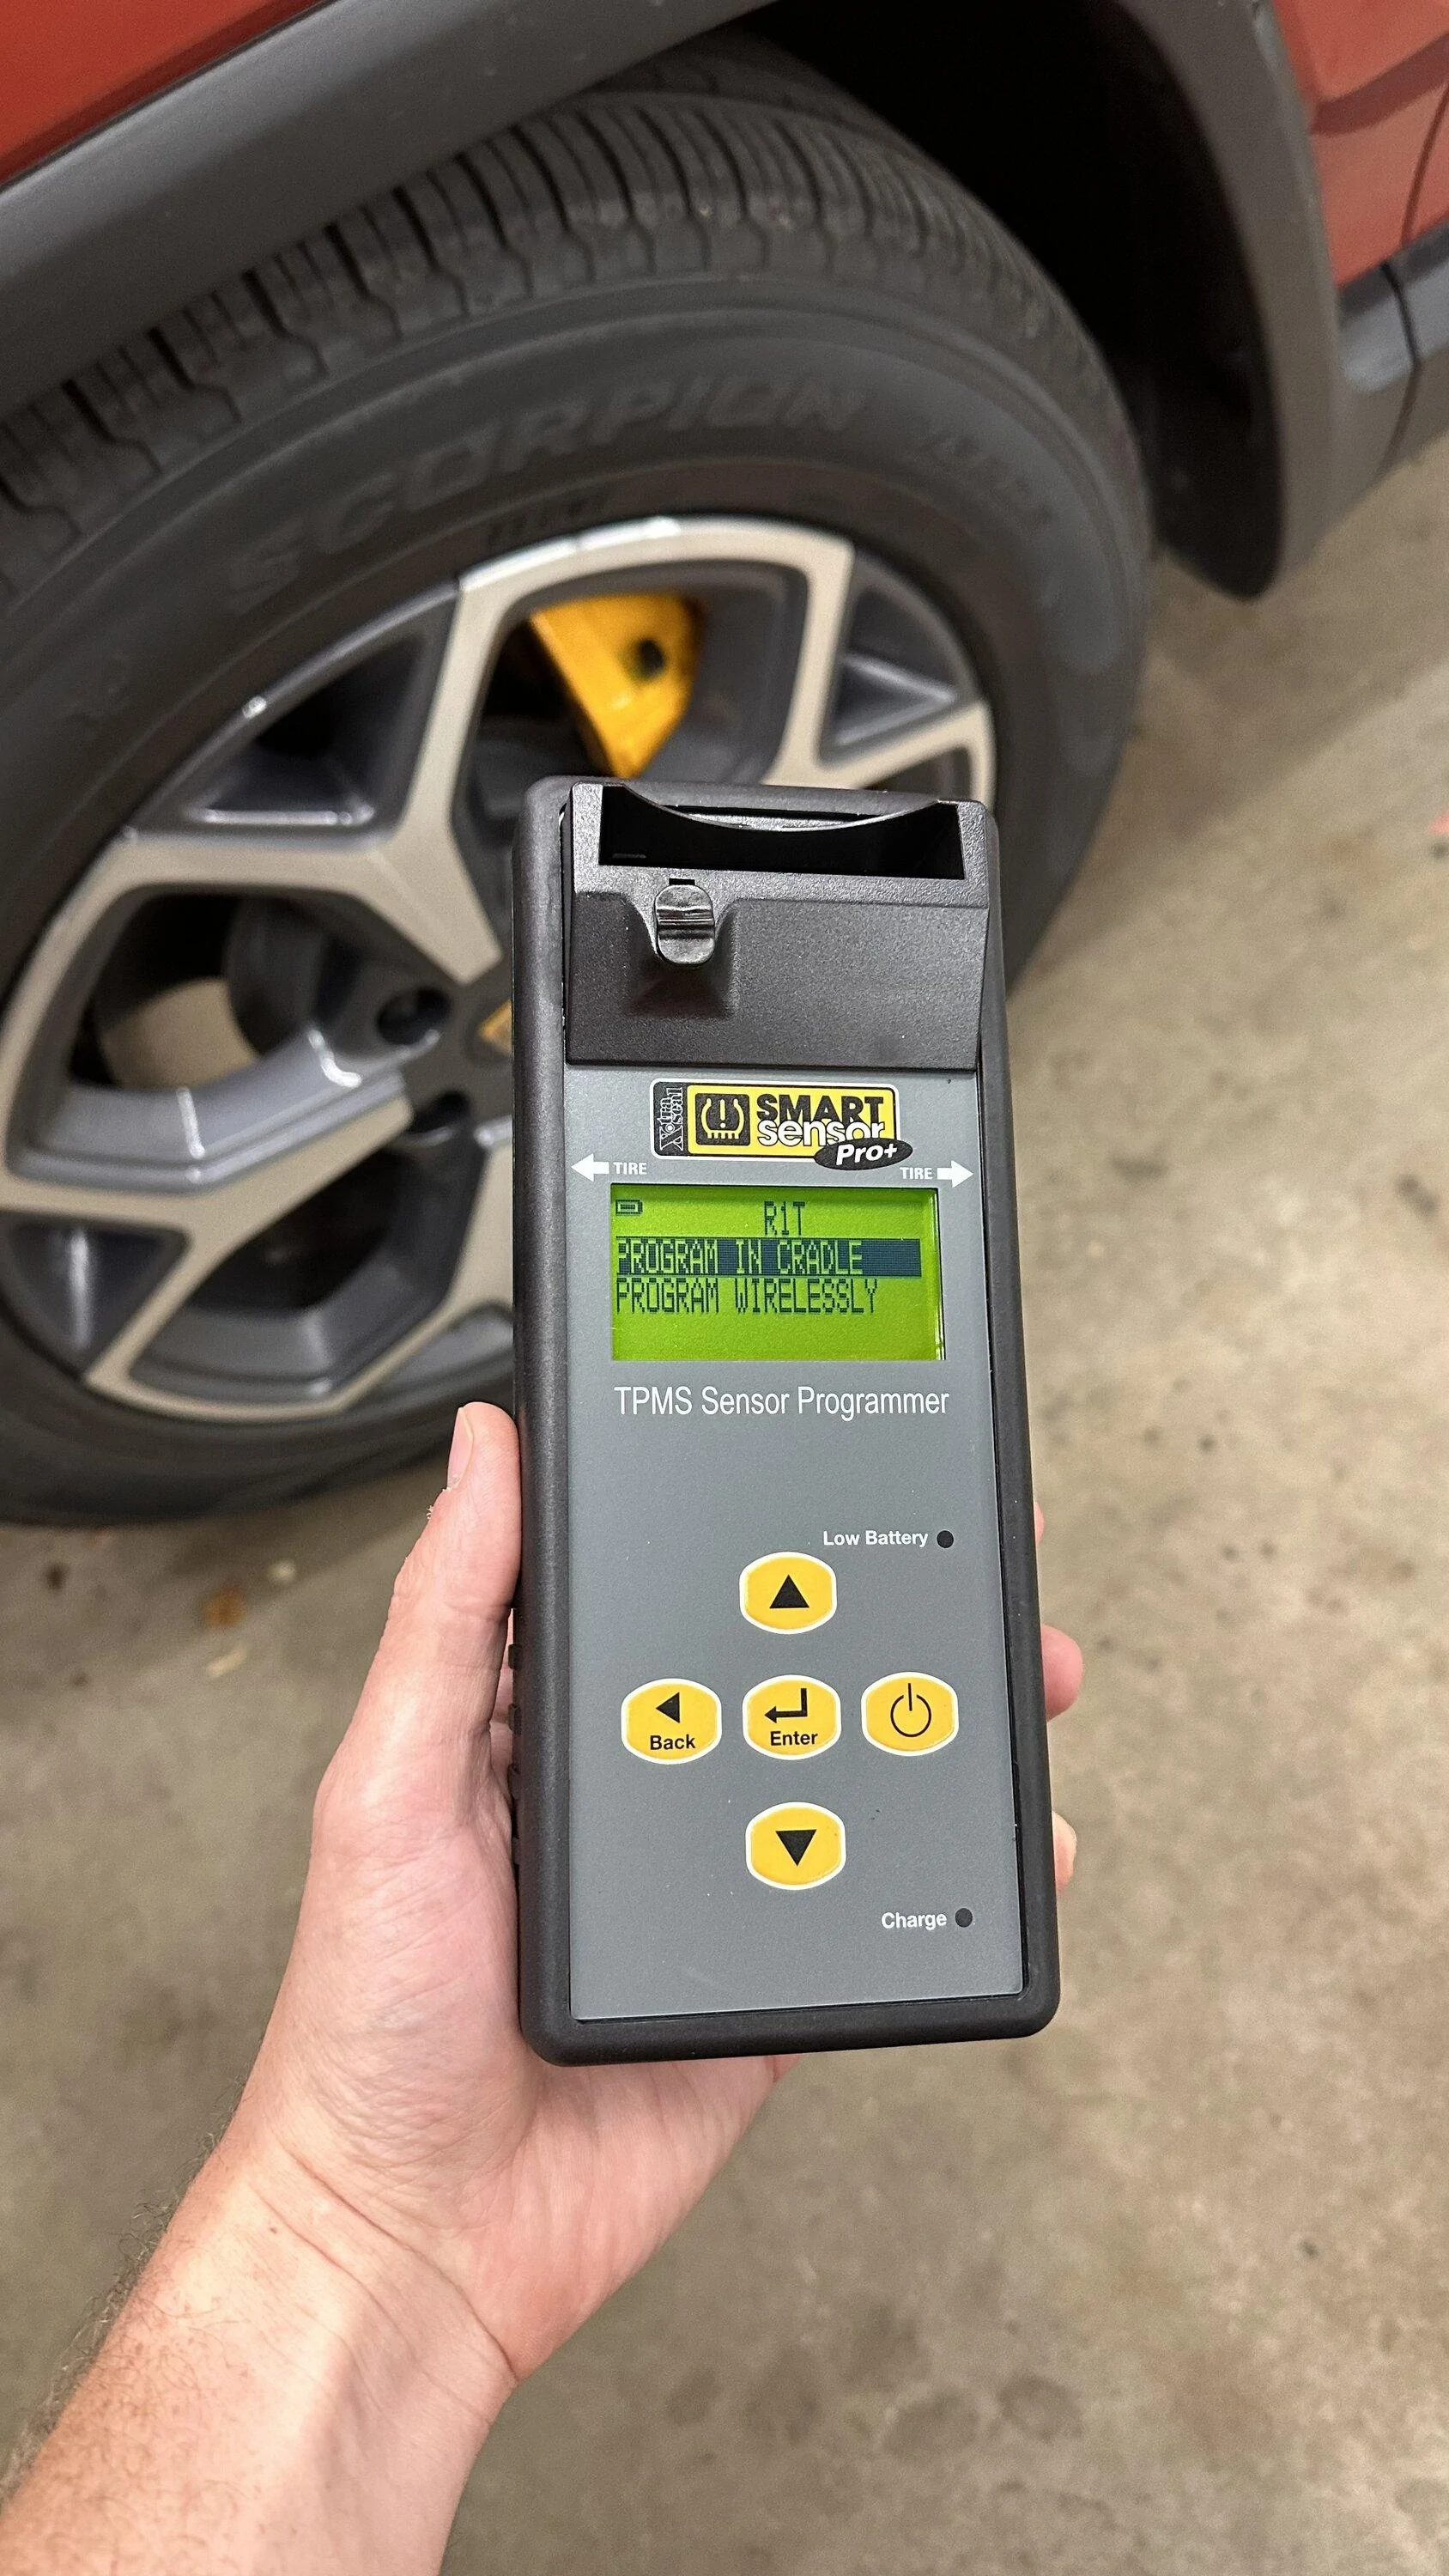
Hit Enter to Program. You are given the option of programming in the cradle on the tool or wirelessly. I haven't installed the sensors yet, so the easiest way is in the cradle, but if yours are in wheels already you could use the wireless method.
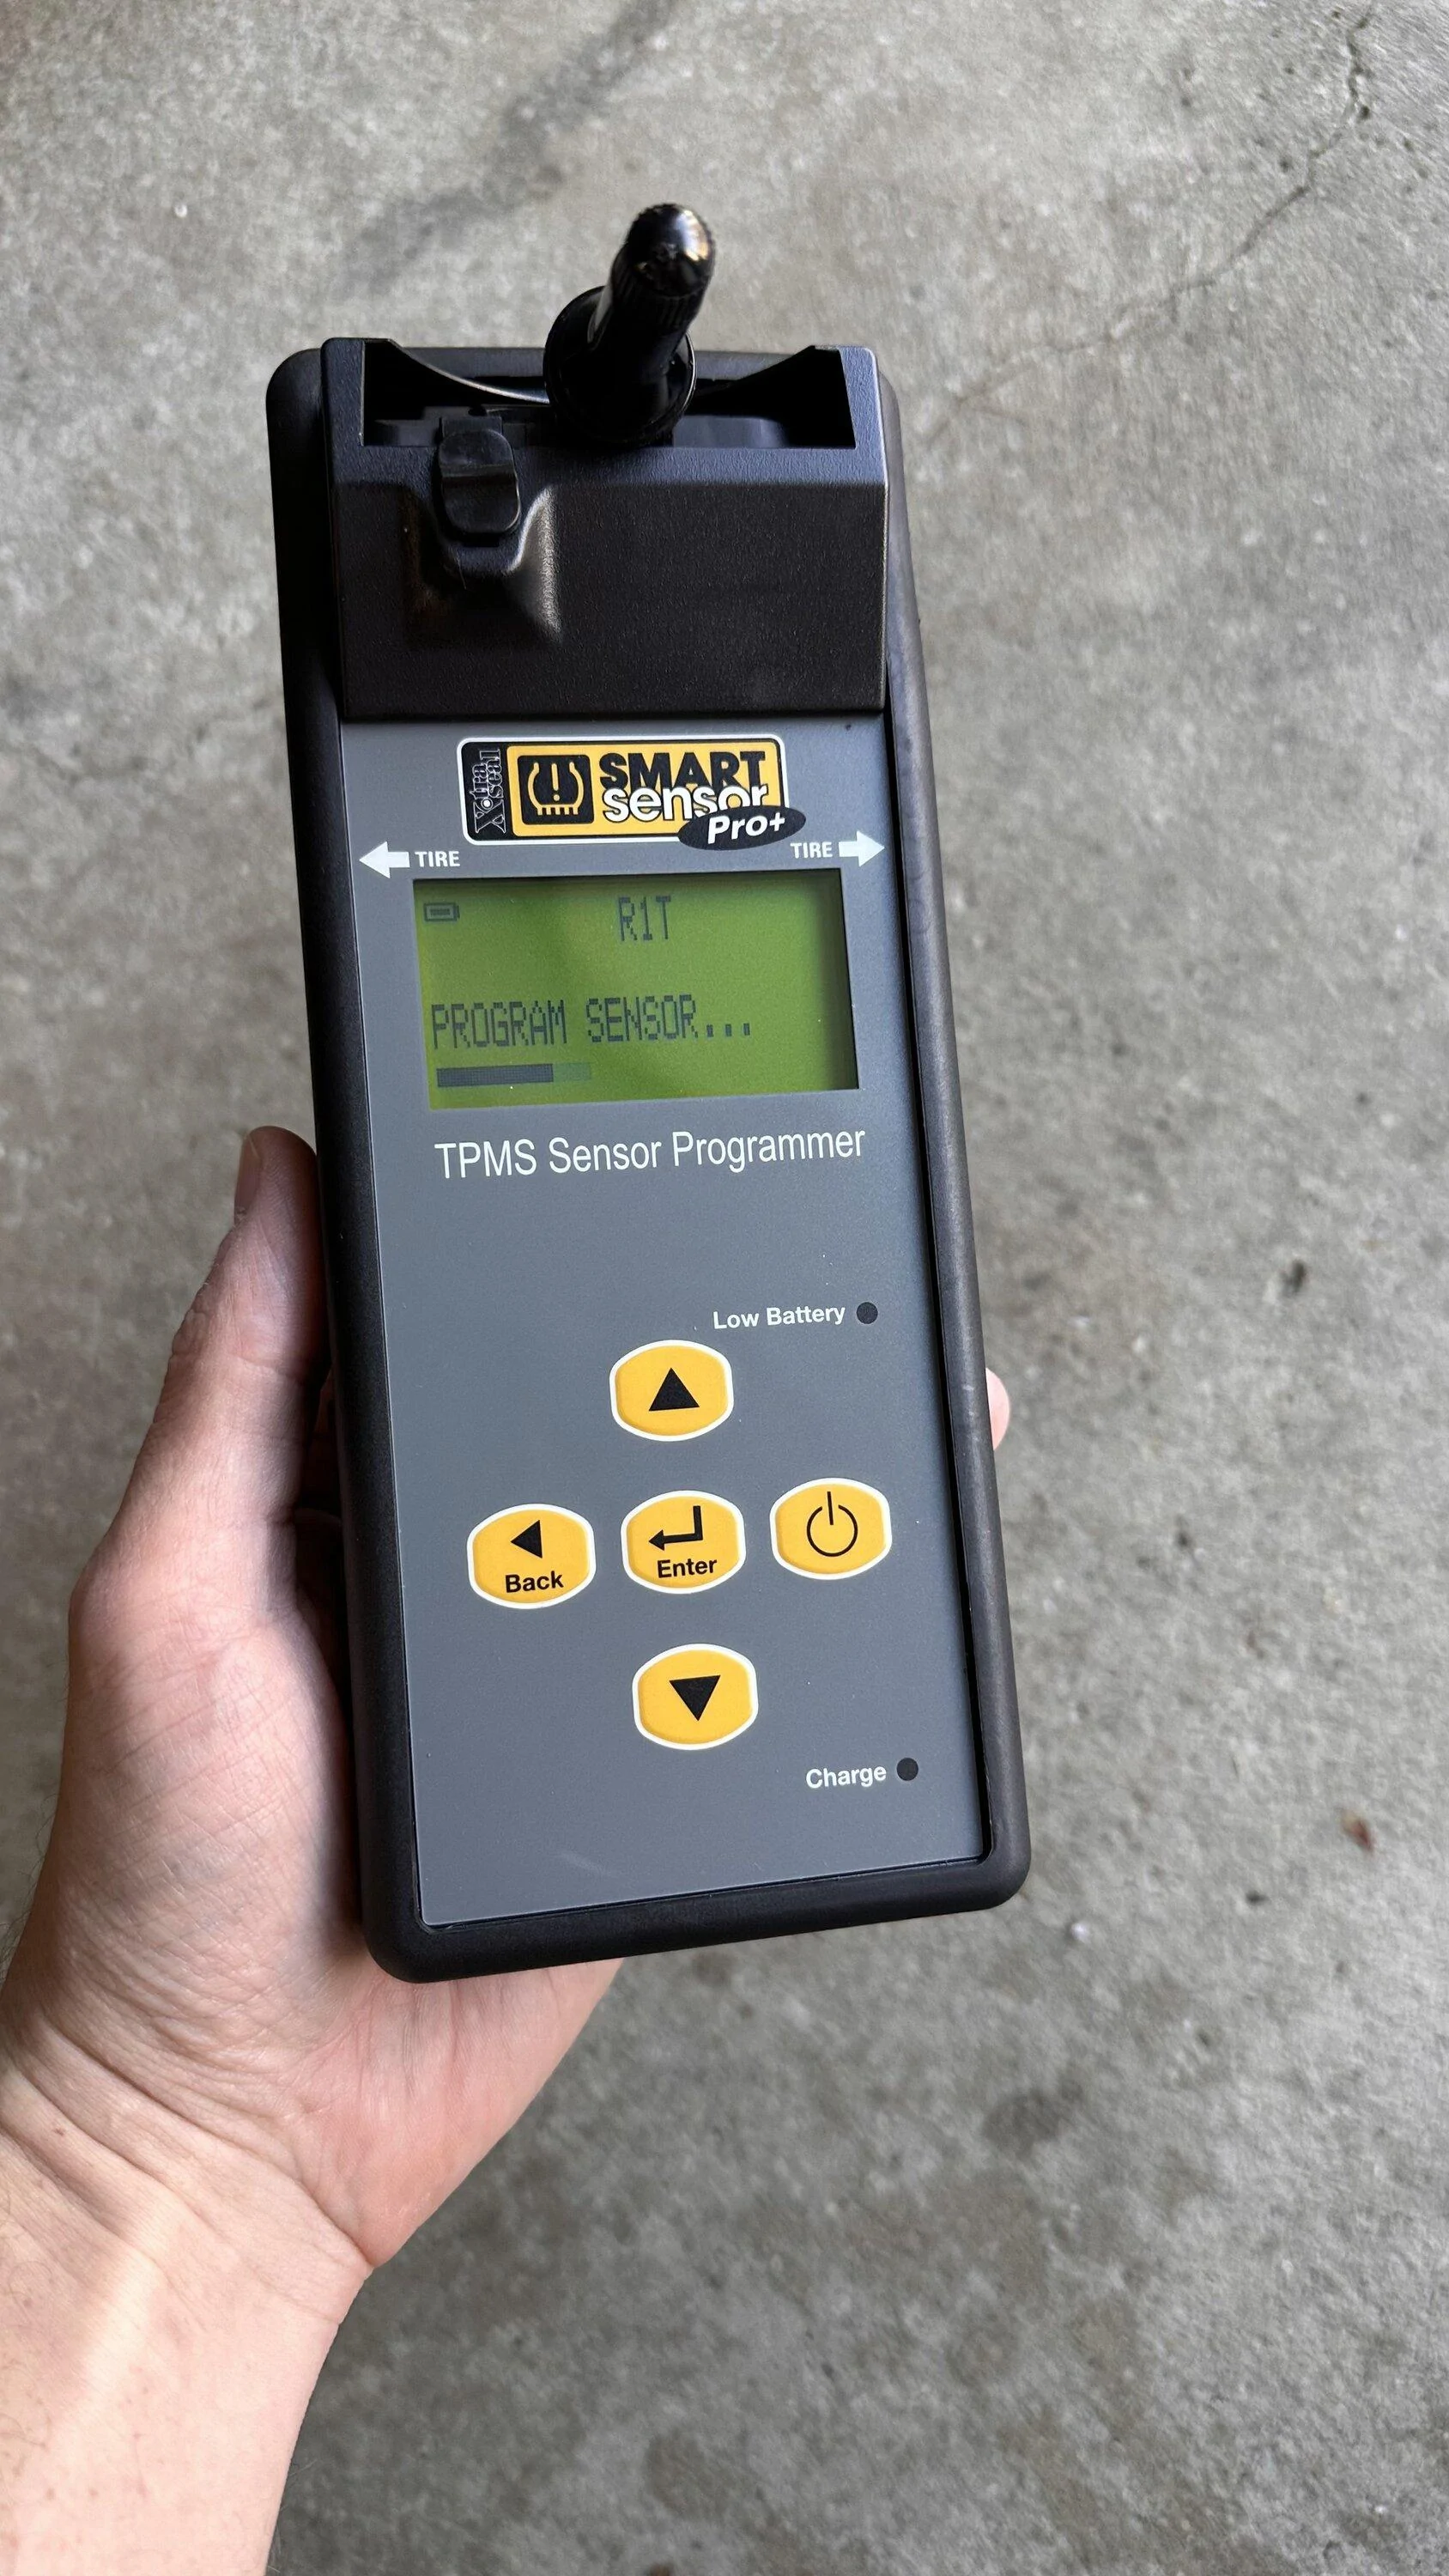
Place the sensor in the cradle, slide the latch up and hit enter. It clears the sensor, programs and verifies.
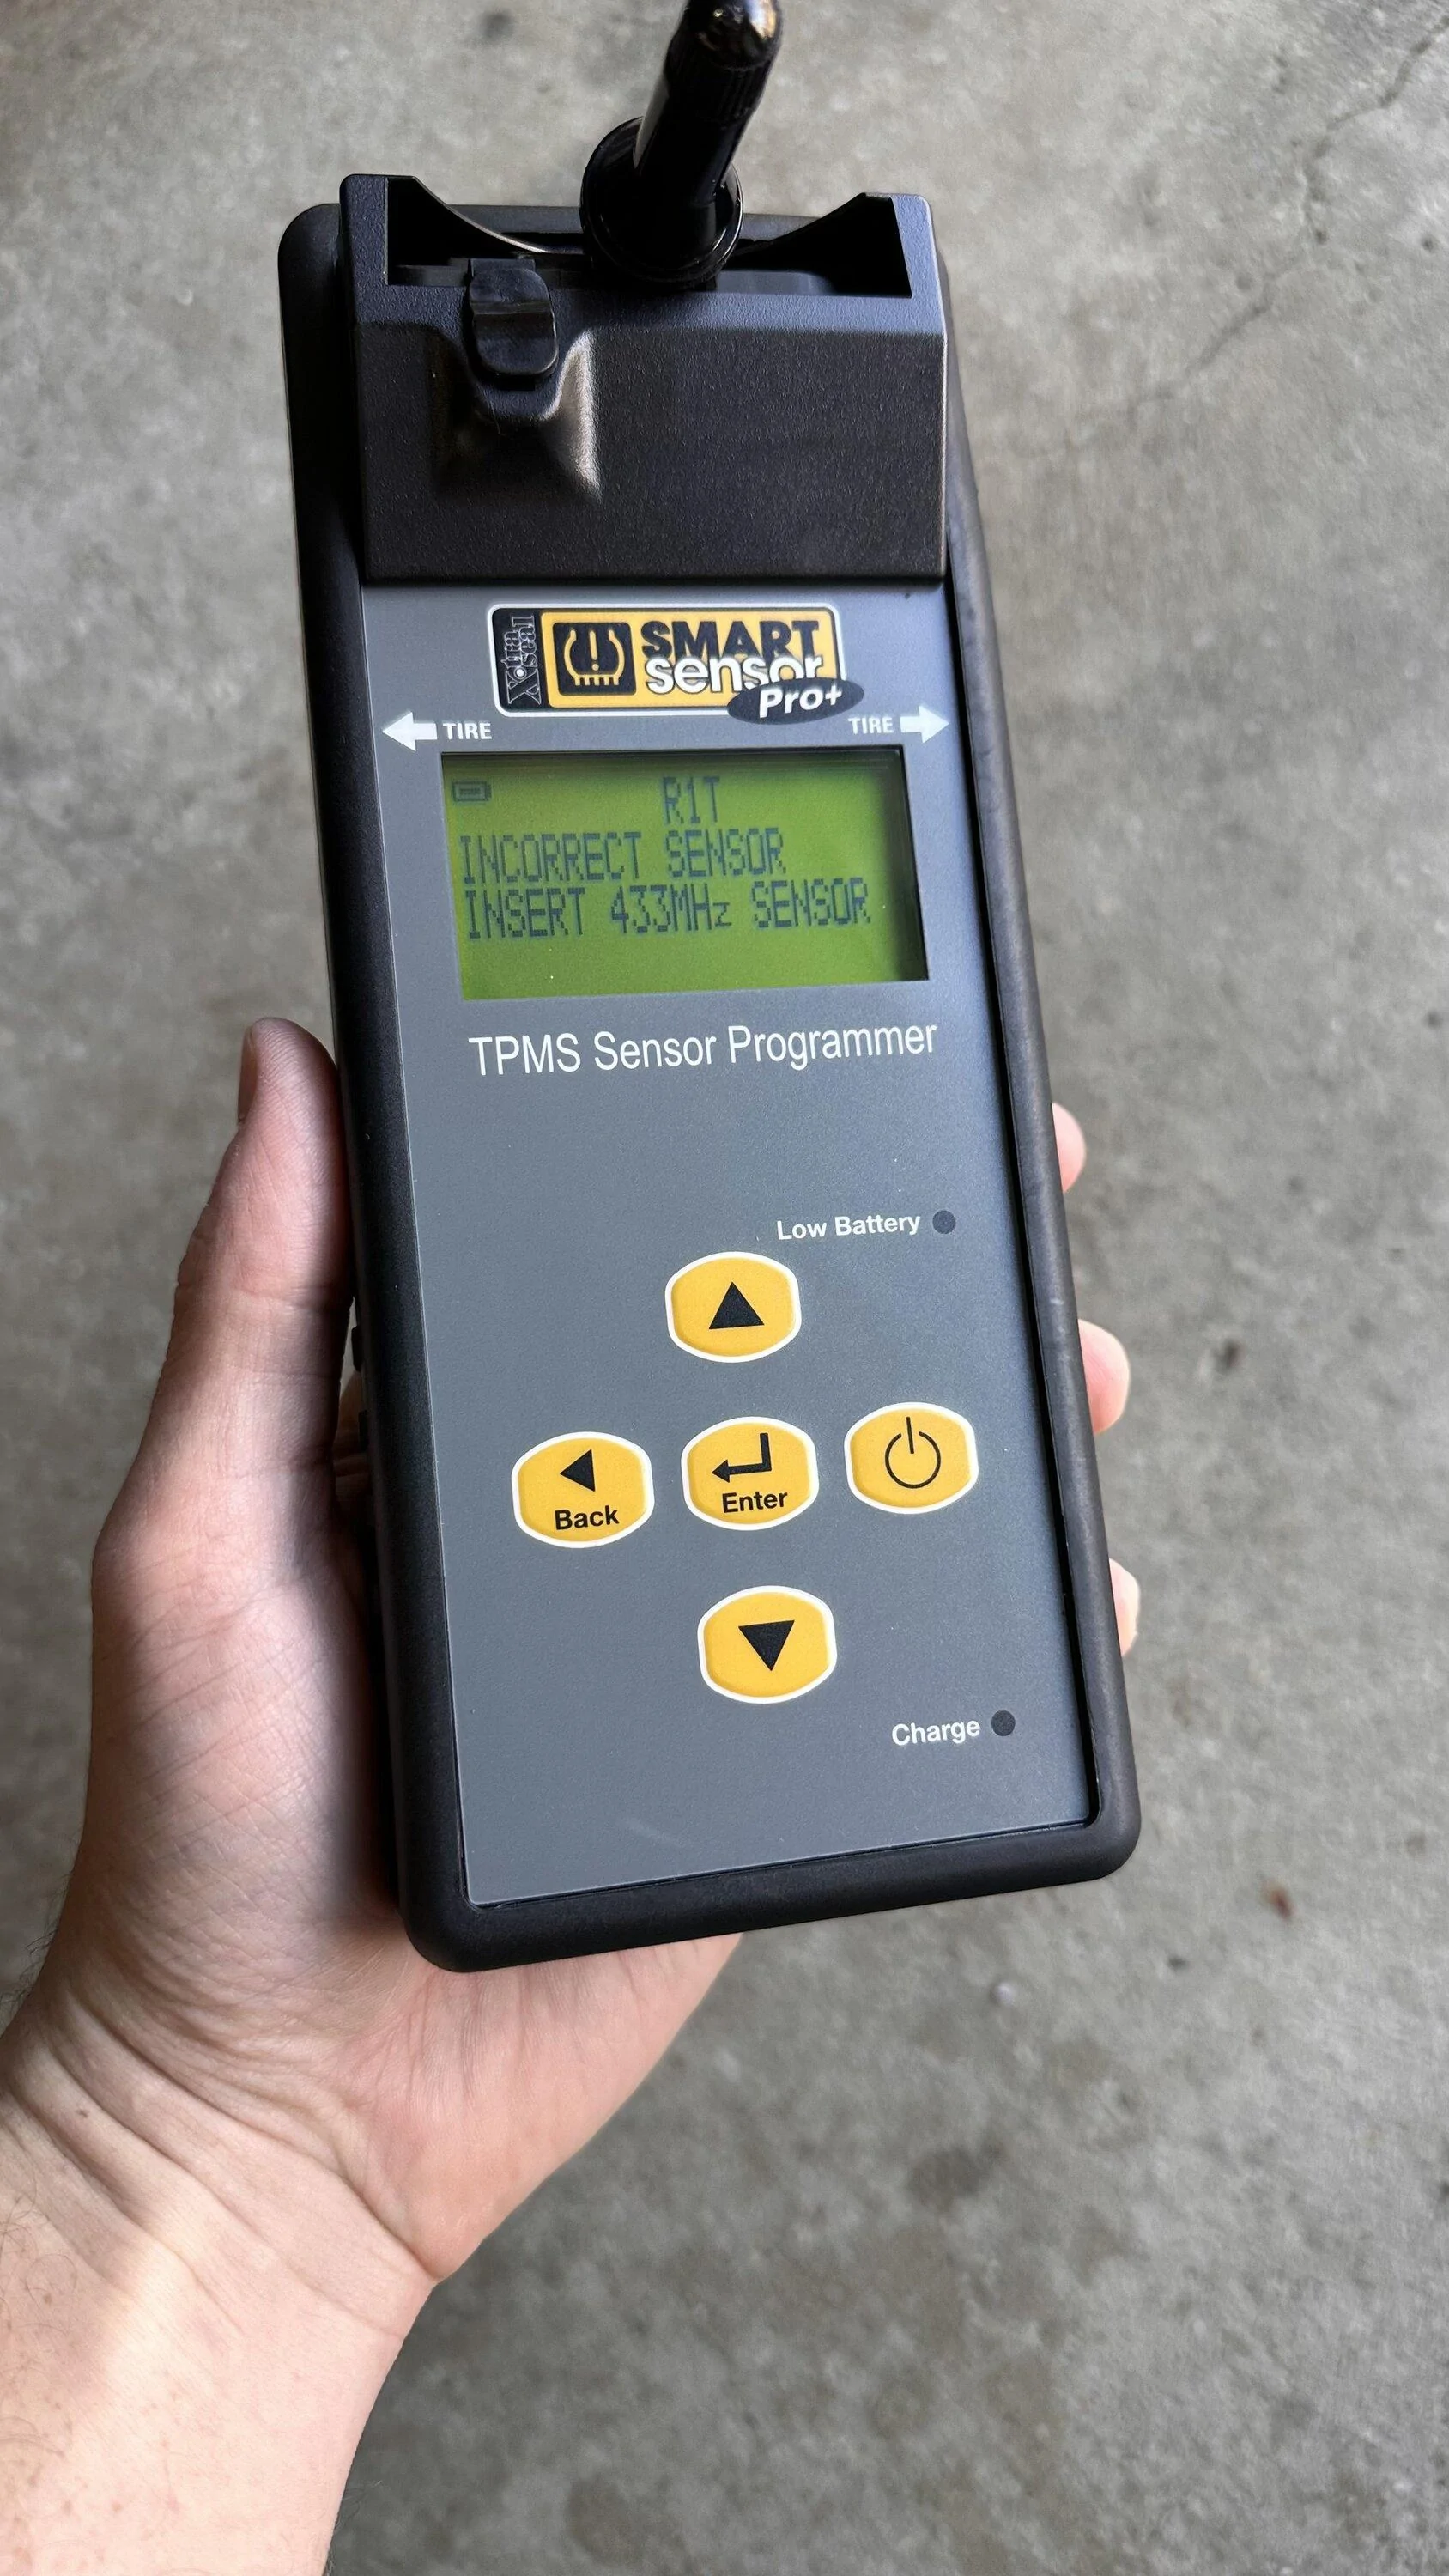
The tool really walks you through everything. It even safeguards you from using the wrong sensor (see below).
If everything goes right you will see the screen below. Check the sensor ID to your old one, and if they match you are good to go.
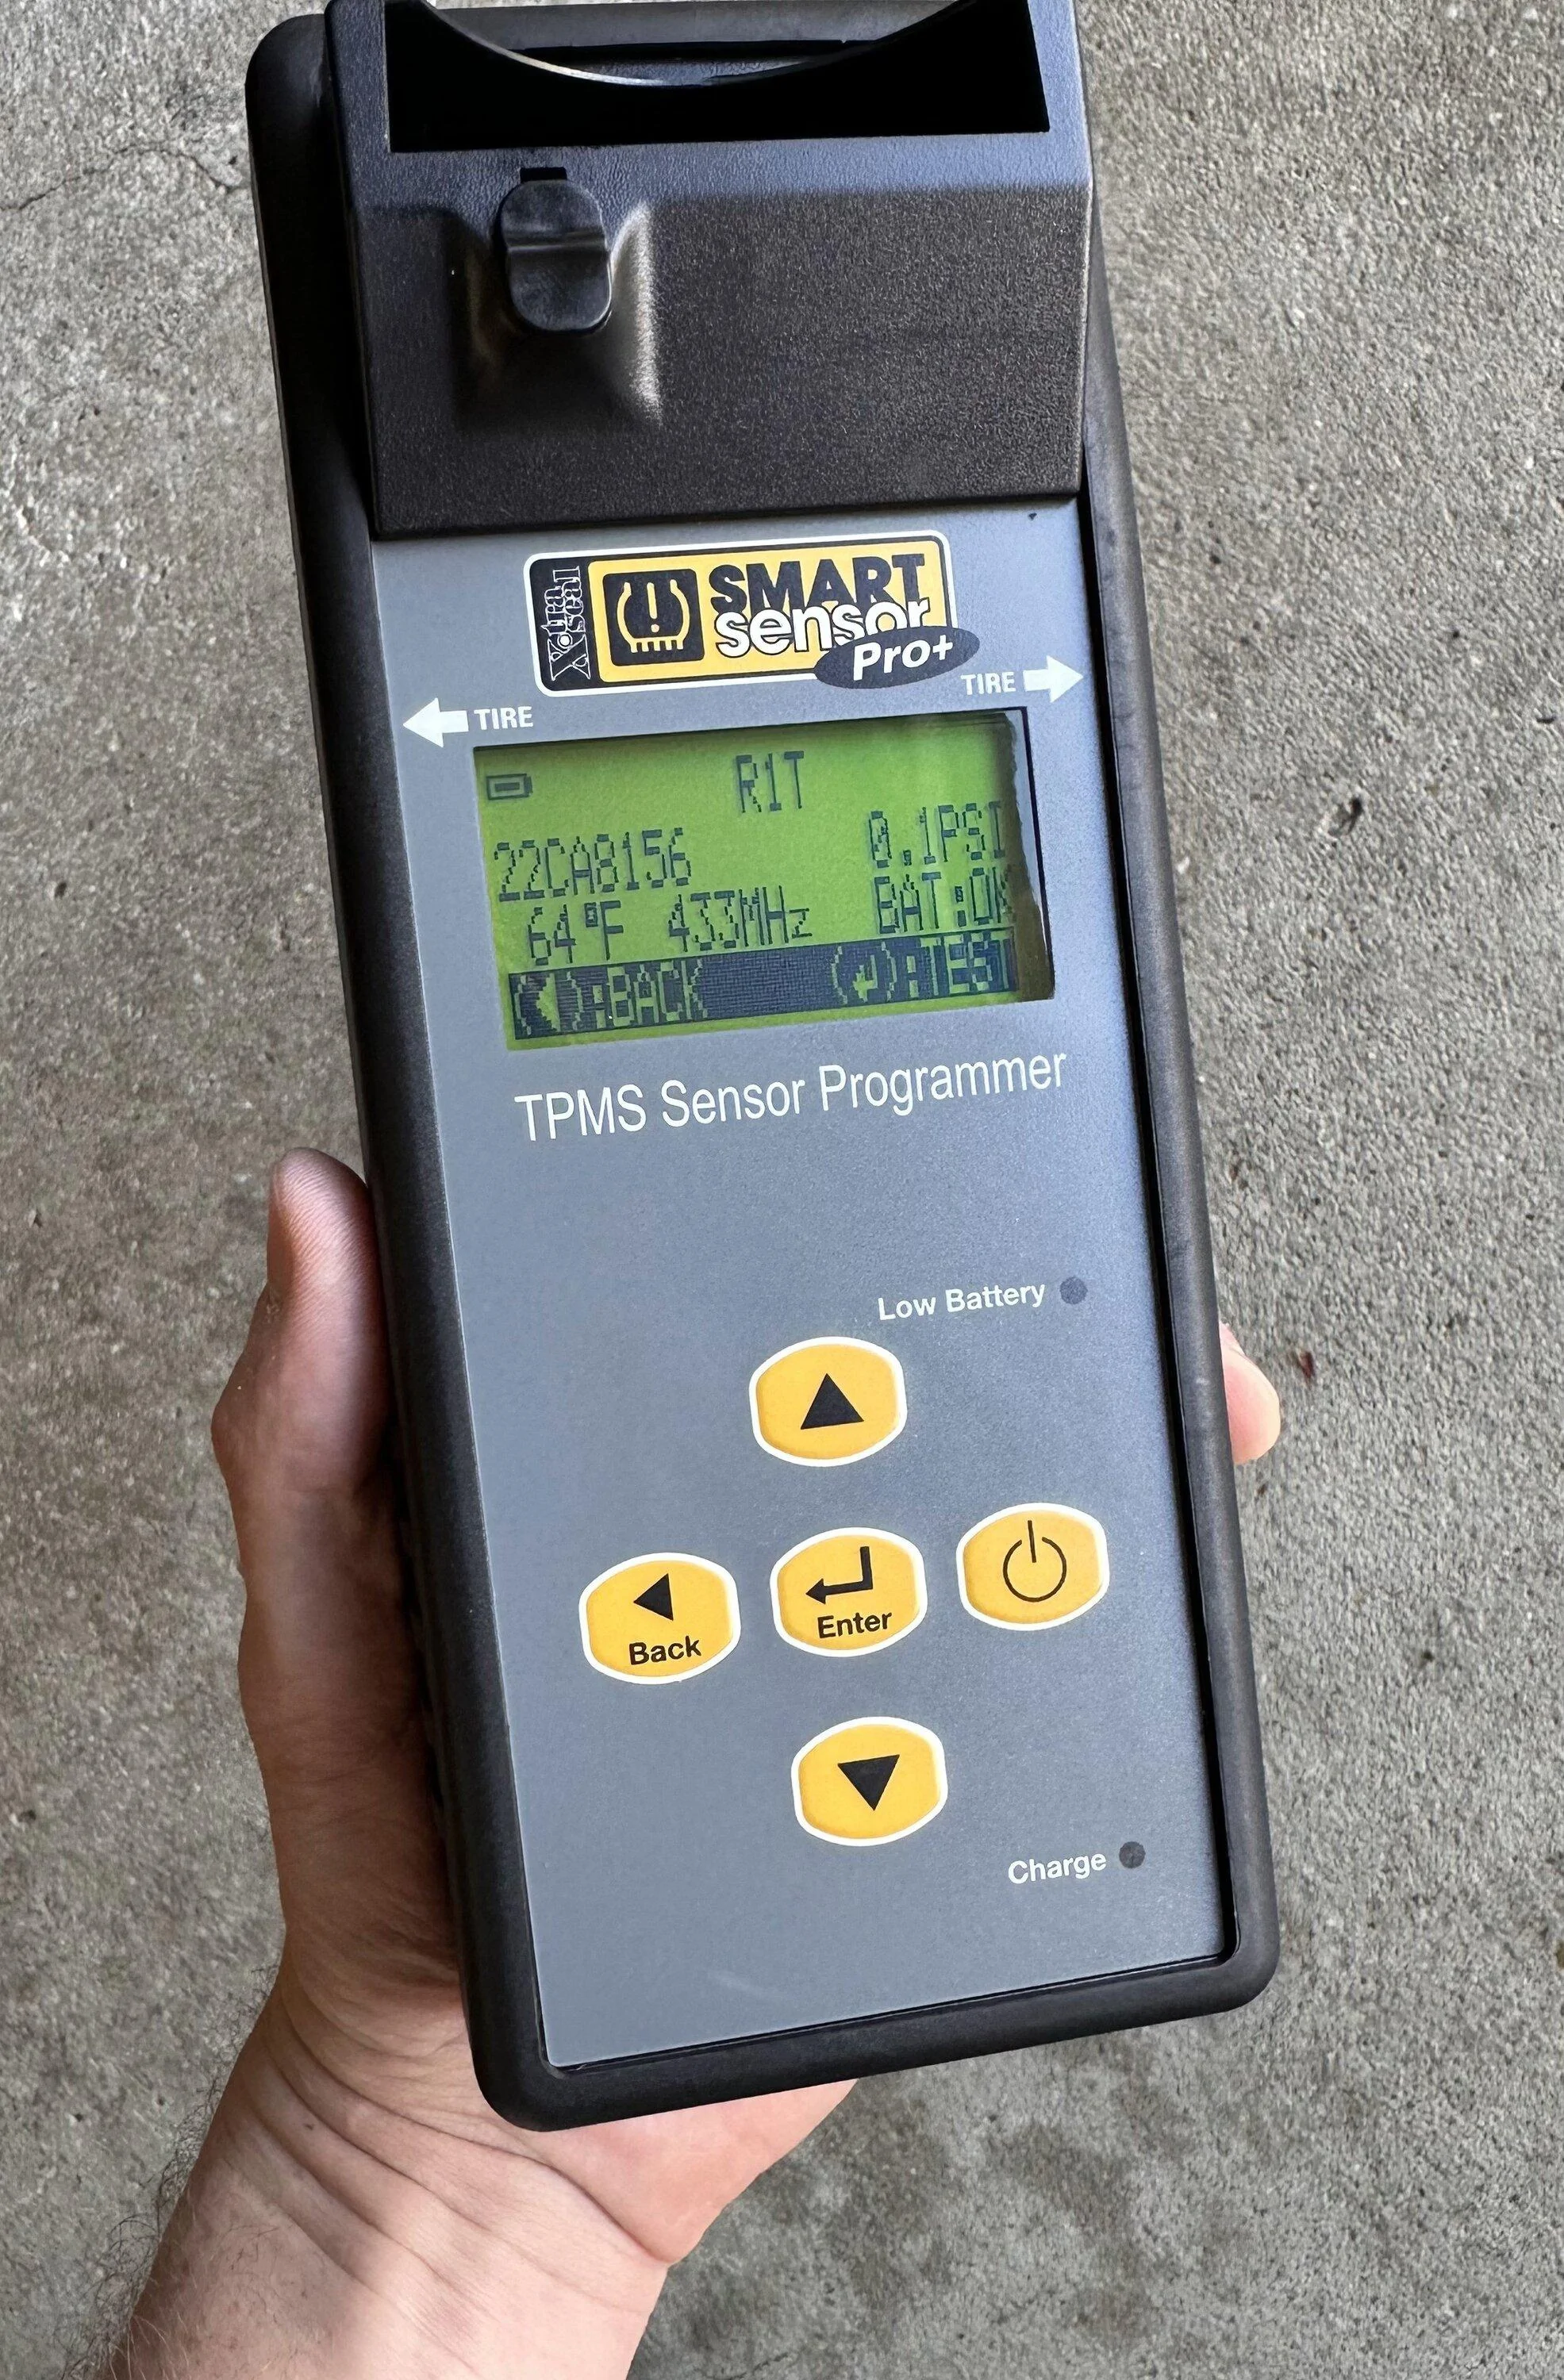
You can also scan the new sensor to see the data stored.

I then marked the box with the location (again, I'm told it doesn't matter as the truck learns the location). Repeat for the other wheels. Don't forget your spare if you are going to be using a new one.
It really is simple and easy, and anyone that can use a phone or computer should be able to complete this yourself.
Disclaimer: I am not a trained mechanic or tire repair/install specialist. I am a DIY mechanic. If you are not comfortable with doing this process yourself, let a shop take care of it. (But really even if you do it wrong you aren't really putting yourself or others in danger, you would just have to pay to have someone else do it anyway).
First, the parts used:
Tool: Xtra Seal Smart Sensor Pro+, 17-144
Sensor: Xtra Seal Smart Sensor One 17-43042
If you want the same silver metal stem as stock you can use this sensor. Otherwise I would say to use the cheaper rubber stem sensor, 17-43041, and buy the valve stem to match your wheels, gloss black 17-43047, matte black 17-43048, or chrome 17-43050. This is what I did with the gloss black stem to match my new wheels.
It is a very straight forward process after you update the tool, as the original software version does not have Rivian.
Once it is on you select the Make and Model, both R1T and R1S are listed. This also shows the frequency for the TPMS that is used (433 MHz).
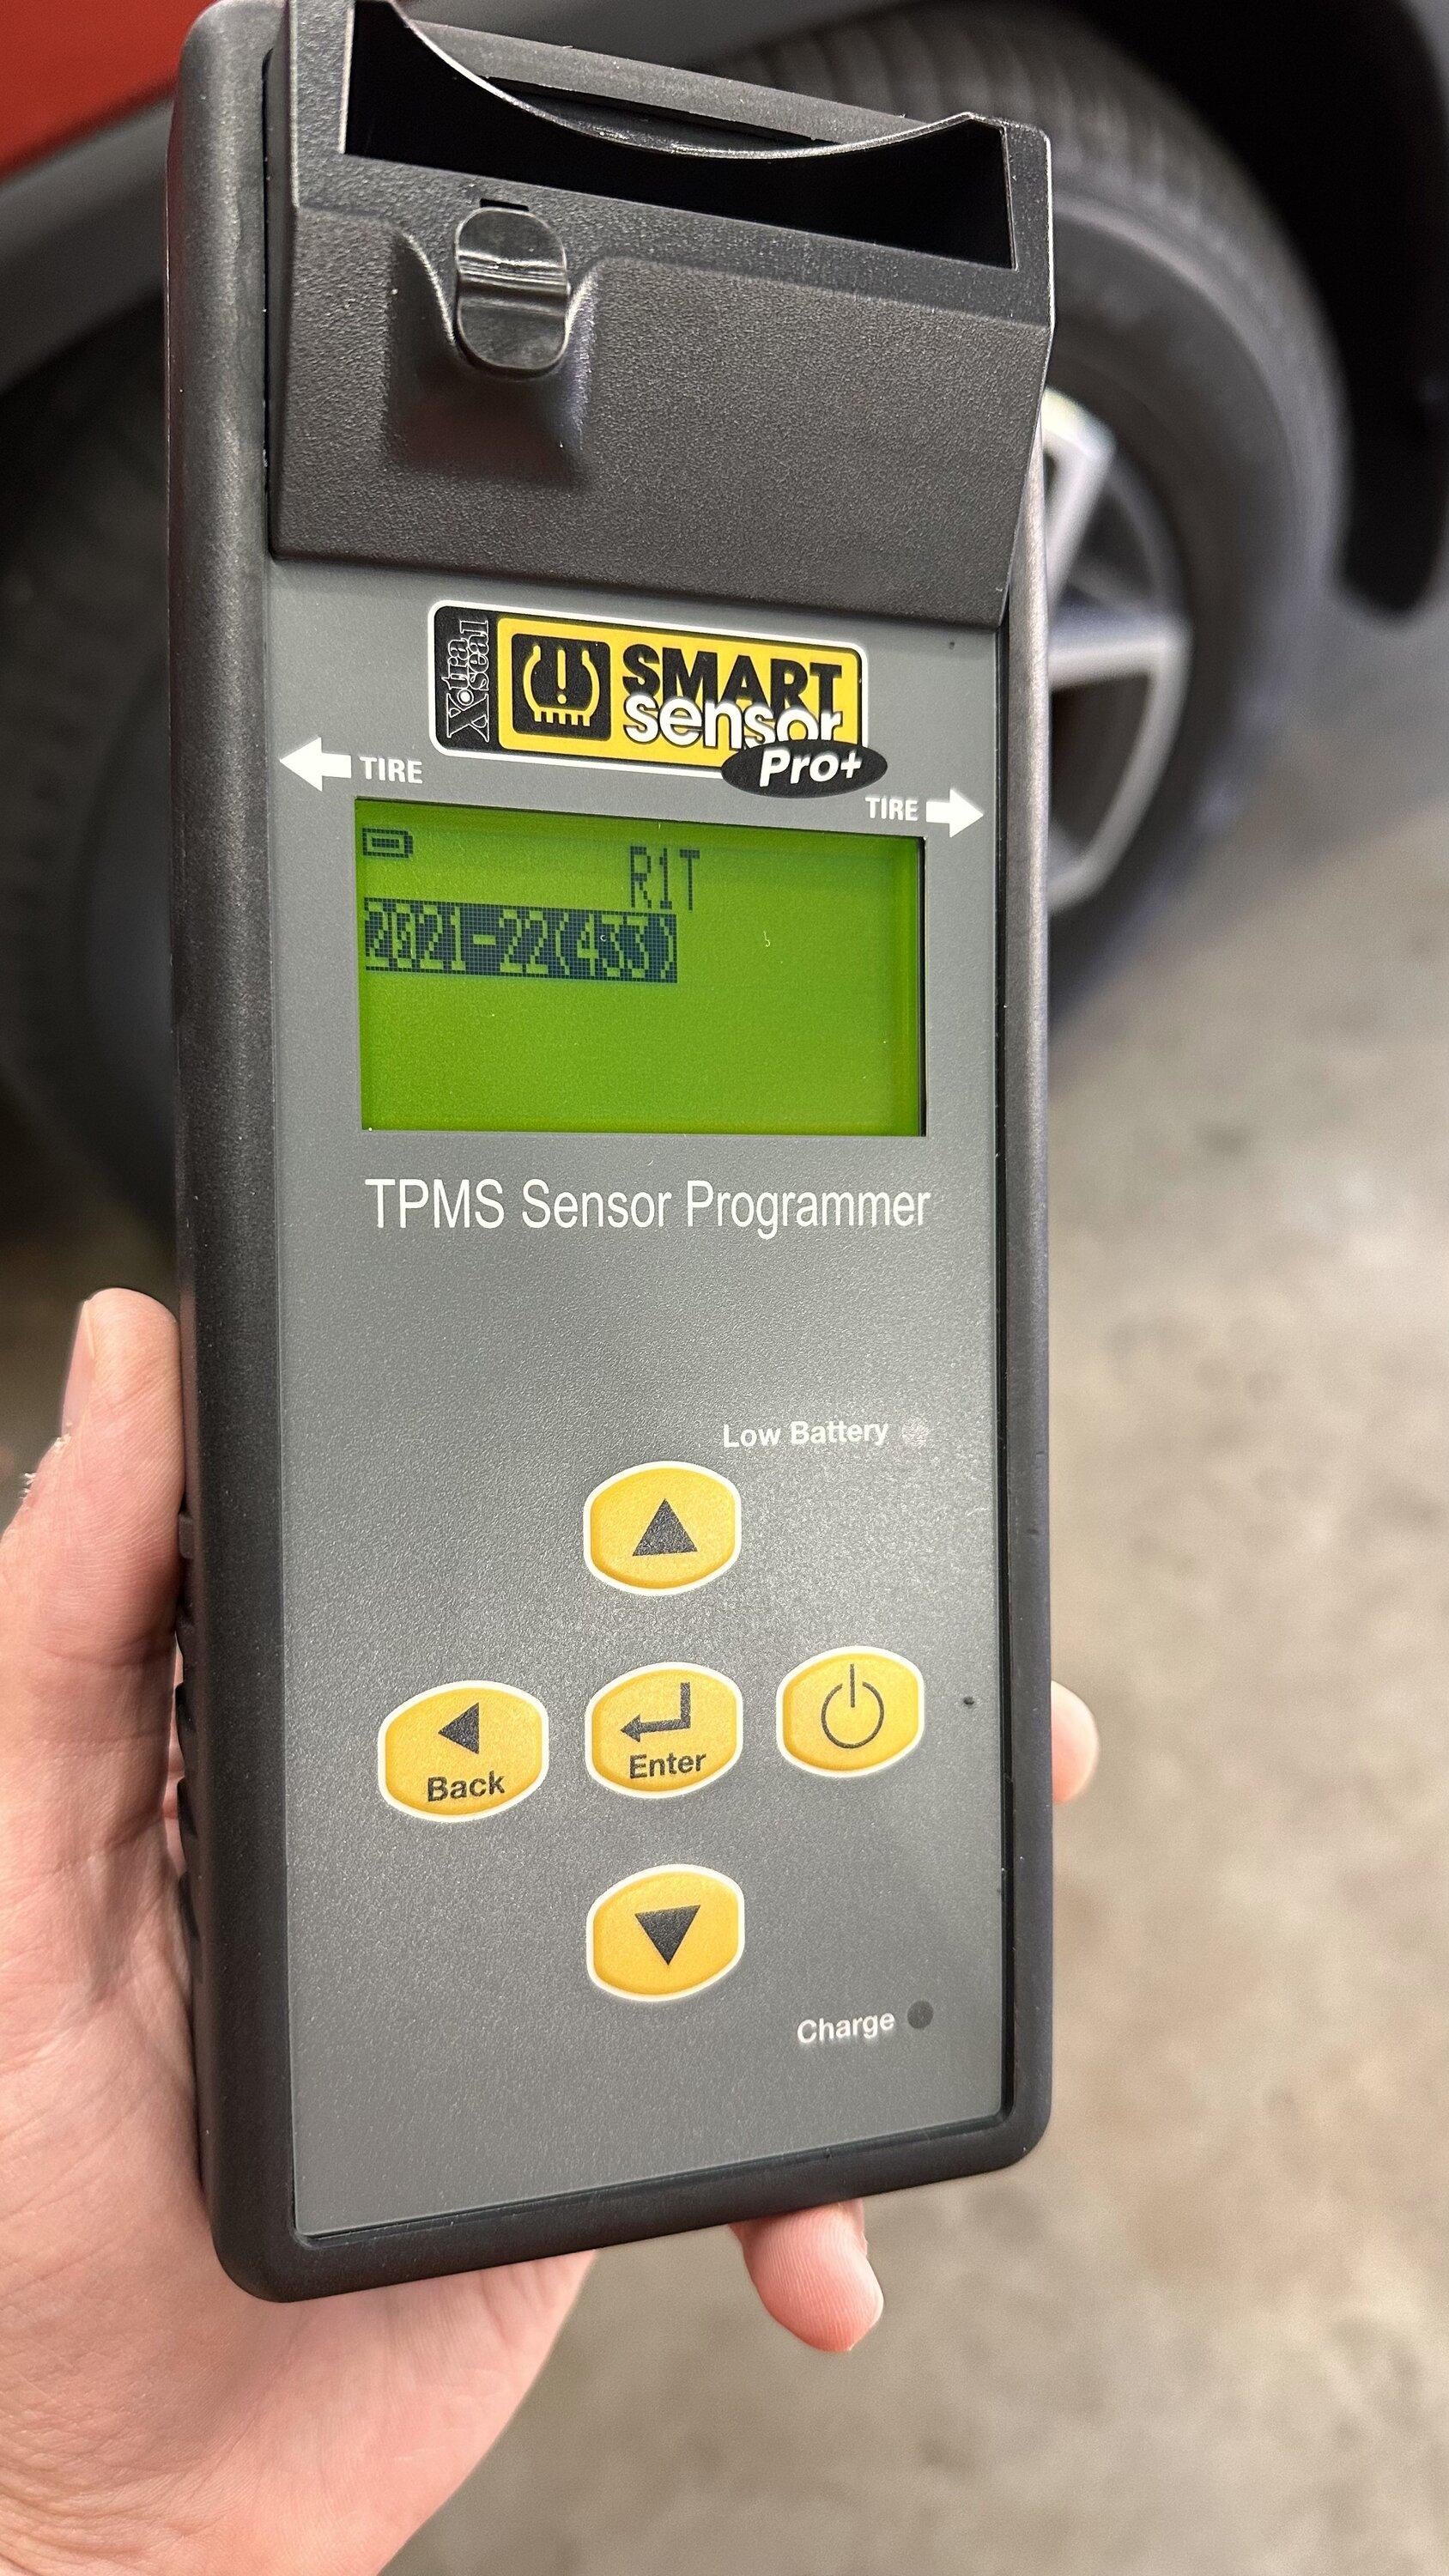
Before I started, I scanned each sensor and took a picture of the ID and information in case I needed it in the future, and to use to cross check the new sensors to after programming.
It is very simple you just select scan sensor, hold the tool against the sidewall by the valve stem, and wait.
I labeled each picture with the position on the truck for reference later. (This is the original position as I have yet to do any tire rotations. I figured if needed later, I could reprogram to match these positions if for some reason it doesn't update after a tire rotation, though I am told it does).
Back to the regularly scheduled program. Select Copy Sensor
You will see the screen below. Just like scanning, hold the tool against the sidewall by the valve stem.
Once it is read you will see this screen.
Hit Enter to Program. You are given the option of programming in the cradle on the tool or wirelessly. I haven't installed the sensors yet, so the easiest way is in the cradle, but if yours are in wheels already you could use the wireless method.
Place the sensor in the cradle, slide the latch up and hit enter. It clears the sensor, programs and verifies.
The tool really walks you through everything. It even safeguards you from using the wrong sensor (see below).
If everything goes right you will see the screen below. Check the sensor ID to your old one, and if they match you are good to go.
You can also scan the new sensor to see the data stored.
I then marked the box with the location (again, I'm told it doesn't matter as the truck learns the location). Repeat for the other wheels. Don't forget your spare if you are going to be using a new one.
It really is simple and easy, and anyone that can use a phone or computer should be able to complete this yourself.
Sponsored