the.phd
Well-Known Member
- Joined
- May 25, 2024
- Threads
- 5
- Messages
- 265
- Reaction score
- 176
- Location
- Las Vegas, NV
- Vehicles
- 2023 R1S Quad Large
- Thread starter
- #1
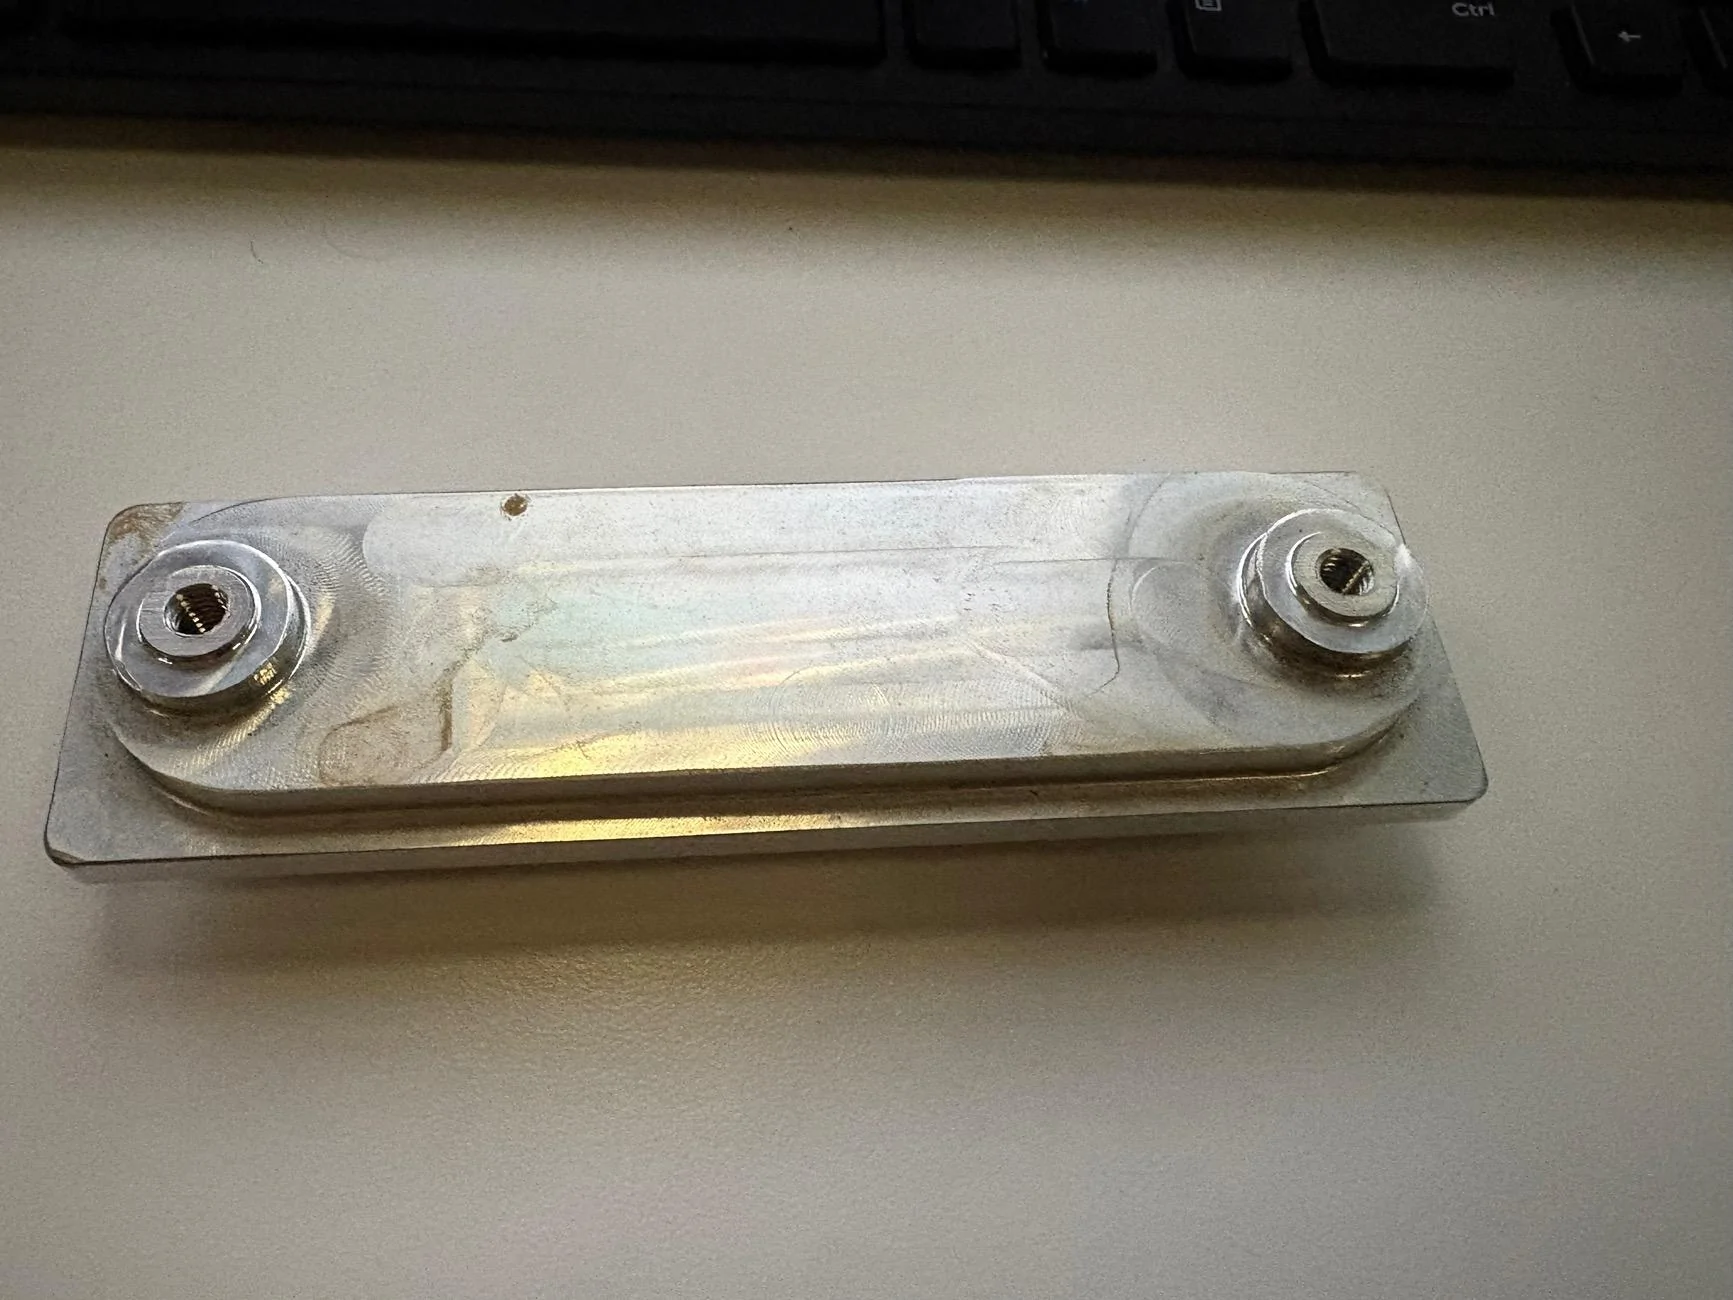
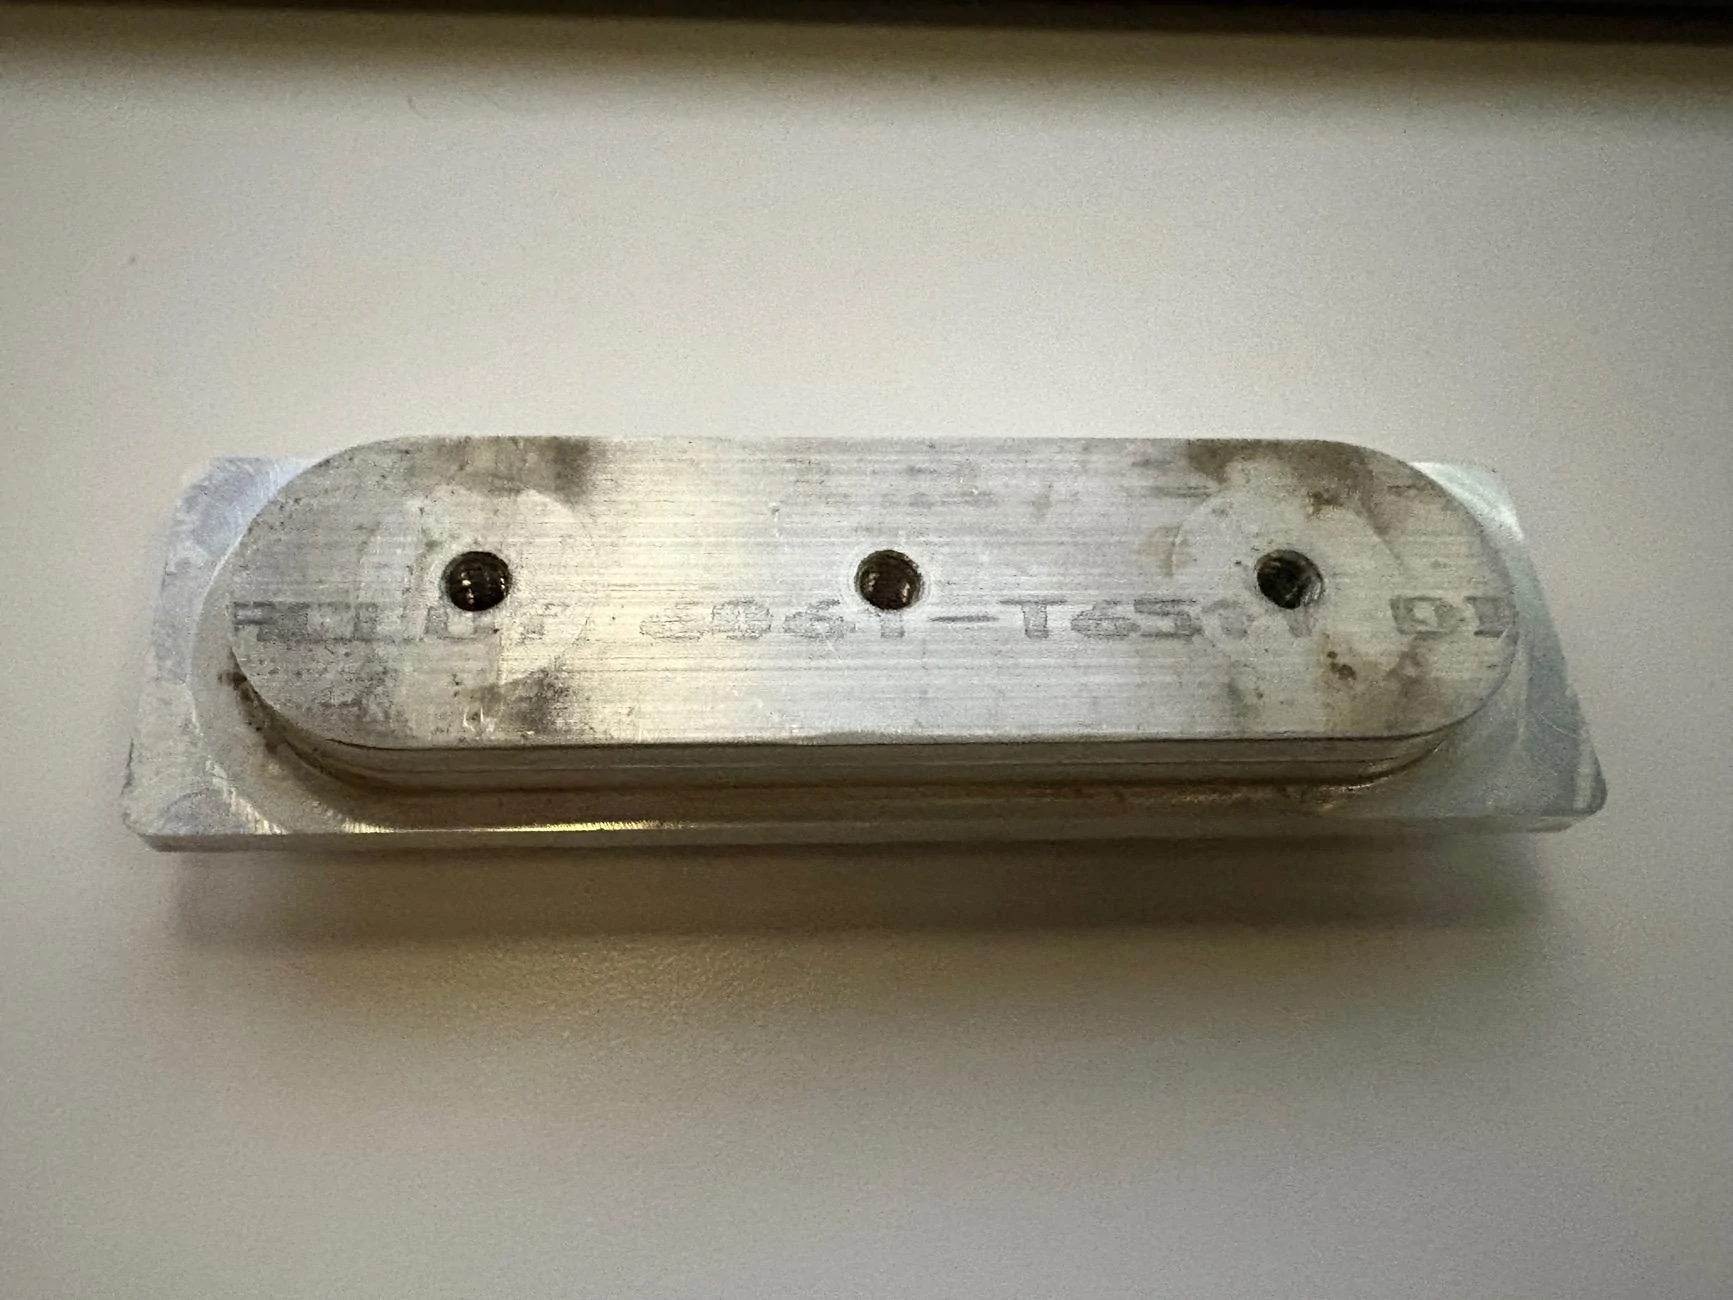
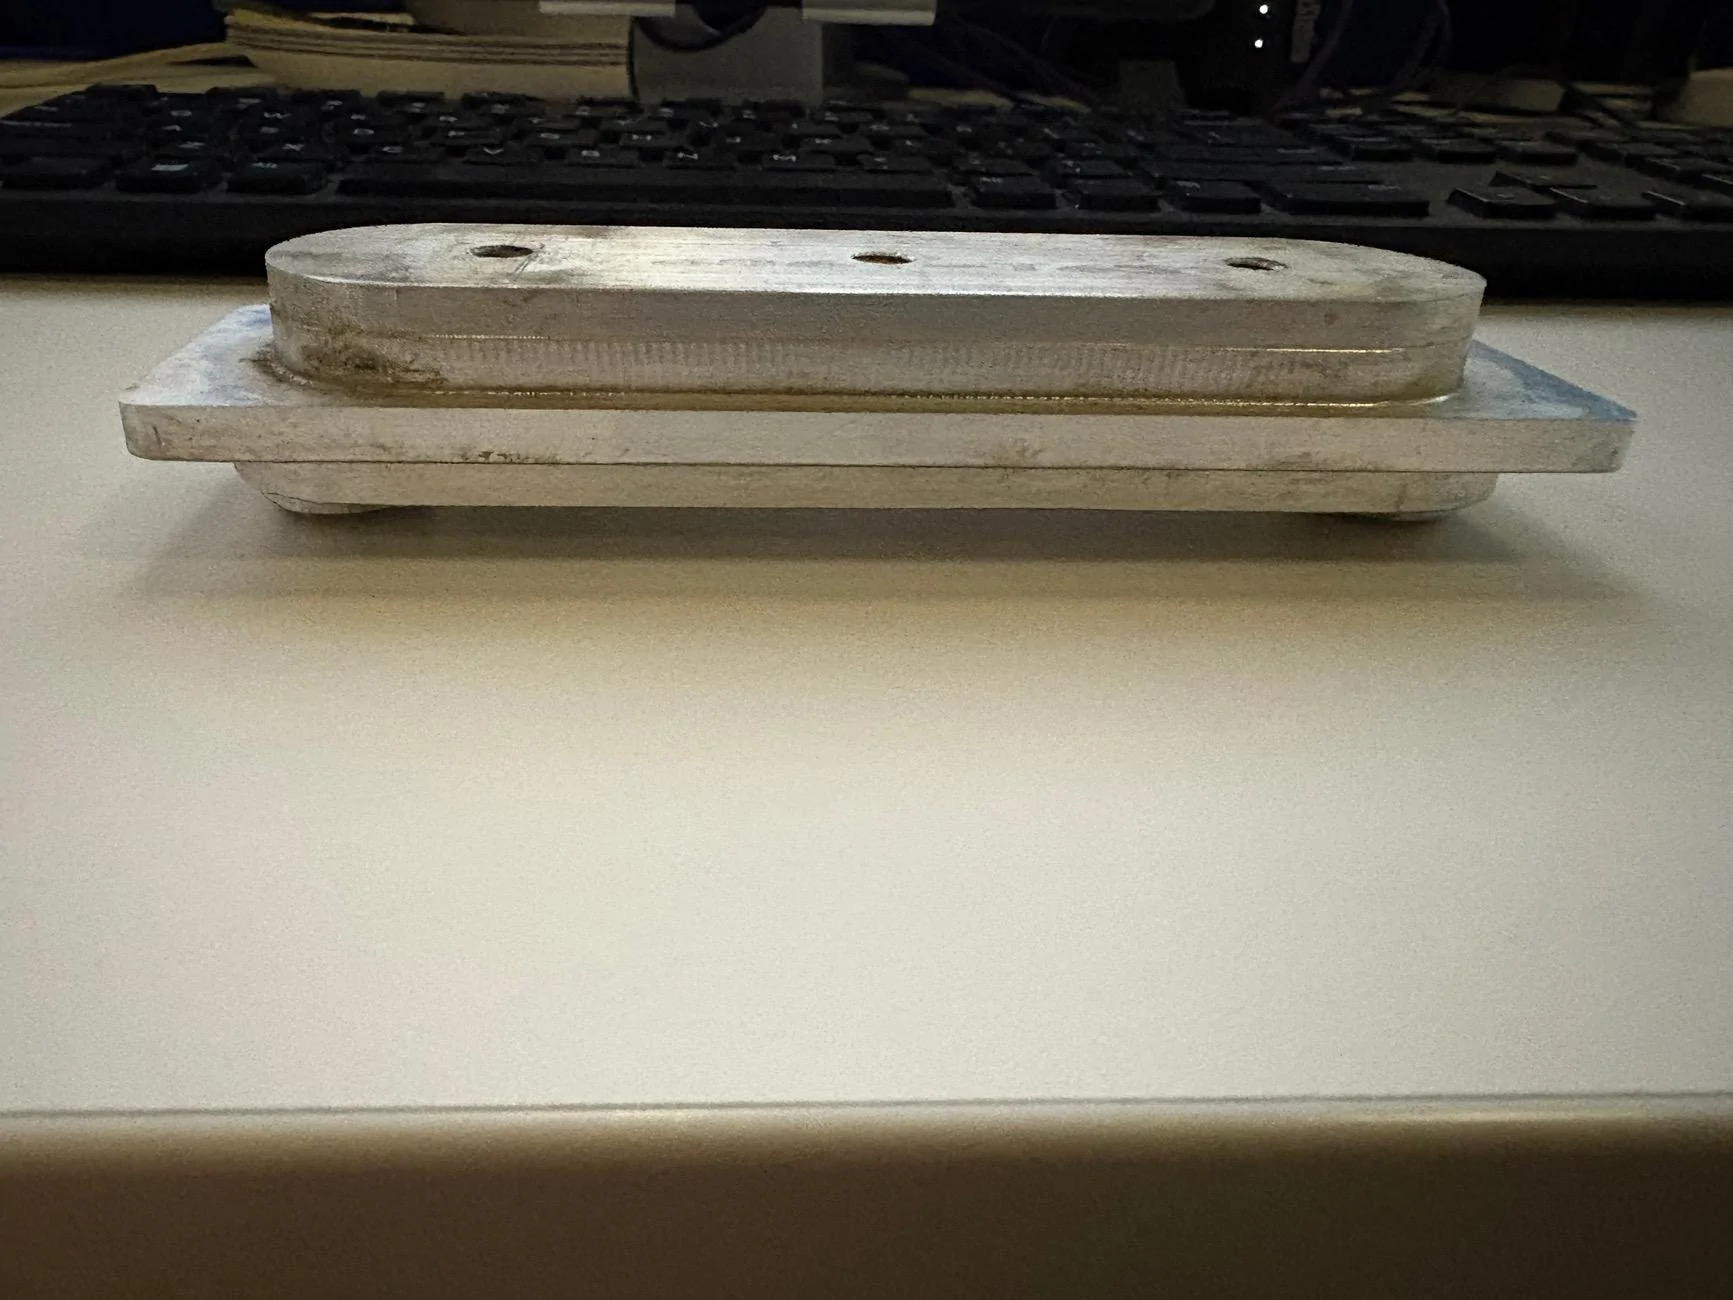
I recently purchased the Spider Roof Rack for my R1T from another member. This rack comes with mount points that replace the factory accessory ports on the roof. When I go to remove the headliner its giving me a really hard time and I didn't want to go farther until I figured out the correct way to do it without breaking anything.
Anyone remove the headliner before and can give me tips? Can't the grab handles off, nor the sides of the liner against the glass roof. The liner against the front of the window comes off easily as its just magnets, but the rest is making me pause.
Anyone remove the headliner before and can give me tips? Can't the grab handles off, nor the sides of the liner against the glass roof. The liner against the front of the window comes off easily as its just magnets, but the rest is making me pause.
Sponsored
Last edited: